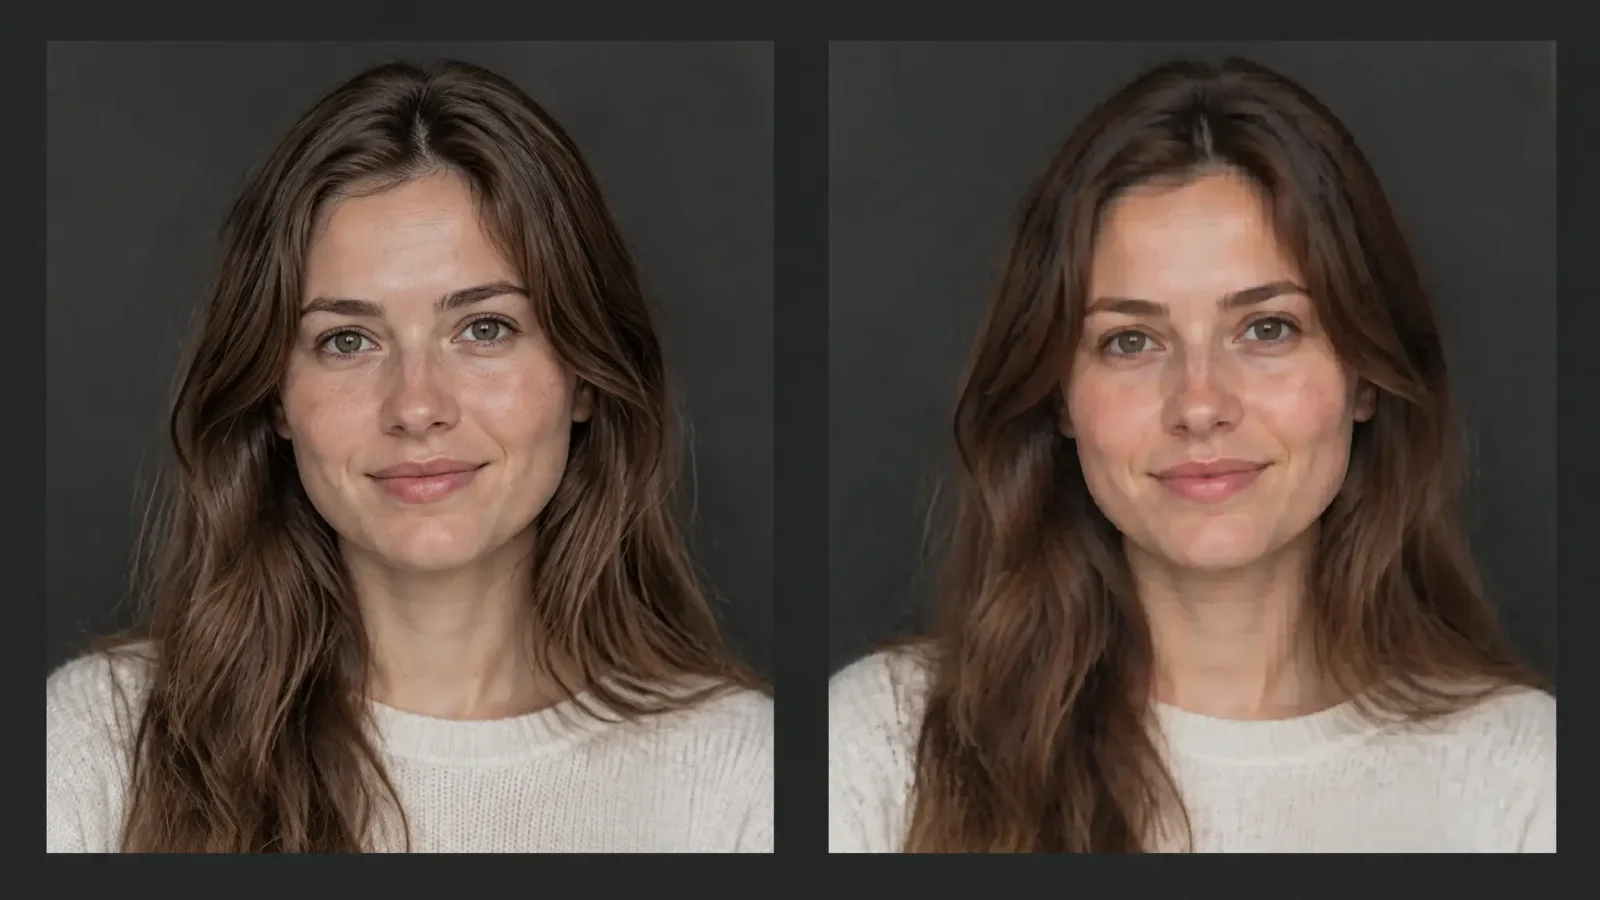
An AI image enhancer does not find the sharp photo hiding inside your blurry one. It makes an educated guess about what the missing detail probably looked like, then draws it in. When the guess is good, the result looks like a better photo. When it is too aggressive, you get the waxy, plastic look people complain about. Knowing which one you will get is mostly a matter of what you feed it.
What an enhancer actually changes
Resolution: the photo gains pixels, and those pixels contain plausible new detail instead of just larger blocks.
Sharpness: soft edges from a missed focus or small camera shake get tightened.
Colour and contrast: faded or flat photos get a more natural balance.
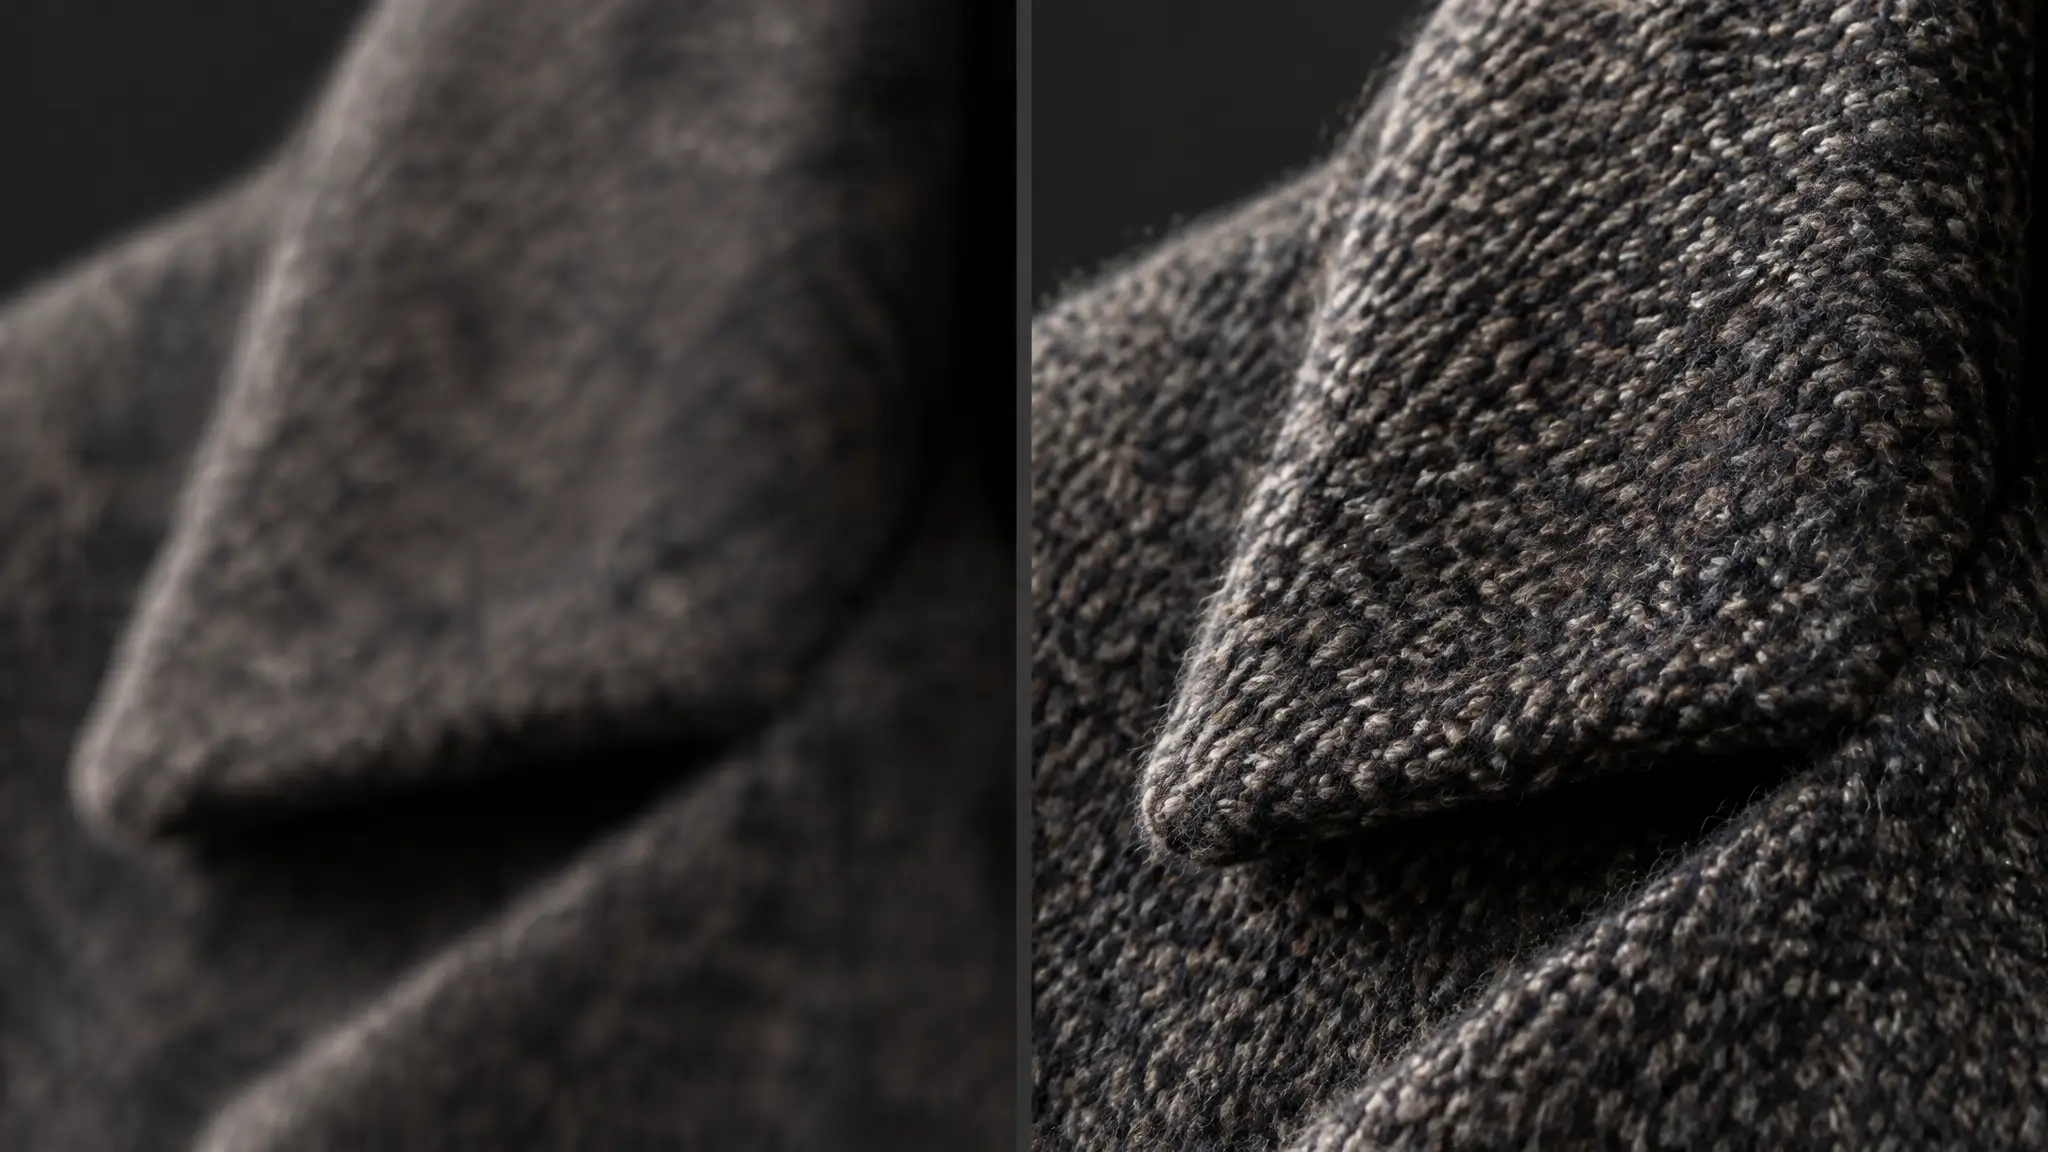
Normal resizing only stretches the pixels you already have, which is why an ordinary upscale looks soft. A model-based enhancer predicts edge texture, fine lines, fabric and skin detail from patterns it learned on many other photos. That is also why it can invent details that were never there, so treat it as restoration by estimate, not by recovery.
What to expect from different starting points
A moderately soft or slightly low-resolution photo improves clearly: crisper edges, cleaner detail, better colour. A tiny or heavily compressed image still improves, but the ceiling is lower because there is little real information for the model to build on. Severe motion blur is the hardest case. If the subject is genuinely smeared, enhancement may help a little, but a proper deblur tool is the better first step.
Before you enhance: a short prep list
1. Start from the original file. A photo that has been screenshotted, messaged and re-saved several times has already lost detail.
2. Crop first. Enhancing only the part you need keeps the result focused and speeds things up.
3. Fix exposure problems separately. A very dark photo gives the model less to work with.
4. Decide the final size. For print at 300 dots per inch, a 4 x 6 inch photo needs about 1200 x 1800 pixels, and an 8 x 10 needs 2400 x 3000. Work backwards from there.
How to enhance a photo in MagicShot
1. Upload the photo to MagicShot's image editor.
2. Choose the enhance option and set the strength yourself rather than accepting the default.
3. Generate, then zoom in on skin, hair and fine detail. Over-processing shows there first.
4. If it looks too smooth, rerun at a lower strength in the image editor and compare the two.
The same approach applies to old family photos, though results depend more on the scan quality and the age of the print than on the enhancer.
When enhancement overcorrects
The classic failure is plastic skin. It happens when the strength is higher than the real detail in the photo can support, so the model fills the gaps with synthetic texture. On portraits, lower the strength and keep some natural grain. Other warning signs: eyes that look slightly different from the original, text that turns into nonsense characters, and repeated patterns in fabric or foliage.
Which tool for which problem
Small image that needs to be bigger: use an upscaler, see how to increase image quality without losing detail.
Everyday phone photo that needs a tidy-up: picture enhancer for phone photos.
Results look over-processed: AI enhance photo: when it helps and when it over-processes.
Blur is the main problem: how to unblur a photo.