The most common reason to improve image quality is a practical one: a photo needs to be bigger for a print, a slide deck, or a poster than the file was originally shot at. The direct answer is that you can resize image without losing quality up to a point, and past that point you are trading real detail for AI-guessed detail. This post covers where that line is and how to increase quality with MagicShot's image editor.
The Upscaling Tradeoff: Detail vs Hallucination
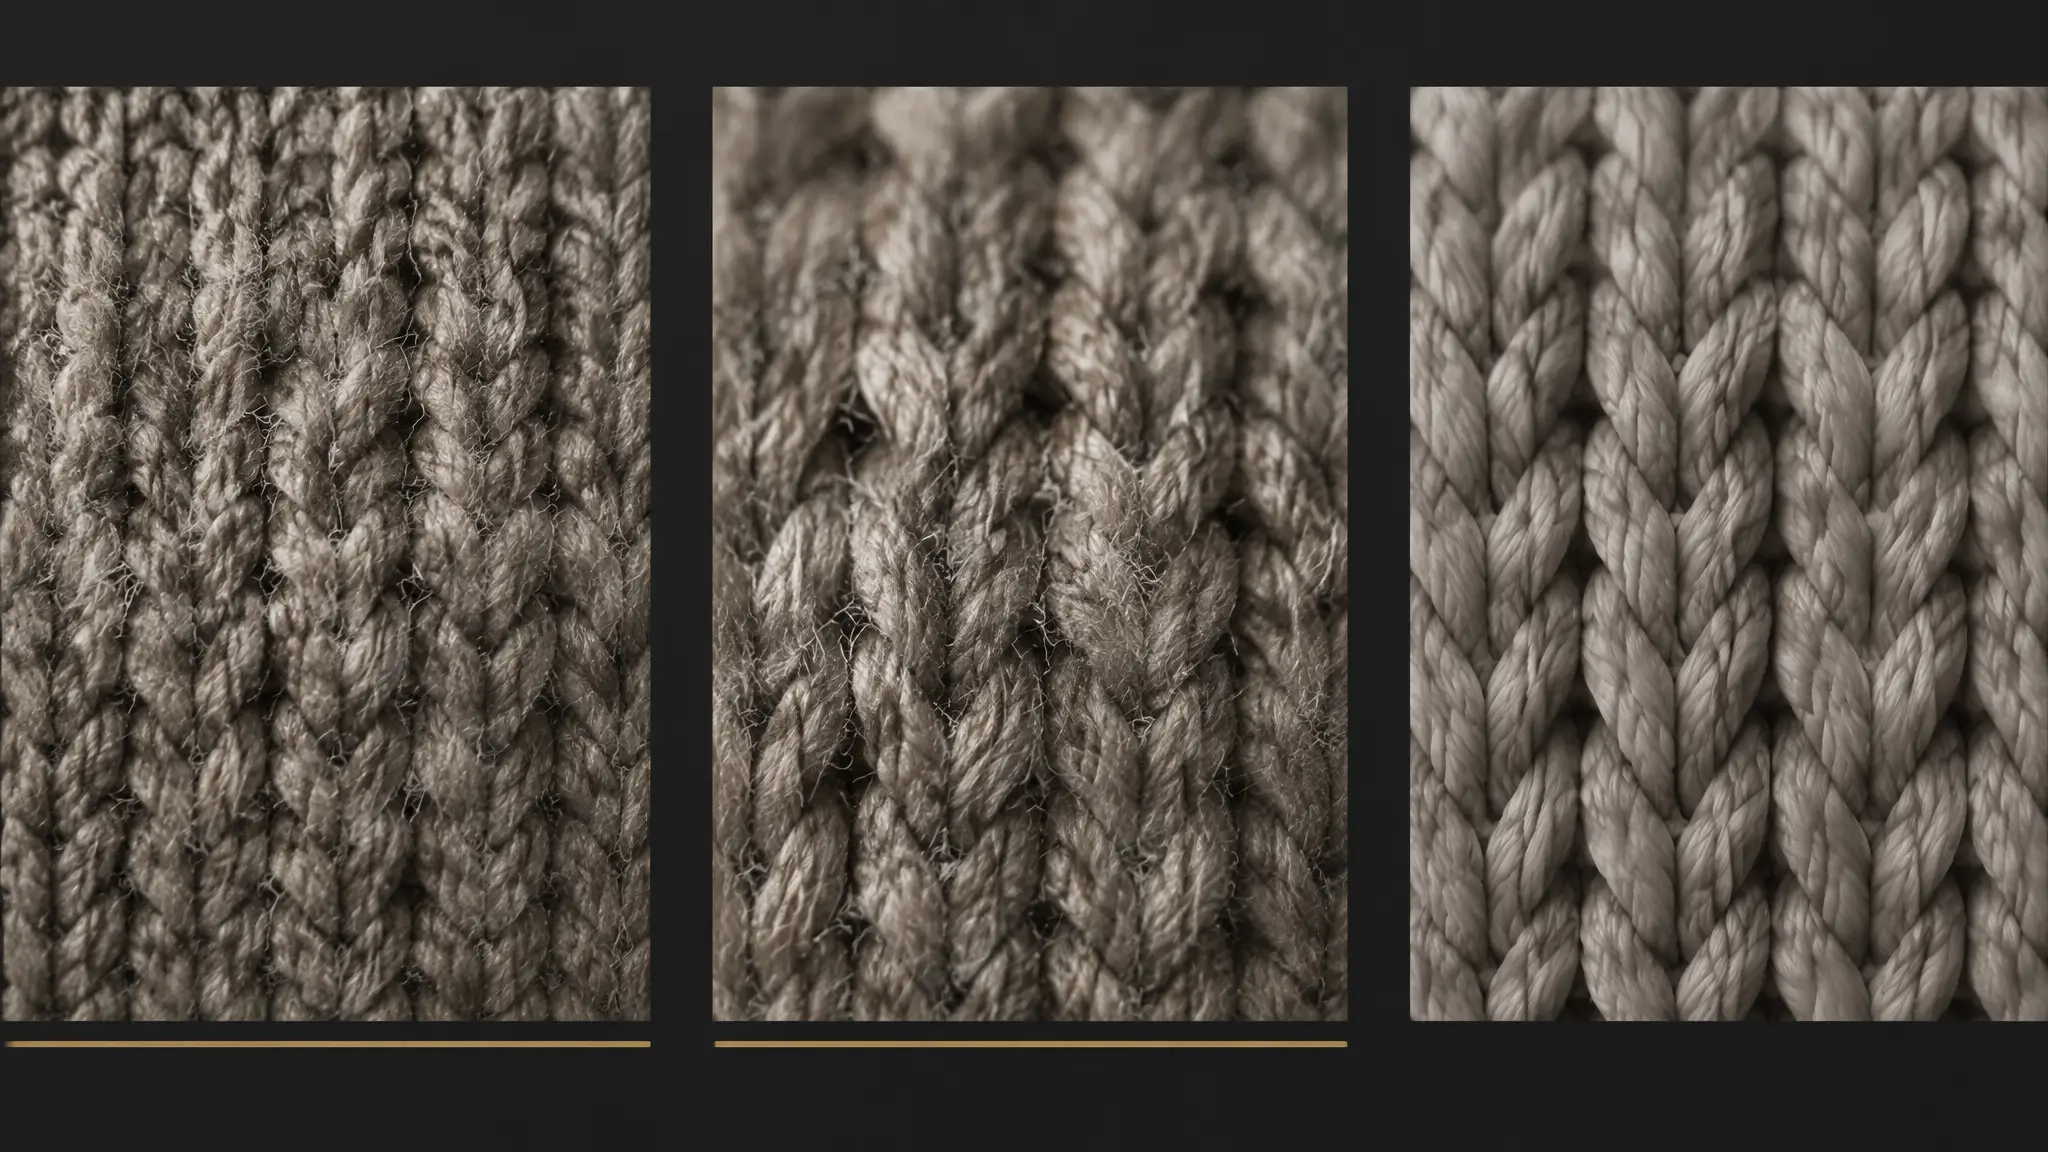
An image quality enhancer does not recover pixels that were never captured. It predicts plausible detail based on patterns learned from a large number of photos, then fills that in. For a moderate size increase, roughly doubling dimensions, this looks like a genuine quality improvement, since the model has enough real signal from the original to work from. Push much further, four or five times the original size, and more of the added detail is the model's best guess rather than something grounded in the source file, which is when results start to look slightly synthetic under close inspection.
A Rule of Thumb for How Far You Can Push a Resize
For a result that holds up under normal viewing distance, doubling the resolution of a reasonably clear starting photo is a safe target. For print specifically, where viewers look closer and lighting is less forgiving than a screen, stay closer to a 1.5 to 2x increase from a clean source file. A photo that is already small, blurry, or heavily compressed has less room to work with regardless of the target size, since the starting detail is lower to begin with.
Best Format for Preserving Quality: JPG or PNG
PNG uses lossless compression, so it does not lose additional detail each time the file is saved, which makes it the better choice for a file you will edit and re-save more than once. JPG uses lossy compression that discards a small amount of detail on every save, which compounds over repeated edits. For a final export meant for one-time printing or sharing, JPG at a high quality setting is usually fine; for a working file you will touch again, PNG holds up better.
Increasing Quality for Print, Not Just Screen
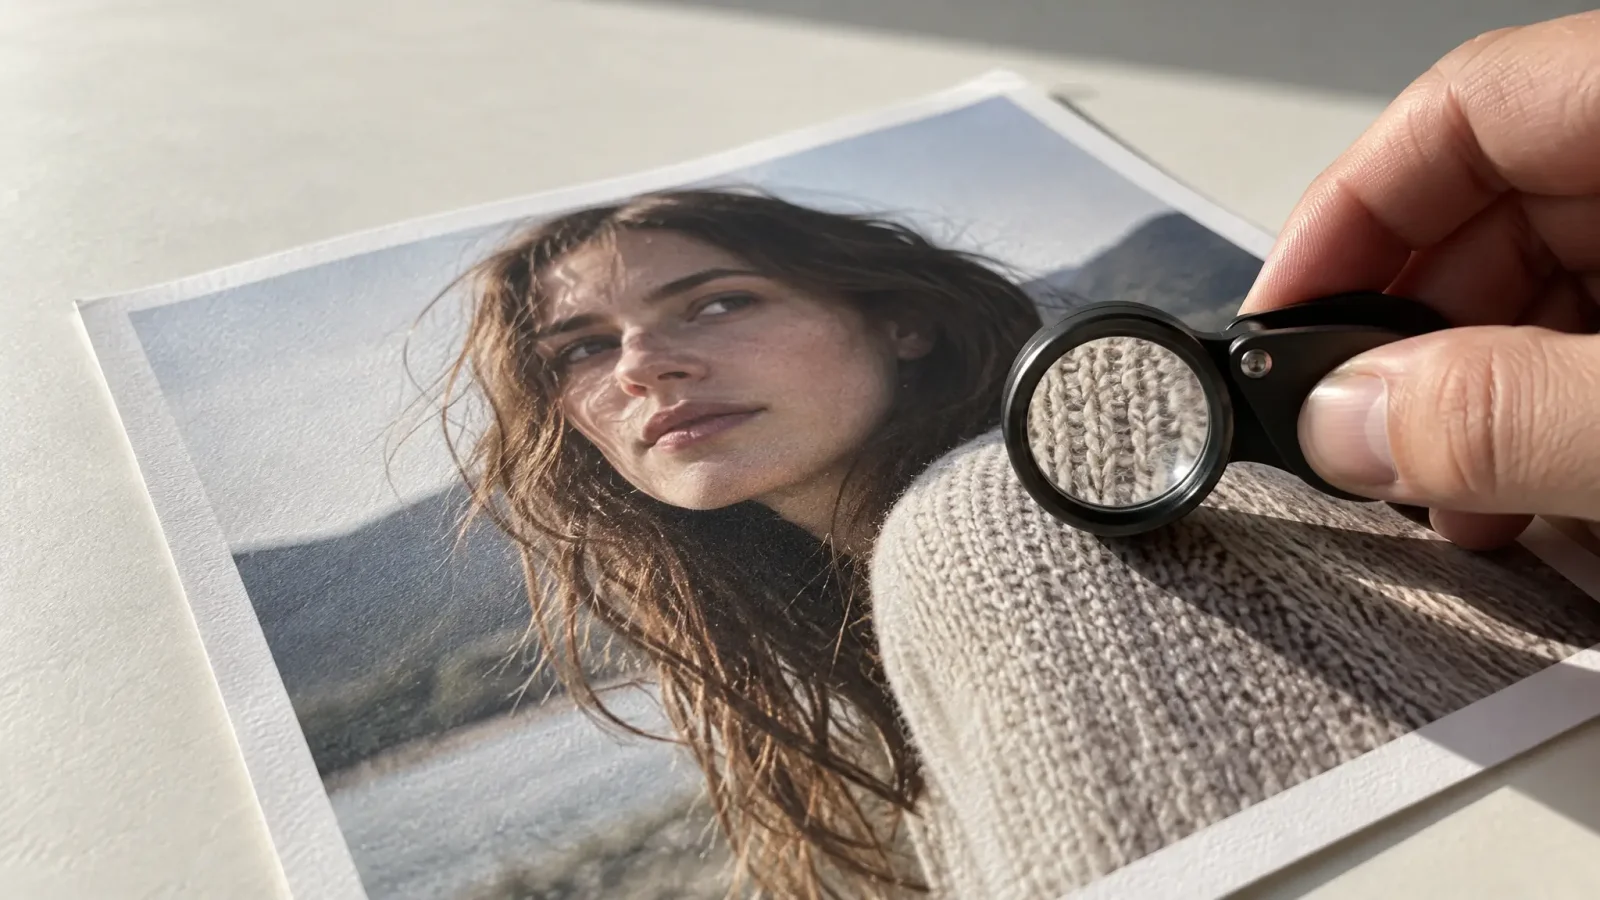
Print needs a specific pixel density, typically around 300 pixels per inch at the final print size, which is a higher bar than most screens require. A photo that looks perfectly sharp on a phone display can still look soft printed at 8x10, because the screen and the print have different resolution requirements entirely. Check the target print size against the file's pixel dimensions before ordering, and enhance to the size you actually need rather than guessing.
How to Increase Image Quality in MagicShot
Upload the photo to MagicShot's image editor.
Choose the quality enhancement option and set the target size or a moderate multiplier rather than the maximum by default.
Generate and check fine detail, hair, fabric texture, and text, at full zoom.
Download the file at the resolution needed for the final use, whether that is a screen or a printed page.
Does Resizing Lose EXIF or Metadata
Often, yes. Many enhancement and export processes strip metadata such as camera settings, timestamps, and location data by default, sometimes as a privacy measure. If you need to preserve that information, keep a copy of the original file before enhancing, since it may not carry over to the processed version.
Read Next
Image Enhancer: How AI Actually Improves a Blurry, Low-Res Photo for the broader pillar on AI enhancement.
Picture Enhancer: The Fastest Way to Clean Up a Phone Photo for a quicker, less technical version of this workflow.