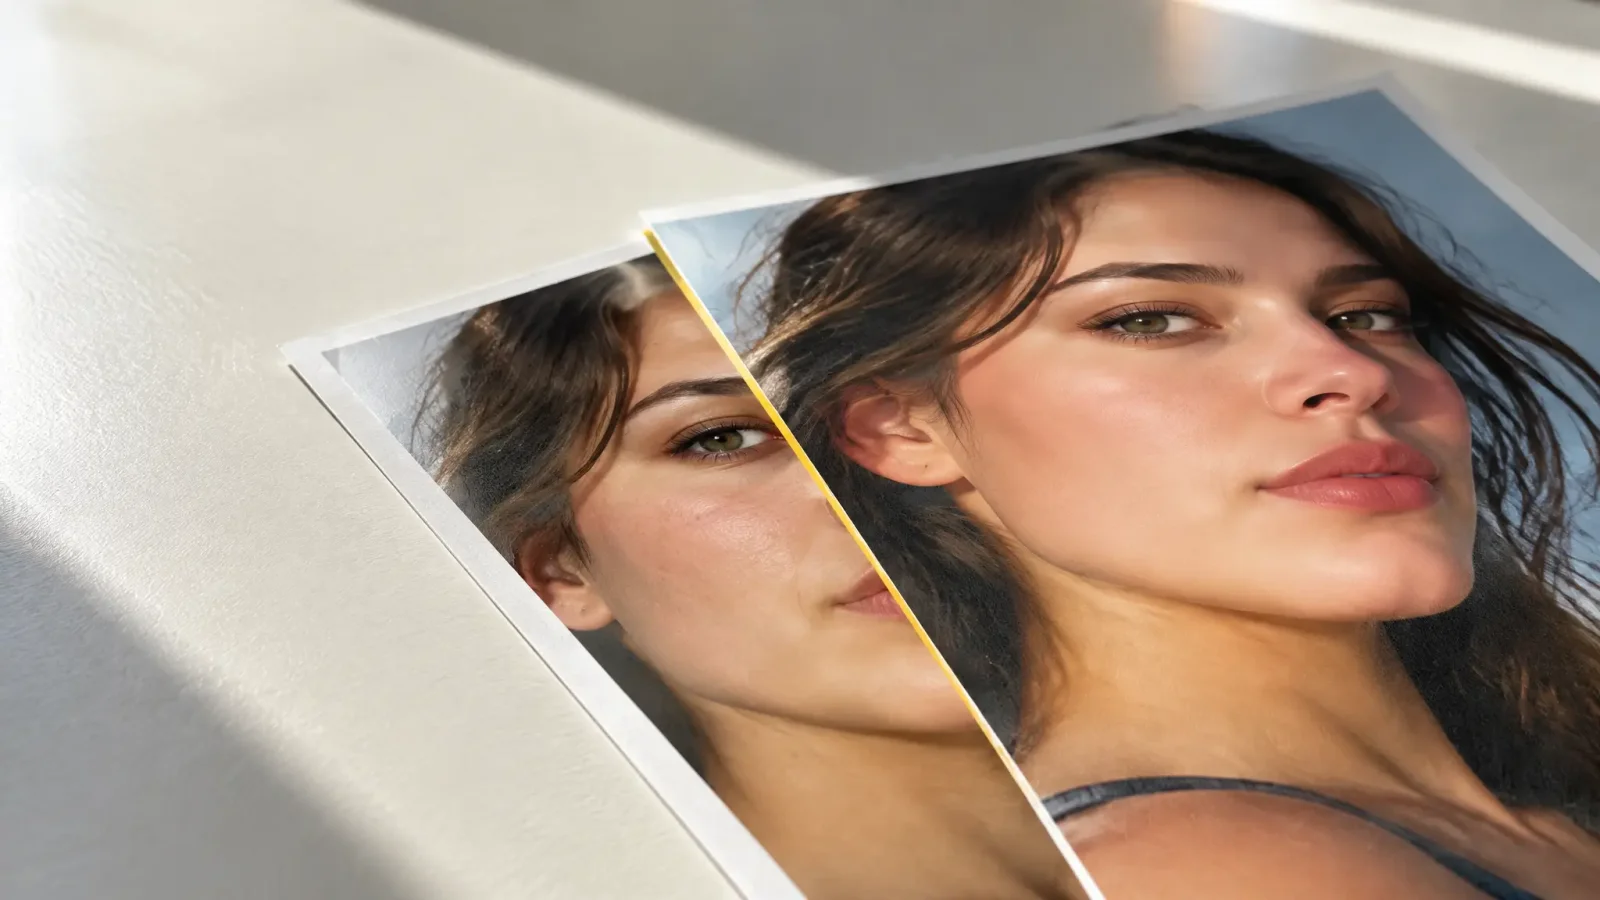
The most common complaint about an ai enhance photo tool is not that it does too little. It is that it does too much: skin looks plastic, edges look artificially crisp, and the photo stops looking like a photo. Both things are true about the same technology. This post covers when enhancement genuinely helps and when it over-processes, plus a checklist for dialing it back before it happens, using MagicShot's image editor.
Why Some AI-Enhanced Photos Look Fake
Enhancement works by predicting detail that is statistically likely to belong in a photo, then adding it in. Applied at a reasonable strength relative to how much real detail the source photo already had, this looks like a natural improvement. Pushed past that point, the model adds more synthesized texture than the photo can convincingly support, and skin in particular starts to look uniformly smooth and glossy rather than textured, the specific look people mean when they say a photo looks over-processed.
Checklist: When to Dial Enhancement Down
Portraits, especially close-up ones. Skin shows over-smoothing faster than almost anything else in a photo, so use a lower strength on faces than you would use on a wide outdoor scene or a plain object.
Photos that were already reasonably sharp. A photo with decent starting detail needs less correction, and heavy enhancement on an already-good photo is the fastest way to overcorrect it.
Anything meant to look candid or unedited. Maximum enhancement reads as polished, which works against a natural, documentary feel.
Skin tone accuracy matters. Heavy enhancement can shift color balance slightly along with texture, worth checking against the original before finalizing.
Over-Enhanced vs Well-Balanced: What to Look For
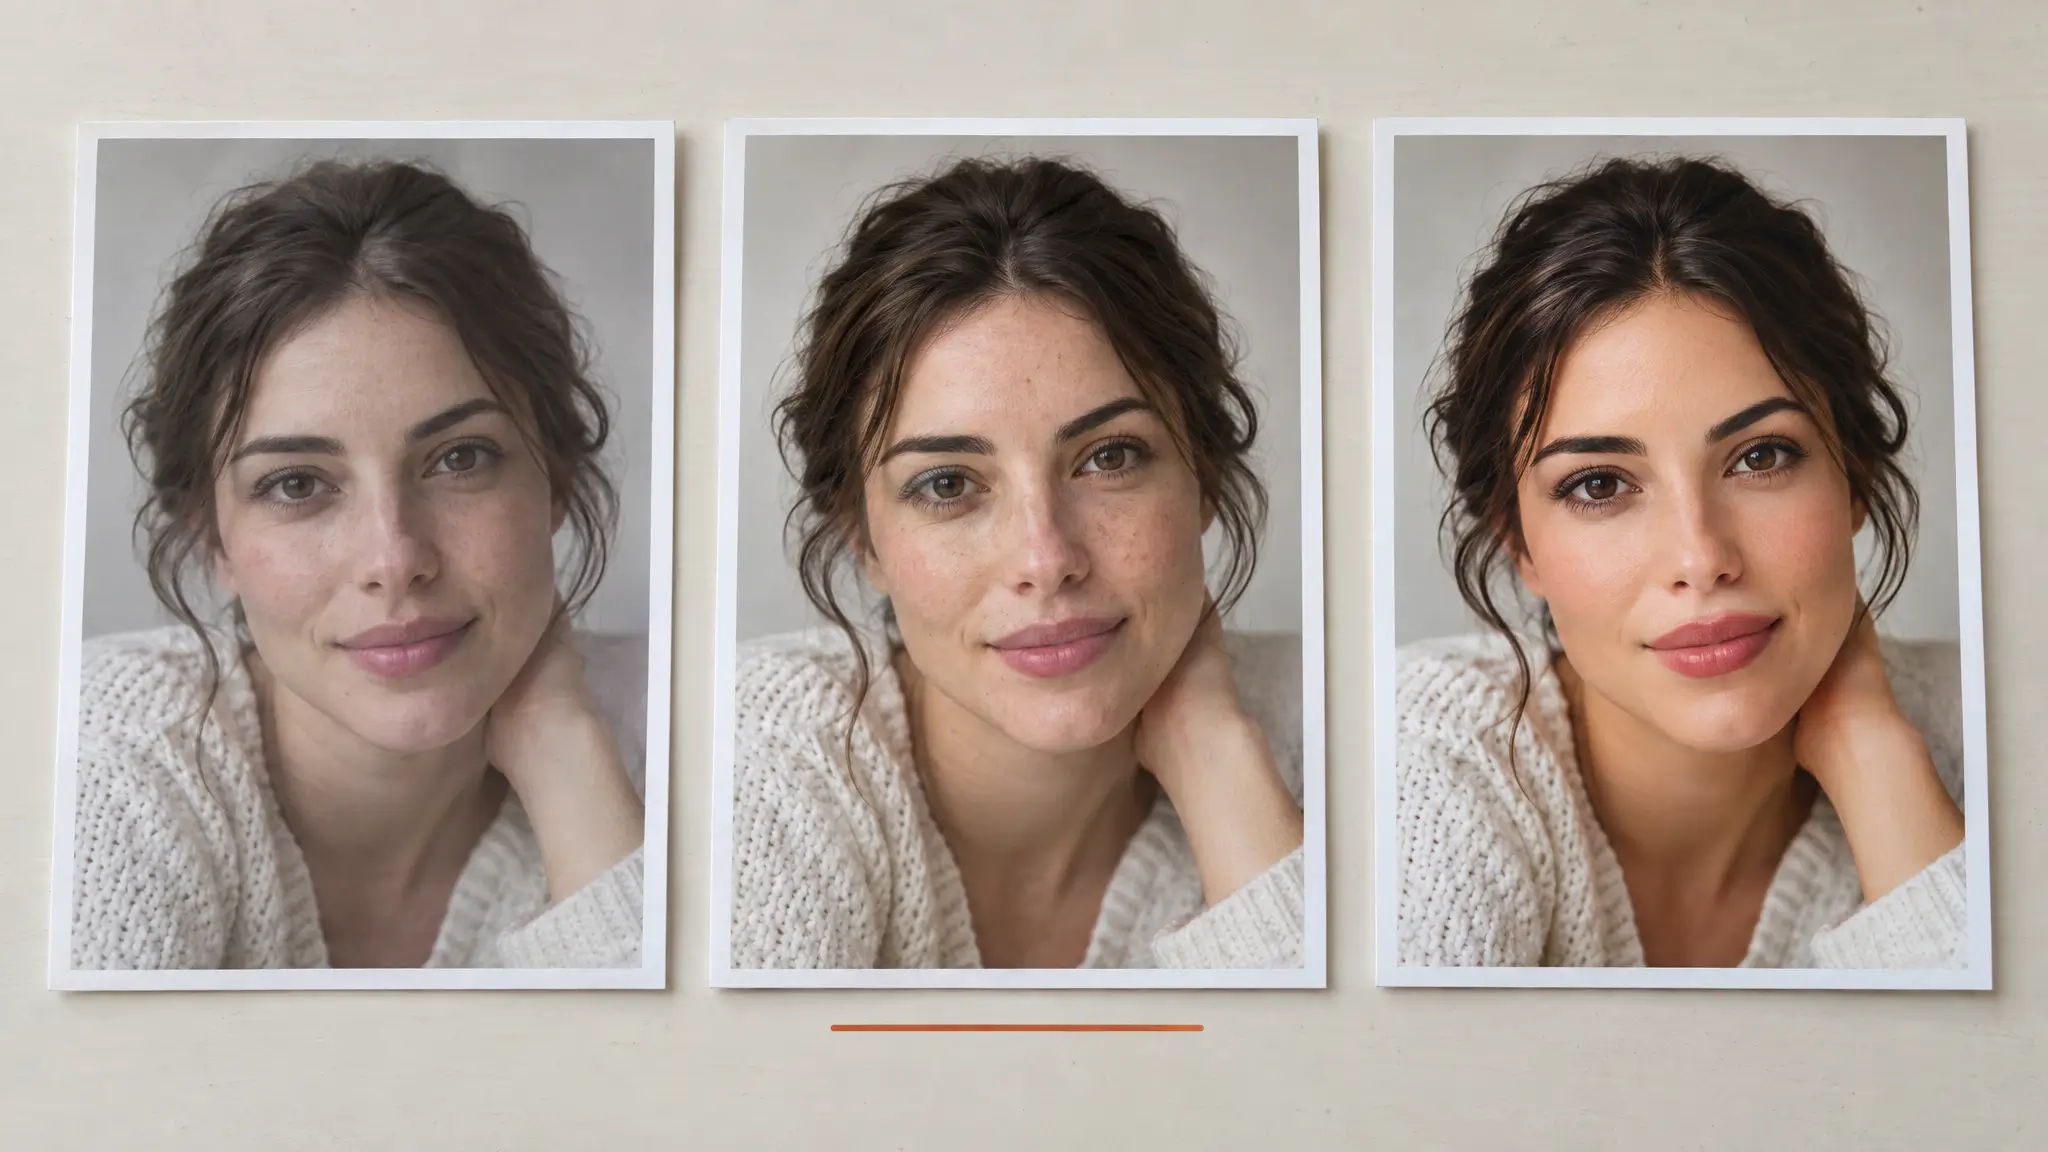
An over-enhanced photo tends to show uniformly smooth skin with almost no visible pore or texture detail, edges that look outlined rather than naturally sharp, and colors that feel slightly saturated beyond what the original scene looked like. A well-balanced enhance keeps some natural texture intact, improves clarity without erasing it, and holds color close to the original tone. Comparing a couple of strength levels side by side, rather than defaulting to maximum, is the fastest way to spot the difference before committing to one version.
Does Enhancement Change Skin Tone
It can, as a side effect of color and contrast correction rather than a deliberate change. Enhancement adjusts overall color balance to look cleaner, and at high strength that adjustment can shift skin tone slightly warmer, cooler, or more saturated than the original photo. Checking skin tone against the source image before finalizing catches this quickly.
How to Enhance a Photo With Control
Upload the photo to MagicShot's image editor.
Set enhancement strength manually rather than accepting a default, starting lower than you think you need.
Generate, then compare closely against the original at full zoom on skin and edges specifically.
If the result looks over-processed, regenerate at a lower strength rather than trying to manually undo it after the fact.
There is no built-in undo for an over-enhanced result once it is exported, so keeping the original file and regenerating at a different strength is the practical way to correct it, rather than trying to reverse the effect afterward.
Read Next
Image Enhancer: How AI Actually Improves a Blurry, Low-Res Photo for the fuller pillar on how enhancement works.
How to Increase Image Quality Without Losing Detail for the resolution side of this same tradeoff.