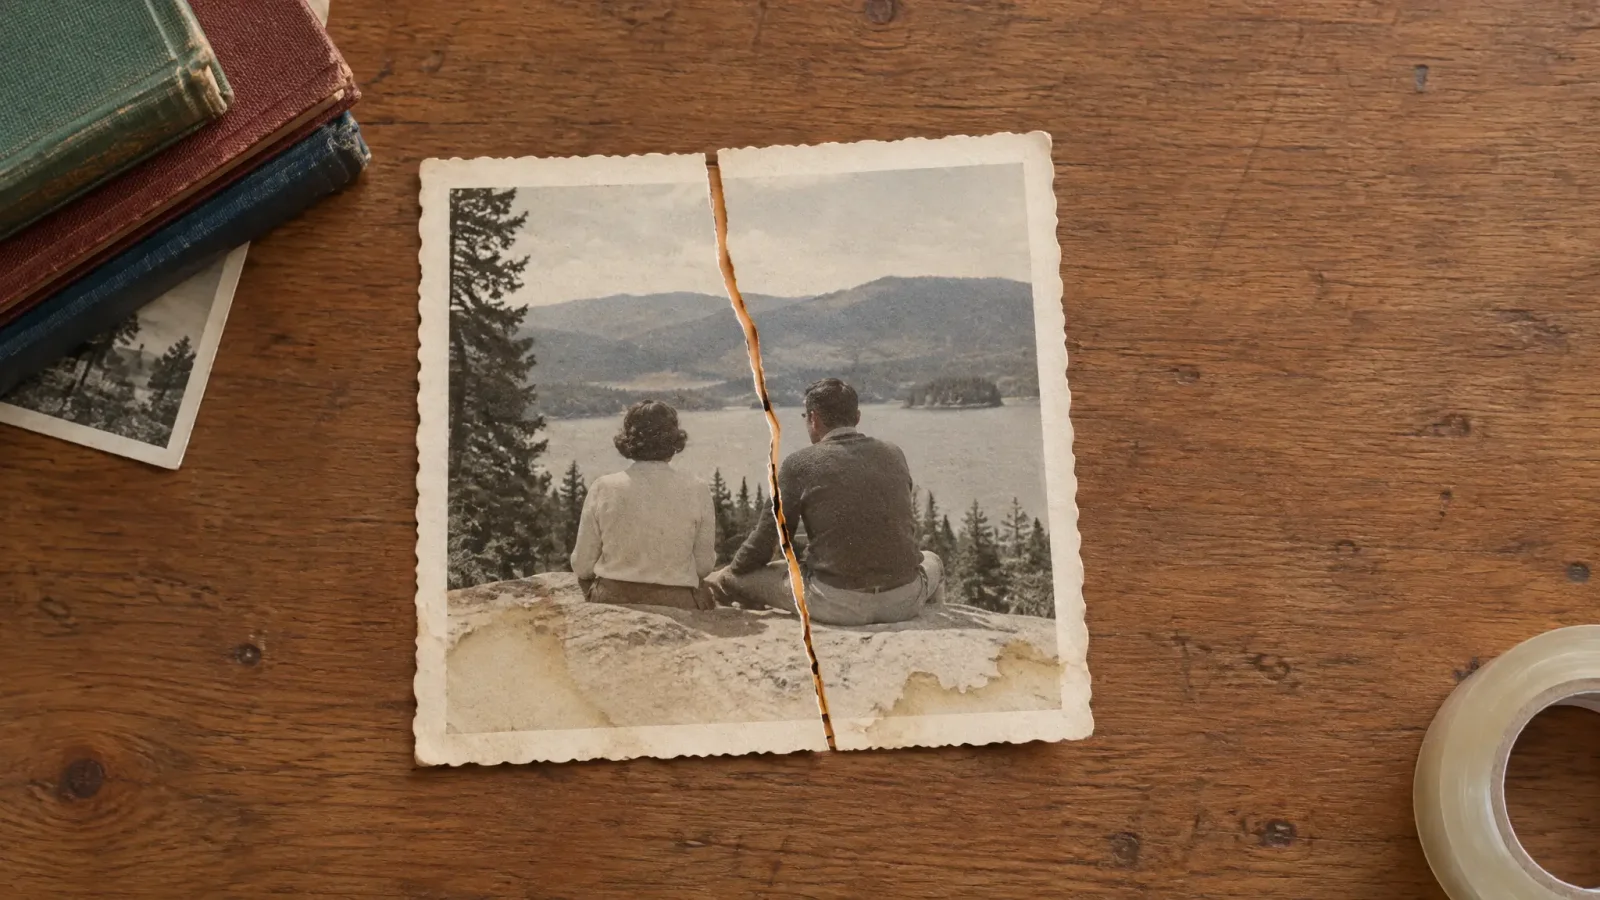
To restore a photo that's torn or water-damaged, the prep work before you upload matters as much as the AI step after. A rushed scan of a curled, shadowed print gives any restore images tool less to work with, no matter how good the model is. This same restore picture process works regardless of whether the damage is a single tear or a handful of small creases.
Before you scan or photograph it
Flatten it. A torn or water-warped photo often curls. Leave it under a heavy, flat object (a stack of books works) for a few hours to a day before scanning, if the print can handle it without further damage.
Piece torn sections together. If a tear has separated the photo into pieces, lay them together in position before scanning rather than scanning them separately. Don't tape them yet.
Even light, no shadow. Especially across a tear, a shadow reads as extra damage to the eye and sometimes to a restoration model too. Use flat, diffuse lighting and shoot or scan straight-on, not at an angle.
What to expect the AI to reconstruct, and what to leave alone
An AI image restore tool can plausibly fill a tear line, correct fading from water staining, and clean up surface scratches. It is reconstructing a believable version of what was likely there, particularly across a tear that cuts through a simple background or clothing. It is less reliable across a tear that runs through a face or another highly detailed area, since there is less to infer from. Go in expecting a strong, usable result on the surrounding damage and a more approximate one on any tear through a face.

A Worked Example: How to Restore a Photo Step by Step
Take a photo with a diagonal tear across one corner and a water stain along the bottom edge. After flattening and scanning at even lighting, upload it to MagicShot's Image Editing tool and select the restore option. The tear across the corner, mostly background in this example, reconstructs cleanly. The water stain's discoloration corrects well since the underlying detail wasn't destroyed, just faded. Compare the result at full zoom against the original before considering it done.
Should you tape the photo first
No. Tape leaves adhesive residue and a visible ridge that a scan or camera will pick up, and it doesn't help a restoration model piece torn sections together any better than laying them flat and aligned does. Handle the pieces gently and photograph or scan them in position instead.
If part of the photo is completely missing
A restoration tool will fill a genuinely missing section with a plausible guess based on the surrounding image, not with the actual lost content. For a missing corner of a plain background, that guess usually looks convincing. For a missing section of a face or another highly specific detail, treat the result as an approximation and say so if you're sharing the restored photo with people who remember the original.
Checking whether restoration worked
Zoom to full size and compare the restored version against the original side by side. Look specifically at the repaired area for any warping, odd texture, or inconsistency with the surrounding image. If it holds up at full zoom and reads naturally at normal viewing size, the restoration worked. If a specific repaired section is a clear guess, that's the point at which a human retoucher's input, discussed in AI Photo Restoration vs Manual Retouching: What Actually Works, is worth considering.
For the general restoration process beyond this specific torn-and-water-damaged case, see How to Restore Old, Damaged Photos With AI, and use MagicShot's Image Editing tool to run the restoration itself.