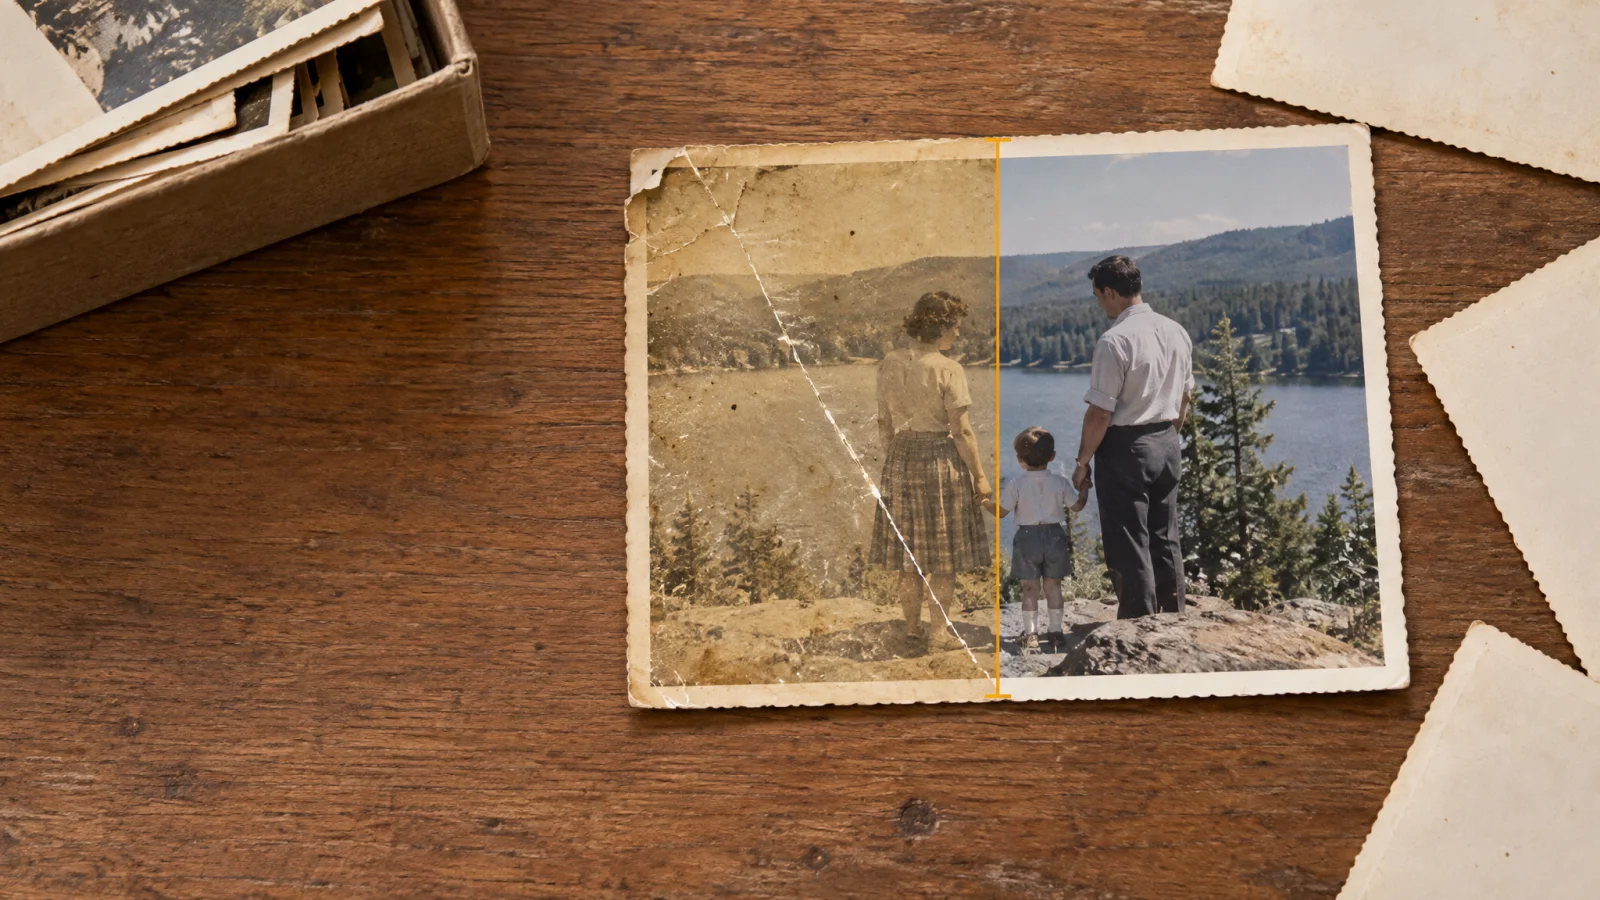
Most old photos are not ruined, just worn: a crease from years in a wallet, a faded print, a few scratches from a shoebox. AI restoration is good at exactly that kind of wear. It is much less good when parts of the picture are truly gone. This guide covers what to expect, how to scan so the tool has the best chance, and when to be careful.
What AI Repairs Well
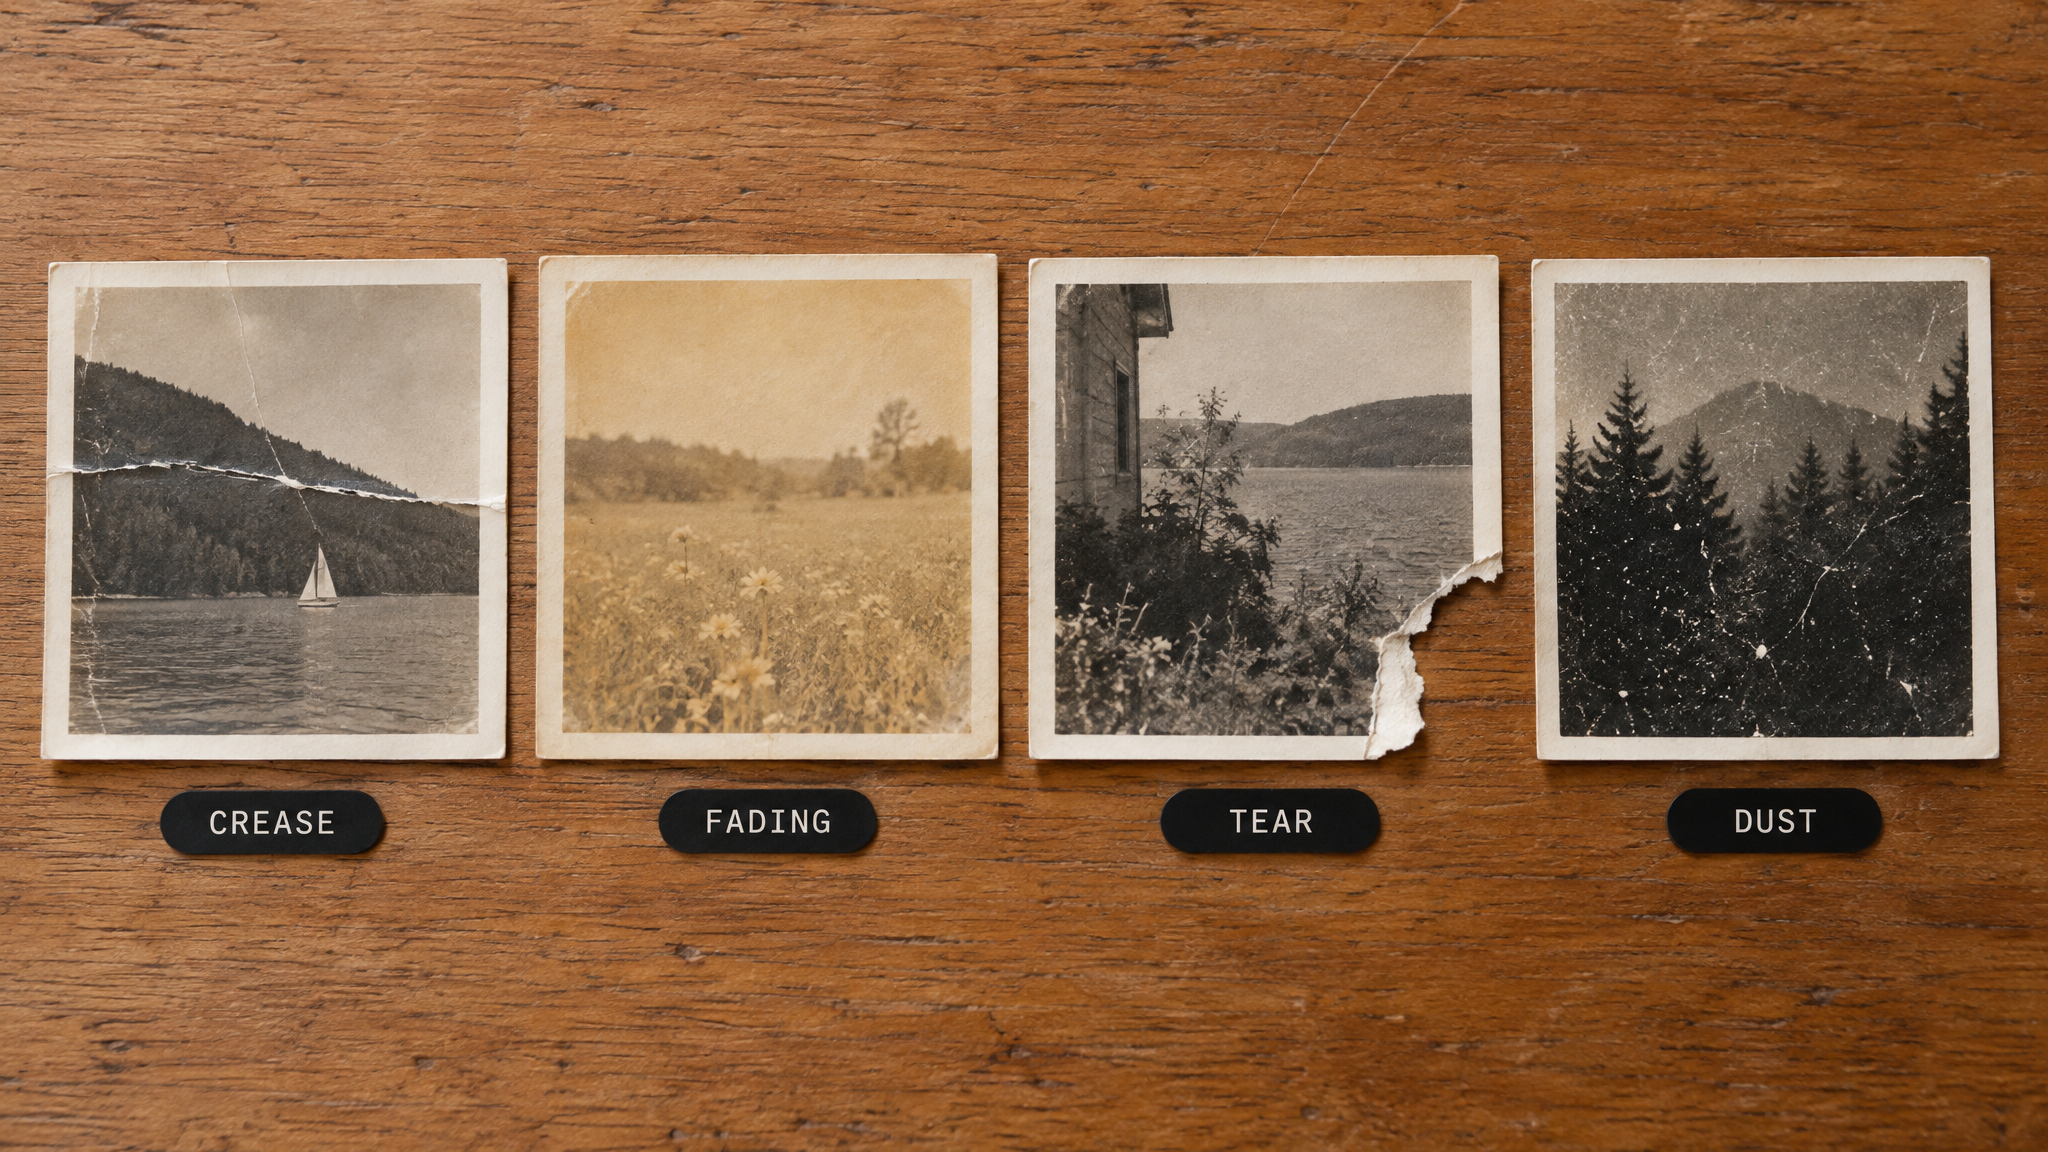
Dust, specks and scratches: the most reliable fix, because they look different from real picture content.
Creases and folds: the model rebuilds the line from the detail around it, usually convincingly.
Fading and colour cast: contrast and balance can be brought back using the healthier parts of the photo as a guide.
Small tears and gaps: filled from nearby context. A torn background corner is far easier than a tear across a face.
Where It Is Only Guessing
If half a face is missing, if the emulsion has lifted off the paper, or if water has erased detail rather than just staining it, the tool is inventing something plausible. It is not recovering what was there. That matters most for family photos, where a restored face may look nice but not quite like the person. Tell anyone you are restoring a photo for what was repaired and what was reconstructed.
Scan Before You Upload
The scan sets the ceiling for the result. Flatten the print, use even light with no glare, and scan at the highest resolution you can. 600 dpi or more is a sensible target if you plan to enlarge it. A flatbed scanner is more reliable than a phone, but a phone works if the print is flat and the light is soft and even. A photo of a photo will always give the model less to work with than a clean scan.
Restore a Photo in MagicShot
Open the Photo Restorer, or the restore option in Image Editing.
Upload your scan and run the restore.
Zoom in and compare with the original, especially around faces, hands and writing.
If you also want colour, do it after the repair. Our guide on colourising black-and-white photos explains why that order works.
For Tears and Water Damage
Heavier damage needs a slower approach: repair in stages, and keep each version. Our walkthrough on restoring a torn or water-damaged photo covers it.
Keep the Original
Never overwrite the first scan. Save it in a safe place, and save restored versions as new files with clear names. If a restore turns out wrong in a detail only a relative notices, you can go back and try again.