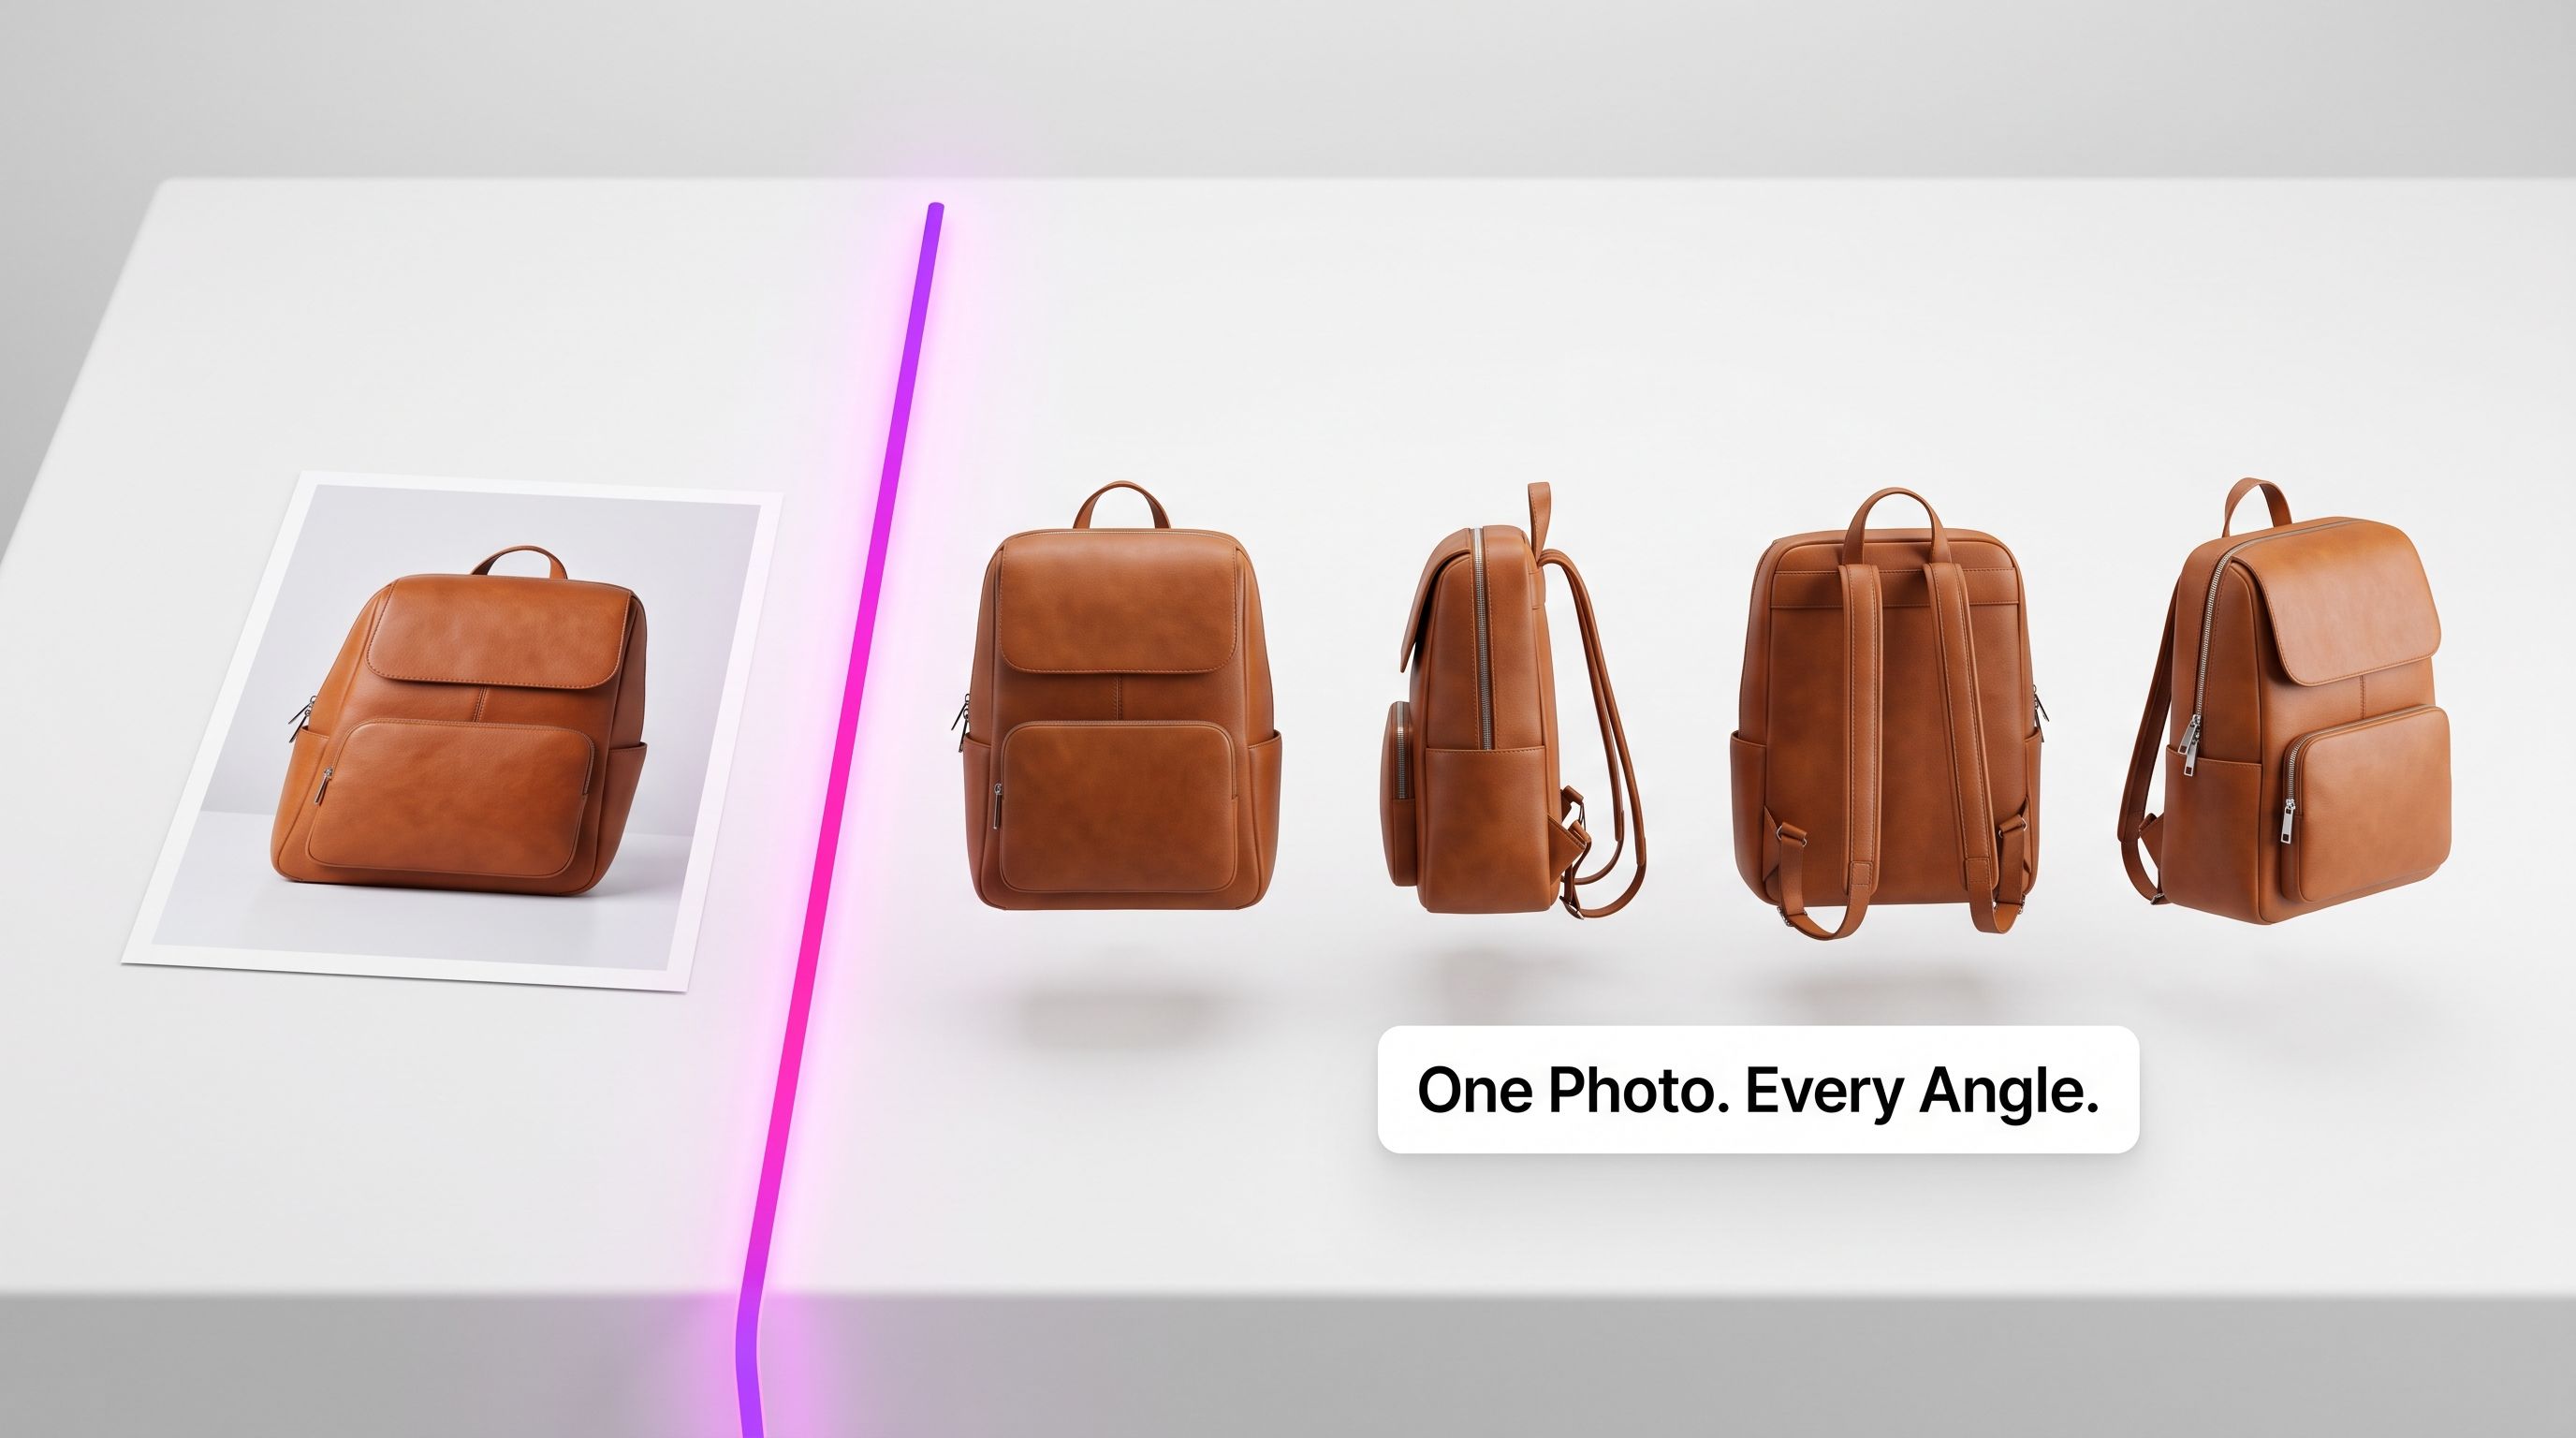
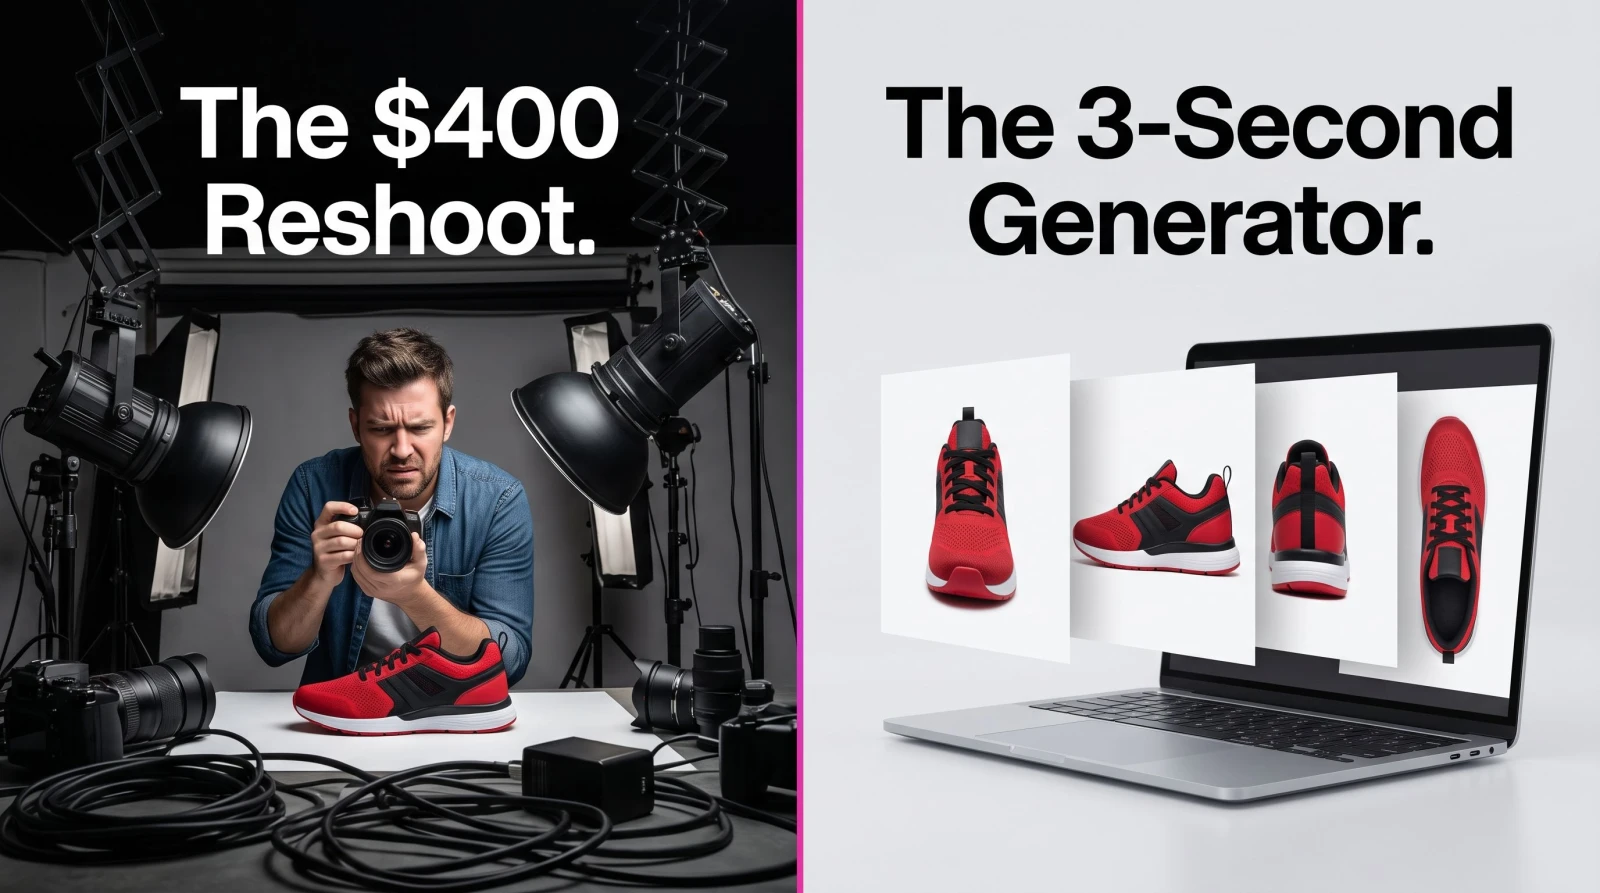
You shot one clean photo. Now the marketplace wants a front view, a side view, a back view, and a three-quarter angle. The old fix was a reshoot, a rented studio, or a 3D artist on retainer. A multi view image generator skips all of that. You upload a single picture and get several consistent angles of the same subject, ready to download in seconds.
This guide walks through exactly how to turn one photo into a full set of angles, when the technique works best, and the mistakes that quietly wreck your results. Whether you are listing products, building a character turnaround, or filling out a portrait set, the workflow is the same and it is faster than you think.
What a multi view image generator actually does
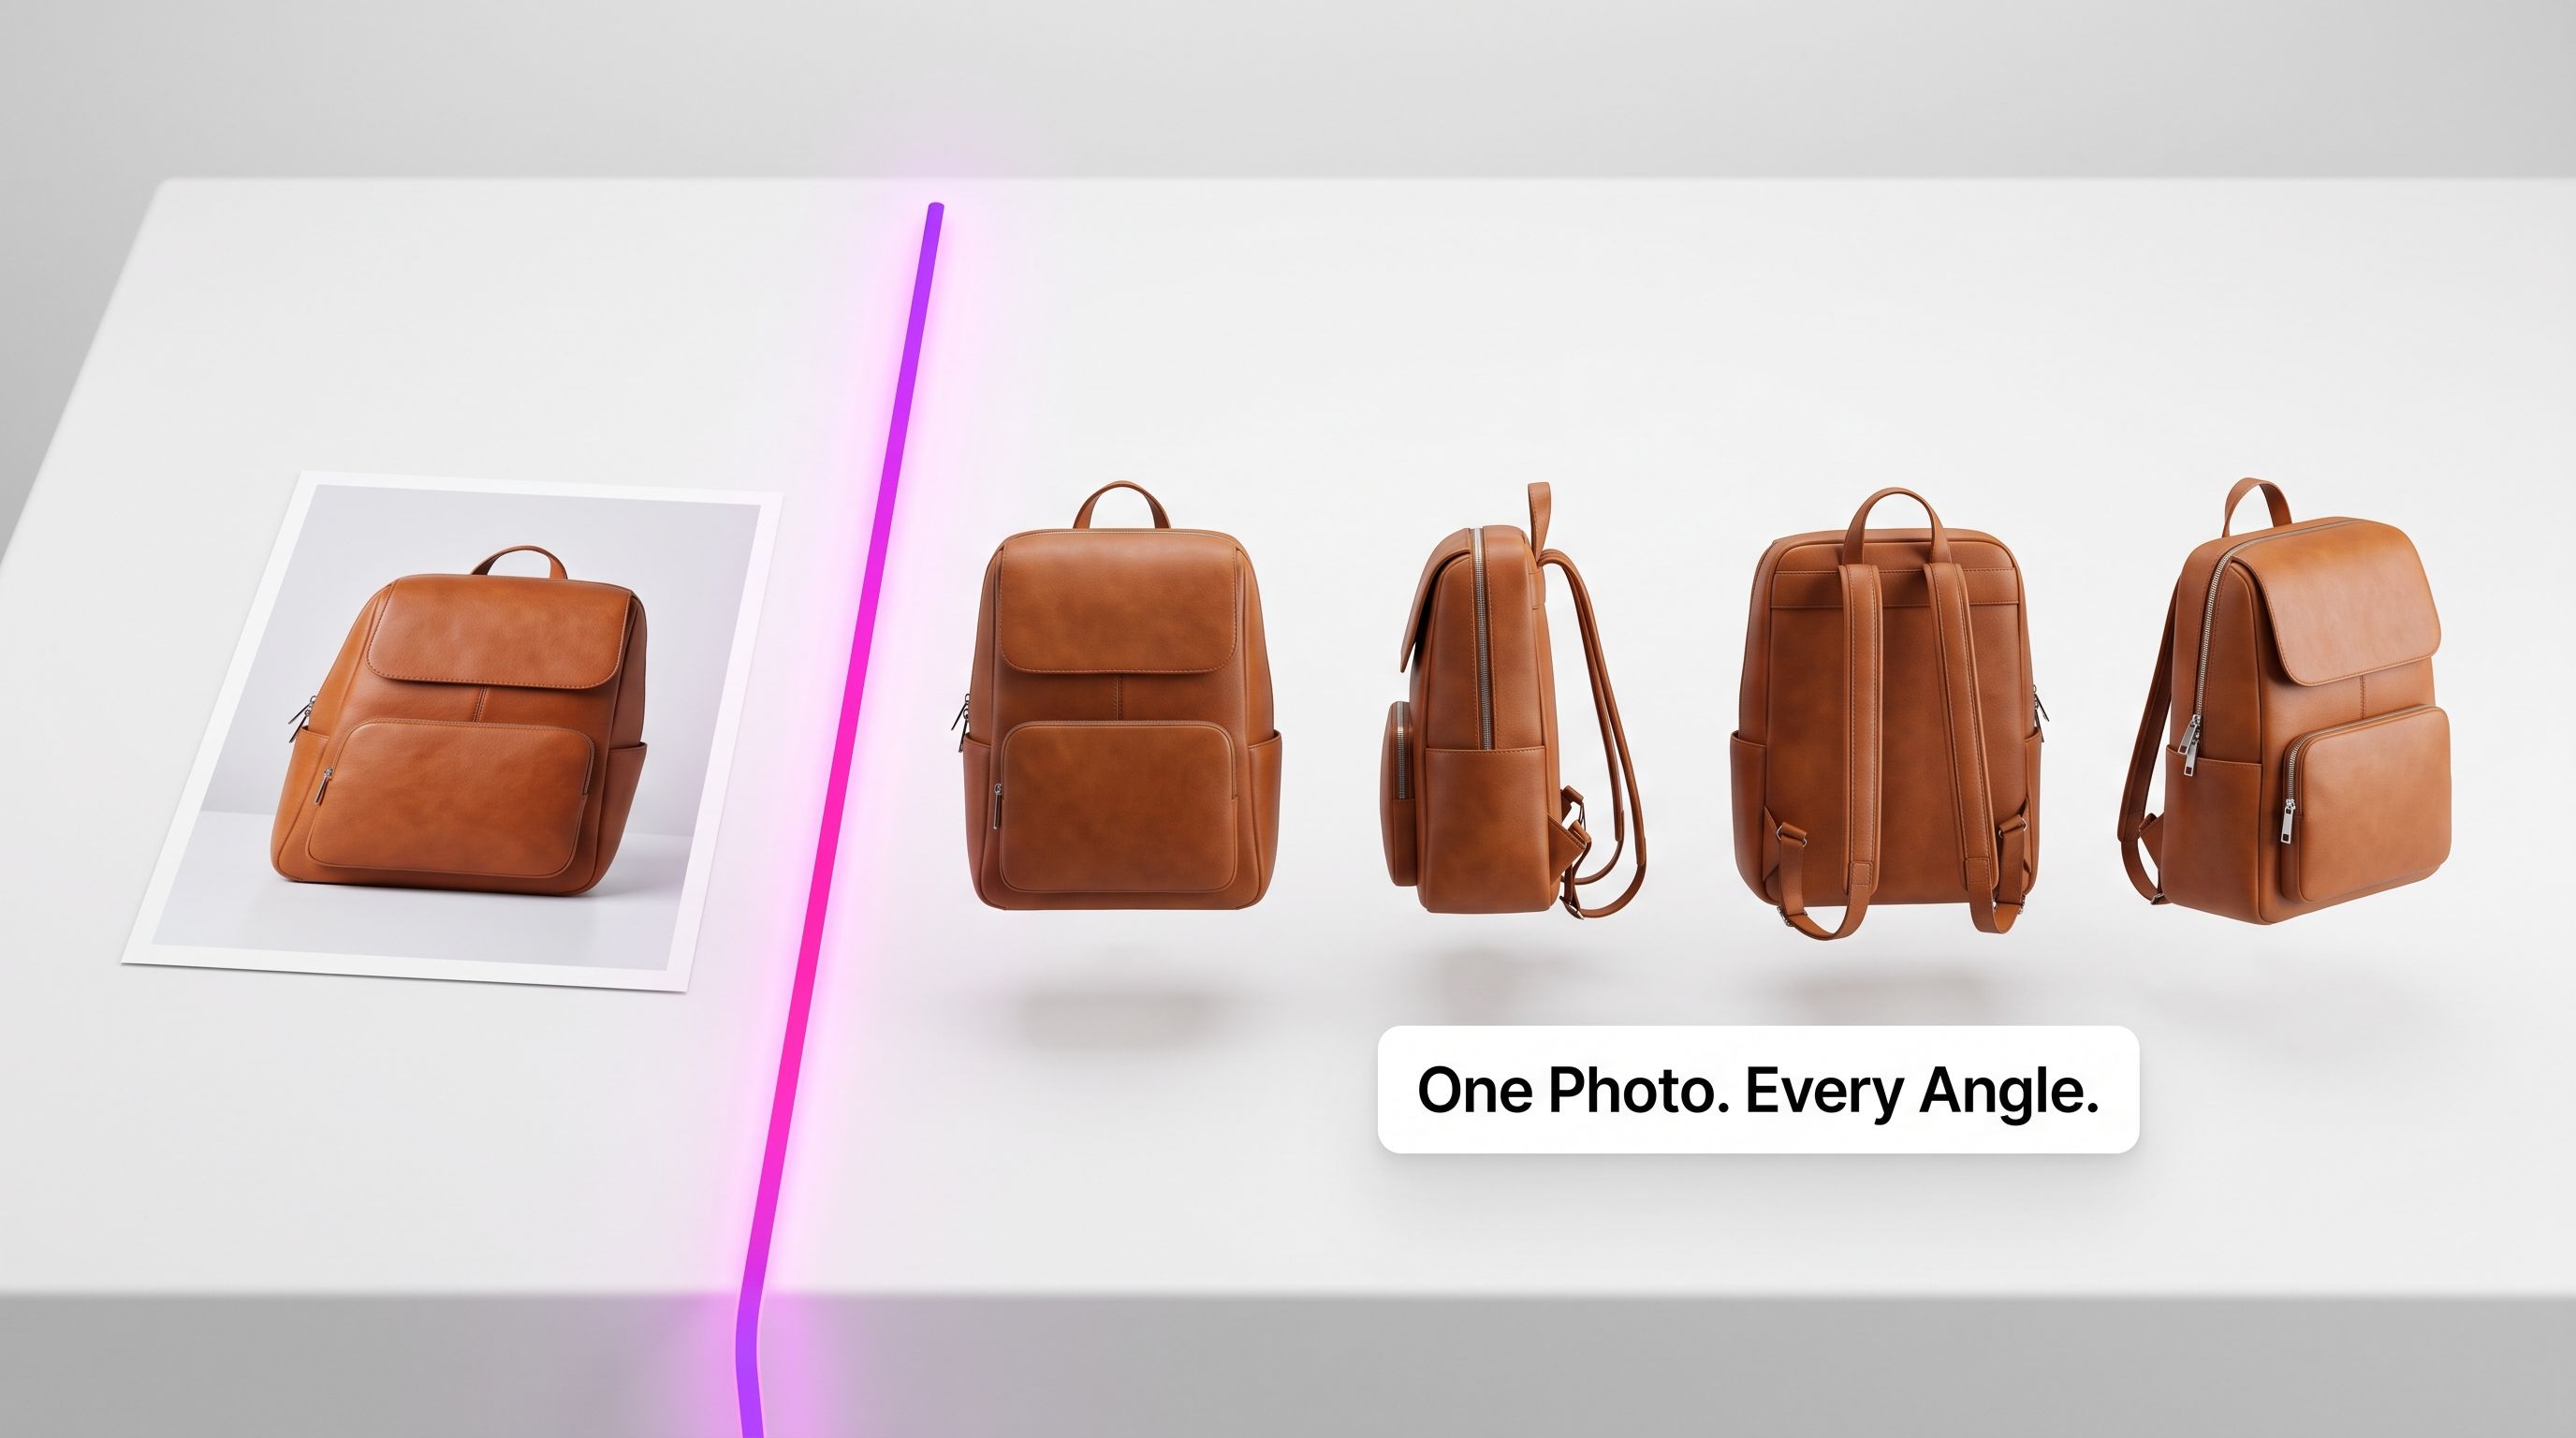
A multi view image generator takes one photo and produces new perspectives of the same subject that never existed in your camera roll. MagicShot's Multi View Image analyzes your single upload and generates different angles automatically, so you get front, side, and back views without a second shot. Upload one image, wait a few seconds, and download something you can put straight into a listing or a deck.
The key word is consistent. This is not a filter that rotates pixels. The AI reasons about your subject's shape, materials, and lighting, then renders how it would look from a new vantage point. A sneaker's heel, a mug's handle, the back of a jacket. Angles the original frame never captured.
How to create multiple angles from one photo
The whole process is short by design. Here is the step-by-step, plus the pro moves most people miss on their first try.
1. Pick the right source image
Start with a clear, well-lit photo where your subject is in focus. The better your single input, the more convincing the generated angles. A crisp hero shot with clean edges gives the AI the most to work with; a blurry, cluttered photo forces it to guess.
2. Upload and let the AI read the subject
Drop your image in and the tool studies its geometry, texture, and light before it renders anything. There is no complex setup. Most people are done in under a minute because the defaults work out of the box.
3. Generate your angles
Hit generate and the AI produces new perspectives of the same subject. You are looking at fresh viewpoints of your exact item or person, not a stock lookalike.
4. Compare and check consistency
Line the outputs up against your original. Do the colors match? Does the logo sit in the right place? Consistency is what separates a usable set from an obvious fake, so this two-second check matters.
5. Regenerate the weak ones
The loop takes seconds, so the tenth attempt costs you about a minute. If one angle looks off, run it again rather than settling. Cheap iteration is the whole point.
6. Download and reuse
Every output is download-ready and lands in your MagicShot library, so you can grab it, refine it, or pull it into the next campaign whenever you need it.
7. Refine with a targeted edit
Need a cleaner backdrop on the new angles? Send them through the background remover to isolate the subject before you drop it onto a listing or a colored card.
8. Scale up to a bigger resolution
If you need print-ready files or large PDP images, run your favorite angles through the image upscaler so they hold up when zoomed.
When multi view image generation shines
This technique is not a novelty. It replaces real, recurring costs. Here is where it earns its keep.
Ecommerce product listings
Amazon, Etsy, and Shopify shoppers want to see the back and sides before they buy. Instead of a $400 studio session per SKU, you generate front, side, and back views from one supplier photo. Bags, bottles, electronics, shoes, and furniture with predictable shapes work especially well because the hidden angles follow logically from the front.
Character design and turnarounds
Illustrators and game artists need a character seen from multiple sides to model or animate them. A multi view image set gives you a reference turnaround from a single concept frame, so you are not redrawing the same figure five times.
Portraits and profiles
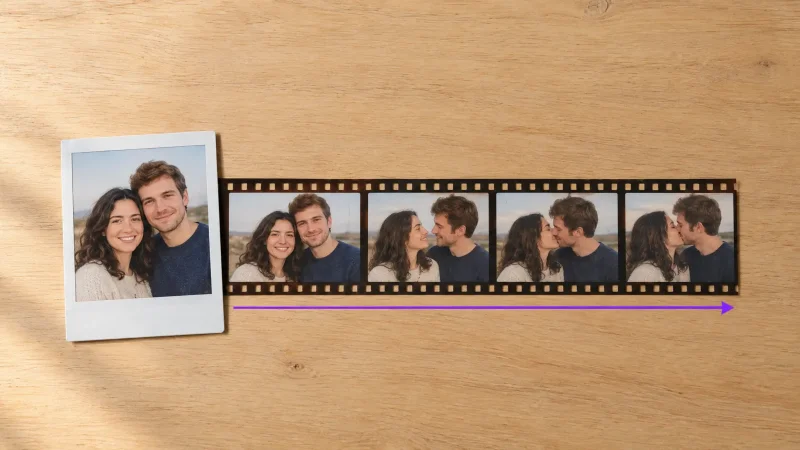
One good headshot can become a small set of angles for an about page, a team grid, or a social profile. If you want a polished result from scratch, pair this with professional headshots and you have a full presence without a photographer.
Content and social
Creators use multiple angles to build carousels, product demos, and UGC-style posts that feel shot on location. Turn the best angle into motion with image to video, and you have scroll-stopping content from a single still.
What people search for, answered
Search demand for this tool clusters around a few clear questions. Here are the direct answers.
Can I generate front, side, and back views from one image?
Yes. That is the core job. Upload one photo and the AI generates the missing perspectives of the same subject, including front, side, and back where the geometry allows.
Does it work for products and people?
Both. Products with clean shapes give the most reliable results, but portraits and characters work too. The rule is the same across all of them: a sharp, well-lit input beats a busy one every time.
How long does it take?
Seconds per run. There is no reshoot, no studio booking, and no 3D software to learn. Upload, generate, download.
Get more from your generated angles
A multi view set is often the first step, not the last. Once you have your angles, MagicShot's wider toolkit picks up where the generator leaves off.
Sell it: drop clean angles into a listing, then build a full catalog look with the product photo generator.
Show it in motion: stitch your angles into a rotating demo, or add a voiceover with text to speech for a narrated product clip.
Style it: put an outfit on a model across angles using the AI fashion model tool.
Why generate angles instead of shooting them
The math is simple. A product studio session runs into the hundreds of dollars per set, and that is before you factor in booking, travel, and the reshoot when the client wants one more angle. Multiply that across a catalog of dozens of SKUs and the cost is a wall.
Generating angles from a single photo collapses that into minutes. You are not paying a photographer per shot or waiting days for a turnaround. One clean upload feeds the whole set, and if a buyer or manager asks for another view next week, you generate it on the spot instead of rebooking a shoot.
The time cost, honestly
A traditional multi-angle shoot means setup, lighting, tethering, culling, and edits. Even a smooth session eats a half-day. The generated route is upload, generate, review, download. Where the old way measured in hours, this measures in minutes, and the difference compounds every time you add a product or a person to the queue.
Setting up your source photo for the best angles
Half the quality of a multi view set is decided before you click generate. A few habits make the difference between a set you can publish and one you have to rerun.
Lighting and focus
Even, diffused light with the subject in sharp focus gives the AI the cleanest read on shape and material. Hard shadows hide detail the model would otherwise use to build the back and sides. If you can shoot near a window or under soft light, do it.
Framing the subject
Center the subject and leave a little breathing room around it. A tight crop that clips the edges removes information the AI needs to imagine the parts it cannot see. Show the whole object or the full head and shoulders.
Backgrounds
A plain, uncluttered background helps the model separate subject from scene. If your only photo is busy, clean it first, then feed the tidy version in for a cleaner set of angles.
A real workflow: one product photo to a full listing
Say you sell a leather backpack and have exactly one supplier photo. Here is the path from that single image to a listing that converts.
Generate the angles. Upload the hero shot and produce front, side, back, and a three-quarter view so shoppers can inspect the bag the way they would in a store.
Clean the frame. Isolate the bag on each angle with the background remover so the set looks uniform across your listing.
Add scale and context. Bring the best angle to life with a short clip so the listing has motion, not just stills.
Publish. Drop the finished set into Amazon, Etsy, or Shopify. One source photo now covers the full gallery a buyer expects.
That is a set of listing-ready visuals from a single input, without a booking or a reshoot in sight.
More ways creators use multi view images
Product listings are the obvious win, but the same one-photo-to-many-angles trick solves problems across very different projects.
Dating and social profiles
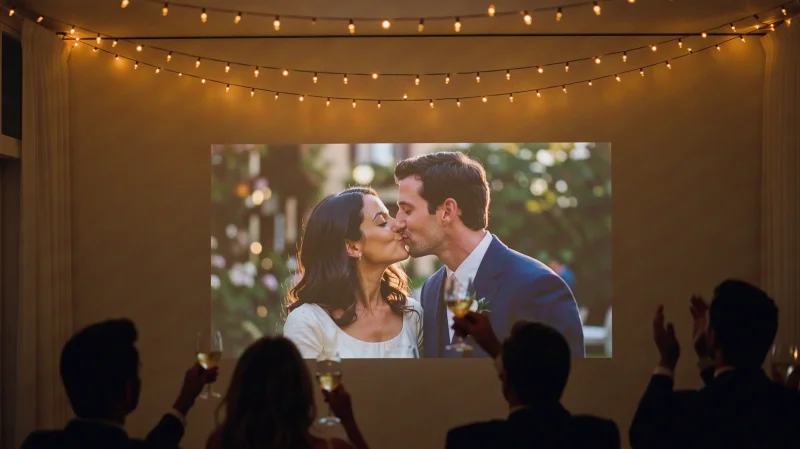
A single strong photo can anchor a small, varied set that looks like a real shoot rather than one selfie posted five times. If you are building out a profile from scratch, dedicated dating profile photos give you a polished starting image to work from.
Team and about pages
Small teams rarely get everyone in front of a photographer on the same day. Turn each person's best headshot into consistent angles so your about page and team grid feel cohesive instead of stitched together from mismatched phone shots.
Merch and print-on-demand
Sellers listing mugs, tote bags, and apparel need buyers to see the item from more than one side. Generate the angles, then send the winners through an upscaler so they stay crisp on a large product page or a printed mockup.
Concept and moodboards
Designers pitching a physical product can show stakeholders how a concept reads from several sides before a single prototype exists. That turns a flat sketch into a reference set the whole room can react to.
How multi view fits the rest of your toolkit
Angles are rarely the finished deliverable on their own. They feed the next step. Pair a multi view set with the AI art generator for stylized versions, or move straight into video once your stills are locked. The point is that one clean upload can seed an entire content run, from listing gallery to social clip to a narrated demo, without ever booking a studio.
Treat the generated angles as raw material. Refine the strong ones, discard the weak ones, and keep the whole set in your library so the next campaign starts with assets instead of a blank page.
Common mistakes that ruin multi-angle results
Most disappointing outputs trace back to the same handful of errors.
Feeding it a blurry photo. The AI can only infer what it can see. Soft focus in equals mushy angles out.
Cluttered backgrounds. A messy scene confuses the subject boundary. Clean the frame first if you can.
Odd, complex geometry. Highly irregular objects give the AI less to reason about than a shoe or a bottle. Expect to regenerate more.
Accepting the first pass. Regeneration takes about a minute. Run it again before you settle.
The bottom line
A multi view image generator turns one good photo into a working set of angles, which used to mean a reshoot, a studio, or 3D software you never learned. Upload one image, generate the perspectives you need, check for consistency, and download files you can actually use. For sellers filling out listings, artists building turnarounds, and creators feeding a content calendar, it removes the slowest, priciest step in the process. Start with a sharp source photo and let the loop do the heavy lifting.