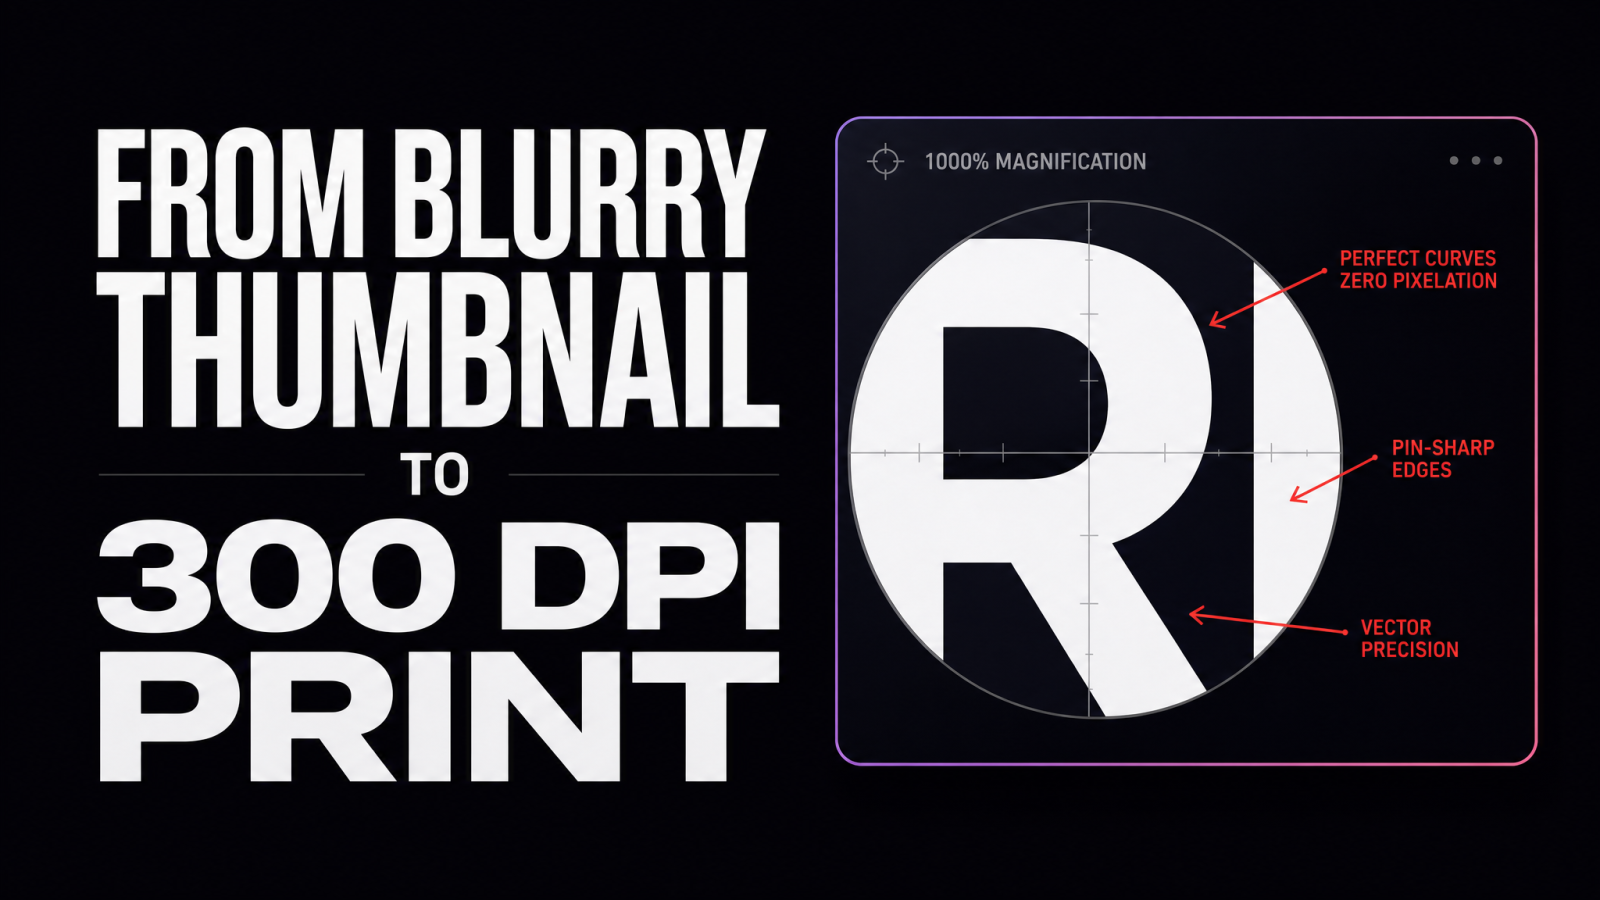
A pixelated photo is the fastest way to lose a customer, a client, or a moment. You zoom into an old profile picture and it turns to blocks. You export a product shot and the edges look chewed. If you want to know how to unpixelate an image, the short answer is this: you rebuild the missing detail with AI instead of squinting at a blur or paying for a reshoot you can't afford. This guide walks through what pixelation actually is, why it happens, and the exact steps to depixelate an image so it holds up on a store page, a resume, or a printed flyer.
5 Ways to Fix Pixelated Photos (2026)
Short on time? Here are the five fixes that work best for pixelated photos, from easiest to most technical.
Find the original file. Pixelation is often caused by a compressed copy. Look for the original upload, camera roll version or cloud backup first.
Run it through an AI image enhancer. MagicShot's image editor rebuilds detail and smooths blocky edges in seconds, which is the fastest way to depixelate a photo.
Stop stretching small images. Enlarging a low-resolution image past its native size creates visible squares. Upscale with AI instead of resizing manually.
Avoid messaging-app compression. WhatsApp, Messenger and similar apps shrink photos. Send as a file or document to keep the full quality.
Save as PNG, not repeated JPG. Every JPG re-save loses detail. Export edits as PNG and keep one master copy.
If the photo is blurry rather than blocky, read our guide to unblurring an image with AI. For a detailed walkthrough of the first method, keep reading below.
What does it mean to depixelate an image?
To depixelate an image means to remove the visible blocky squares that appear when a photo has too few pixels for the size you're viewing it at. Each of those squares is a single pixel stretched too wide, so the picture reads as a mosaic instead of a face or a logo. Depixelating fills in believable detail between those blocks, so edges get crisp and textures return.
Here's the honest part most tutorials skip: the original detail is gone. When a photo is saved small or compressed hard, that information doesn't sit hidden in the file waiting to be found. Old-school sharpening just guesses with math and usually makes things worse. AI does something different. It's trained on millions of real images, so it predicts what a sharp eyelash, a clean font edge, or a fabric weave should look like and paints that back in. That's why a modern AI tool can unpixelate a photo that Photoshop's sharpen slider would only ruin.
Why images get pixelated in the first place
Knowing the cause helps you pick the right fix. Pixelation usually traces back to one of these:
Low resolution at the source. A 400x400 image blown up to fill a 1200px banner has to invent nothing but blocks.
Heavy compression. Messaging apps and old uploads crush files to save space, and JPEG artifacts leave blocky, muddy patches.
Screenshots and downloads. Grabbing a small image off the web and reusing it larger is the classic offender.
Old cameras and scans. Photos from a 2009 phone or a flatbed scan simply captured fewer pixels than today's screens demand.
Cropping too tight. Crop into 10% of a photo and you've thrown away 90% of the resolution.
Each of these ends the same way: not enough real pixels for the size you need. The fix is to add detail intelligently, not to stretch what's already there.
How to unpixelate an image with AI, step by step
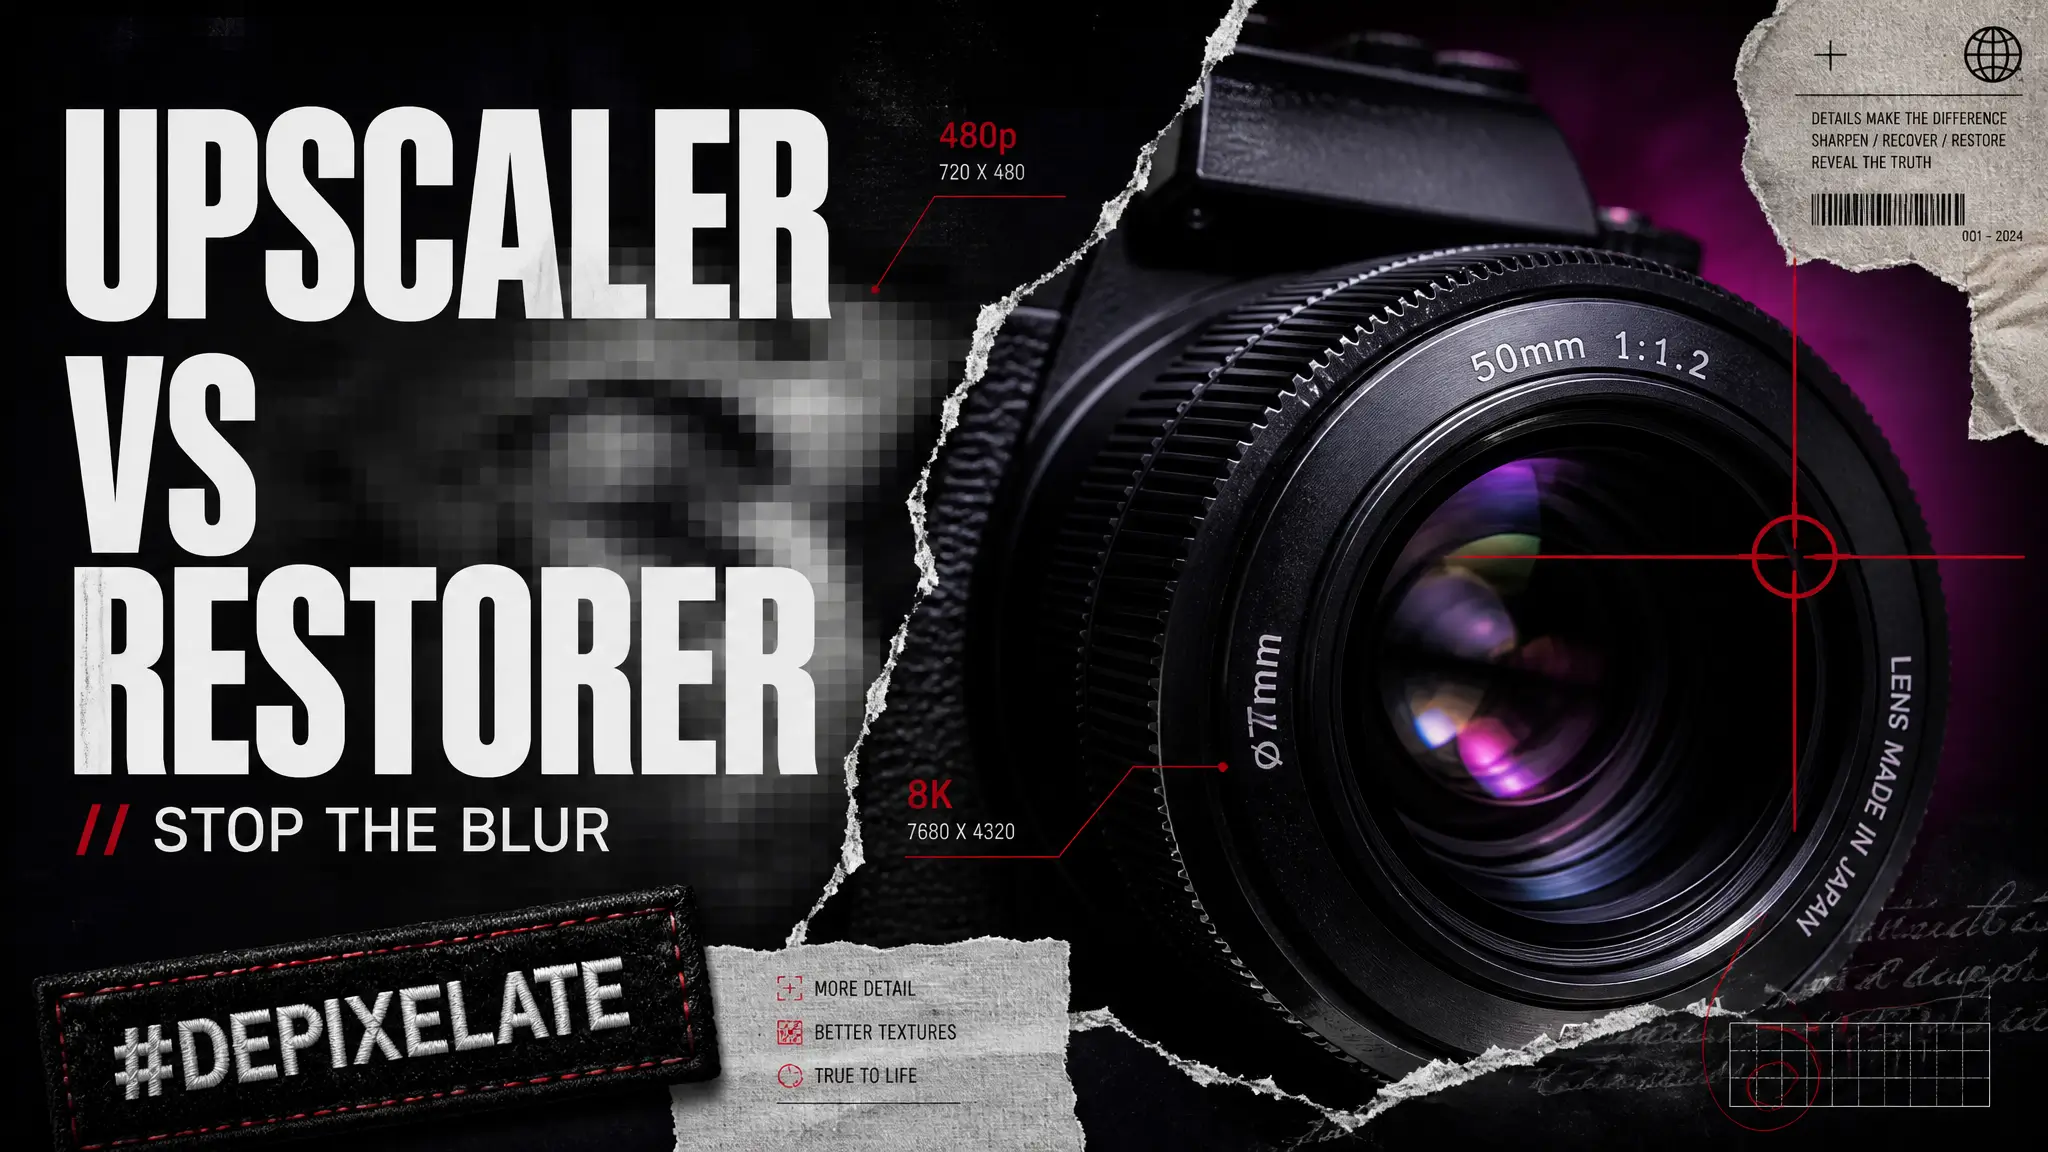
You don't need Photoshop skills or a design degree. The workflow below takes a couple of minutes and works on a phone or a laptop.
Step 1: Pick the right tool for the damage
If your photo is mostly small or soft, reach for an upscaler that adds resolution and sharpens edges. If it's an old, faded, or scratched print, a restorer built for faces and film grain will serve you better. MagicShot's Image Upscaler handles the first case, and its Photo Restorer handles the second. Matching the tool to the problem is what separates a clean result from a plastic one.
Step 2: Upload the pixelated photo
Drag in your JPEG or PNG. There's no need to pre-edit it or clean it up first. The AI reads the whole image, finds the blocky regions, and starts predicting the detail that should live between those squares.
Step 3: Upscale and depixelate
Choose how much larger you want the output, then let the model rebuild edges, textures, and fine lines. A 480px thumbnail can come back at 1920px with clean type and defined features instead of a smear of blocks.
Step 4: Compare, then download
Check the result against the original at 100%. Look at eyes, text, and hard edges, those are where fake detail shows first. When it holds up, export the full-resolution file and put it to work.
Upscaler or restorer: which one depixelates your photo?
People use "depixelate" to describe two different problems, and the wrong tool gives disappointing results. Use this to decide fast.
Use an upscaler when the image is small or compressed
An upscaler's whole job is adding pixels and sharpening what's there. It's the right call for a low-res product photo, a tiny logo you need bigger, a compressed screenshot, or a thumbnail you want to print. The Image Upscaler increases resolution while rebuilding edges, so a blocky image becomes usable at a size it was never saved for.
Use a restorer when the photo is old or damaged
A restorer is tuned for faces, skin, and the grain of film. If you're rescuing a scanned family photo, a faded print, or a blurry snapshot from an old phone, the Photo Restorer reconstructs facial detail and cleans up age damage in a way a general upscaler won't.
Rule of thumb: if the photo is small, upscale it. If the photo is old, restore it. Some photos need both, so run the upscaler first, then the restorer.
Where a depixelated image actually earns its keep
This isn't a party trick. Sharpening a low-res image saves real money and time in named situations:
Ecommerce sellers. A supplier sends you a 500px product image and your Shopify theme wants 2000px. Upscale it instead of booking a $400 studio session for a single SKU.
Job seekers. The only decent photo of you is a cropped group shot from a wedding. Depixelate the crop and you have a clean headshot without a reshoot.
Small teams and marketers. A client hands you a tiny logo for a banner. Unpixelate it so the edges stay crisp at billboard size.
Anyone printing. Screens forgive low resolution. Print does not. A depixelated file survives the jump to paper.
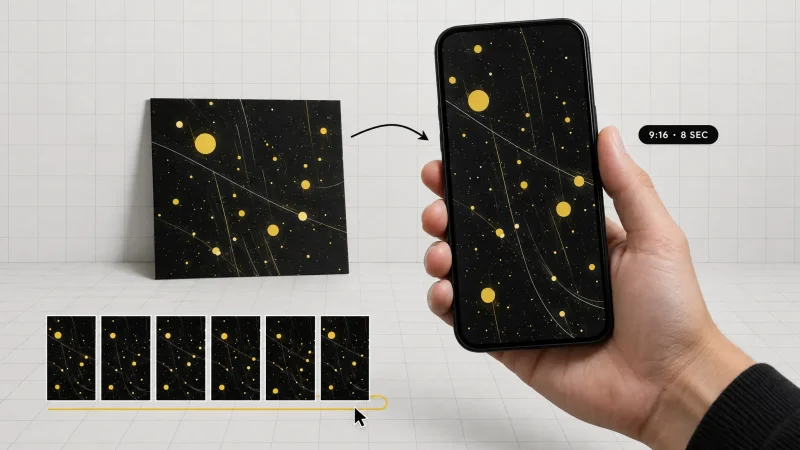
Once your image is sharp, it's ready for the next step. A clean product shot drops straight into a product photo scene, and a crisp still can become a scroll-stopping clip with Image to Video. Fixing the pixels first means everything downstream looks better.
Tips to get a cleaner depixelated result
A few habits raise your hit rate:
Start with the largest file you have. The original beats a re-saved copy every time. Dig up the source before you settle for a screenshot.
Don't over-upscale. Going 4x on a tiny image asks the AI to invent almost everything. Go 2x, check it, then push further only if it holds.
Judge faces and text hardest. These are where AI detail looks wrong first. If eyes and lettering look right, the rest usually does too.
Fix pixelation before you crop or add graphics. Depixelate on the full frame, then design on top of the clean version.
What AI can and can't recover
Set expectations and you'll never be disappointed. AI can rebuild believable texture, sharpen soft edges, clean compression blocks, and multiply usable resolution. It reads a face and reconstructs plausible detail with real skill.
What it can't do is read a license plate that was never captured, or invent the exact words on a sign that's three pixels tall. It predicts what should be there based on training, not what factually was. For creative and commercial work that's exactly what you want. For forensic accuracy, no tool can conjure data that the camera never recorded.
Common mistakes that keep photos looking pixelated
Plenty of people run a fix and still end up with mush. Usually it's one of these missteps.
Saving as a compressed JPEG after you fix it
You depixelate the image, then export it at a low quality setting, and the compression blocks creep right back. Export at high quality or use PNG when the file will be edited again. Undoing your own work at the save screen is the quietest way to waste the effort.
Sharpening instead of rebuilding
Cranking a sharpen slider adds contrast to edges that are already broken. It makes blocks look harder, not gone. Depixelating means adding detail the file never had, which is a job for an AI model trained on real photos, not a contrast trick.
Fixing a screenshot instead of the source
A screenshot of a small image is a copy of a copy. If the original file exists anywhere, a shared drive, an email, a camera roll, start there. You can only rebuild from the best version you can find.
Beyond the fix: what to do with a sharp image
Once the pixels are clean, the same file opens doors. Designers turn a crisp logo into merch and banners, sellers build full catalog shots, and creators spin a single frame into motion. If you're assembling graphics, a depixelated asset drops cleanly into a MagicShot logo project or a layered composition. The point of fixing resolution first is that every tool downstream inherits the improvement instead of amplifying the blur.
Wrapping up
Depixelating an image comes down to two moves: add resolution with an upscaler, or reconstruct old detail with a restorer. Pick by whether the photo is small or old, upload it, choose your output size, and compare before you export. That's the whole workflow, and it replaces a reshoot, a design contractor, or an afternoon lost to Photoshop sliders. Fix the pixels once and the same file is ready for a store page, a print run, or a video.