A blurry photo is a photo you can't use, whether it's a product shot for your Etsy listing, a screenshot pulled from a video call, or the only picture you have of a grandparent from 1978. You can't reshoot a moment that's already gone, and you can't ask a client to wait while you buy a new camera. That's the exact gap an AI tool fills when you need to unblur image files fast: you upload the soft, fuzzy photo you already have, and you get back a sharper version in seconds. This guide covers how to unblur an image with AI, why pictures blur in the first place, and how to get a clean, unblurred photo on your first try.
What Does It Mean to Unblur an Image?
To unblur an image means recovering the missing sharpness and detail in a photo that looks soft, hazy, or out of focus, using software instead of a camera lens. Traditional photo editors let you nudge a "sharpen" slider, but that just increases contrast along edges that already exist in the file. It can't invent detail that was never captured in the first place. An AI unblur model works differently: it's trained on huge sets of sharp and blurry image pairs, so it recognizes what a clear eye, a readable label, or a crisp line of text should look like, then rebuilds those details in your photo. The result is a genuinely unblurred photo, not just a harsher-looking version of the same blur.
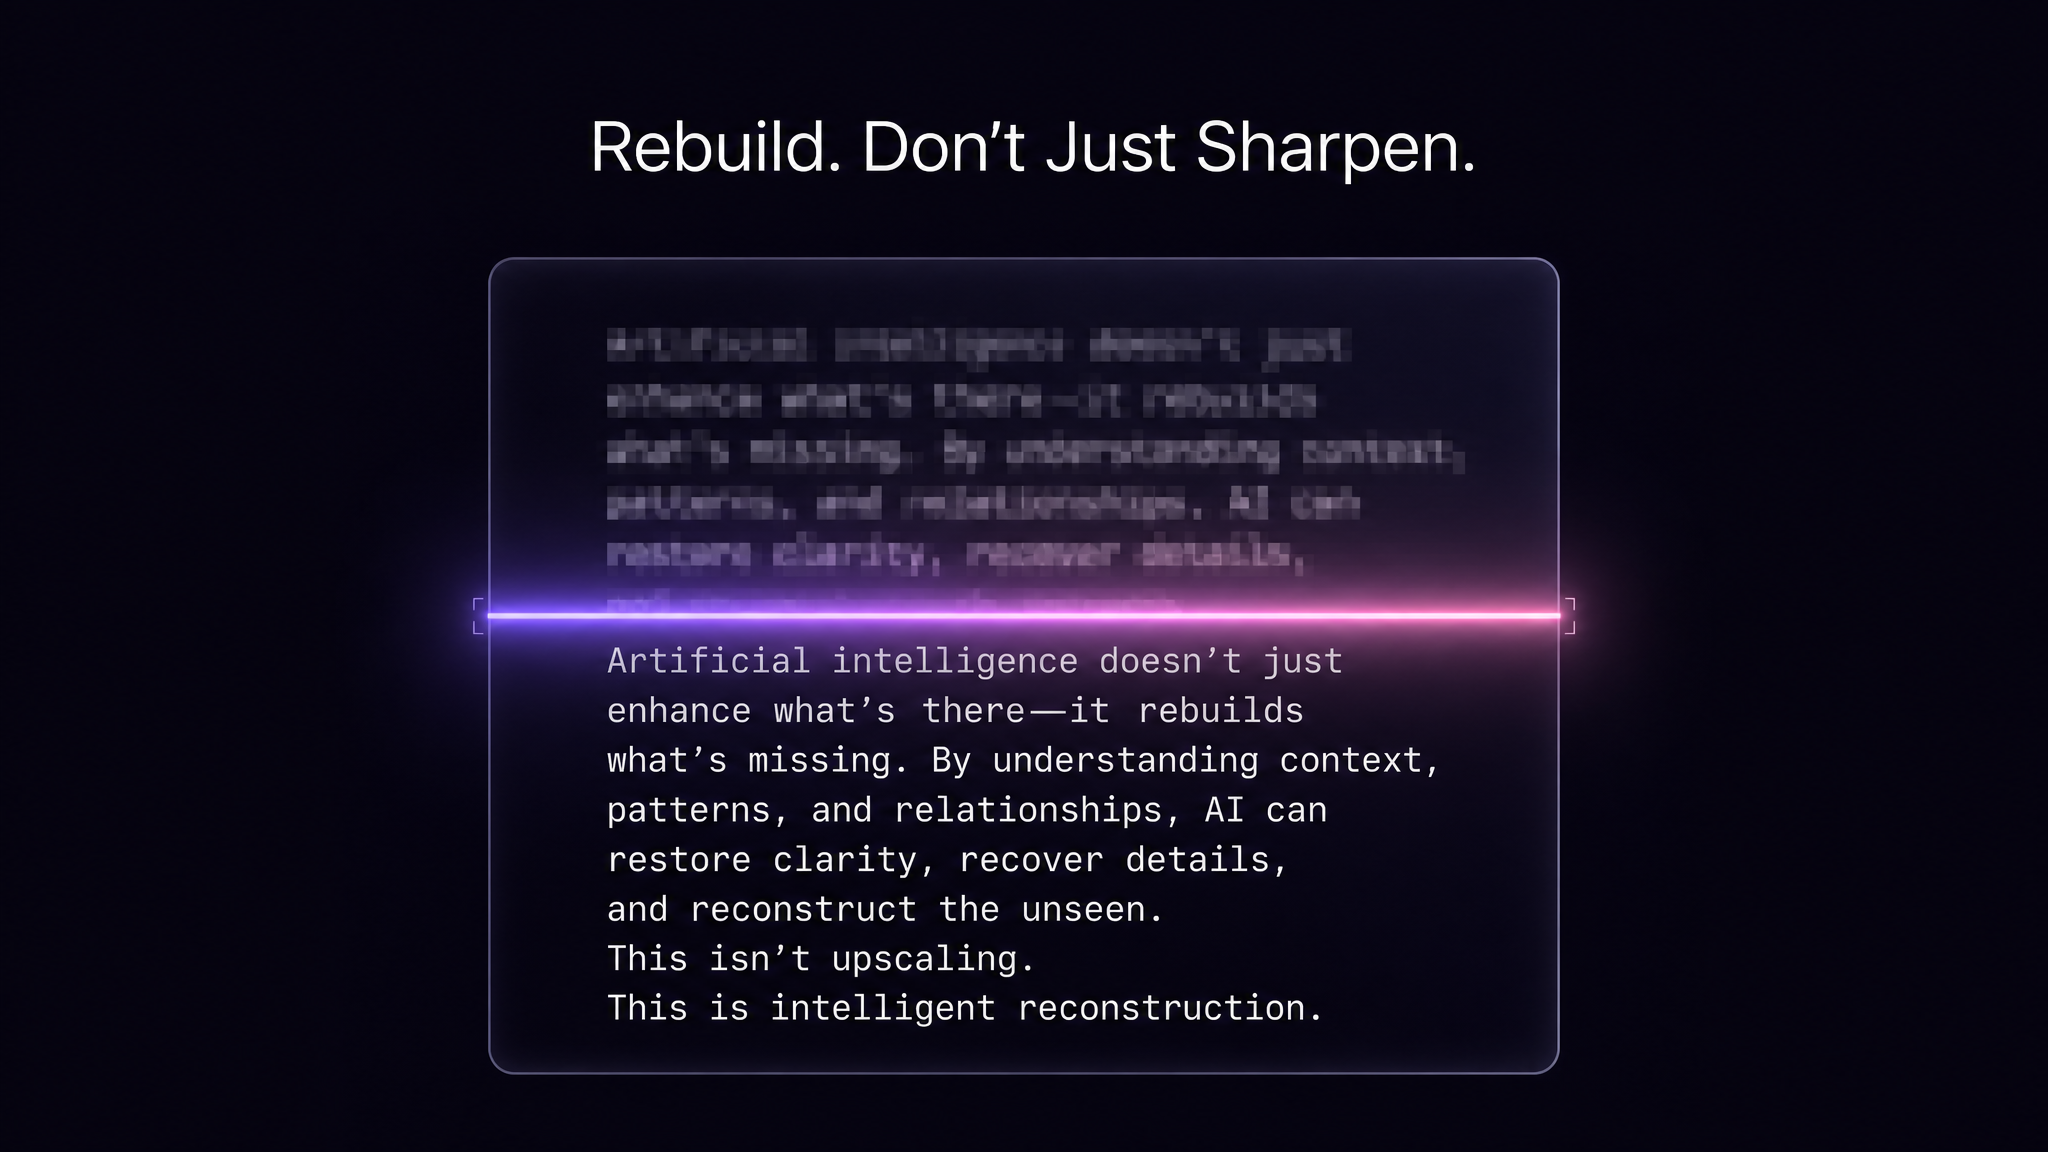
This distinction matters because it answers the question most people have before they try it: can AI actually fix a blurry picture, or does it just fake sharpness? A well-trained image unblurer reconstructs plausible detail based on patterns it has learned, which is why it can bring back a legible face or a readable sign that a basic sharpen filter would leave as a smudge.
Why Photos Turn Blurry in the First Place
Before you unblur a picture, it helps to know what caused the problem, because different types of blur respond differently to AI correction.
Motion blur: the subject or the camera moved during the shot, common with kids, pets, or handheld shots in low light.
Focus blur: the lens locked onto the wrong point, so the subject is soft while the background might be sharp.
Low resolution: the image was small to begin with, or it was resized up from a tiny file, so there was never much detail to work with.
Compression artifacts: the photo was saved, shared, screenshotted, and messaged so many times that the file got squeezed and lost fine detail.
Old scans and prints: physical photos scanned on older equipment often come out soft, grainy, or slightly out of focus even when the original print was fine.
An AI image enhancer can address all five cases in one pass, because it's reconstructing detail based on pattern recognition rather than just amplifying whatever pixels are already there. That's a real advantage over manual sharpening, which struggles the moment the underlying detail simply isn't in the file.
How to Unblur Image Files with AI
Here's the actual workflow using the AI Image Enhancer, MagicShot's tool built specifically for this job. Most unblur image tools work best when you start with the original file, so keep that in mind before you begin.
Step 1: Upload Your Blurry Photo
Start with the original file if you still have it, rather than a screenshot of a screenshot. The more information is left in the source, the more the AI has to work with when it rebuilds detail. Phone photos, JPEGs, and PNGs all work fine as a starting point.
Step 2: Let the AI Analyze and Rebuild the Detail
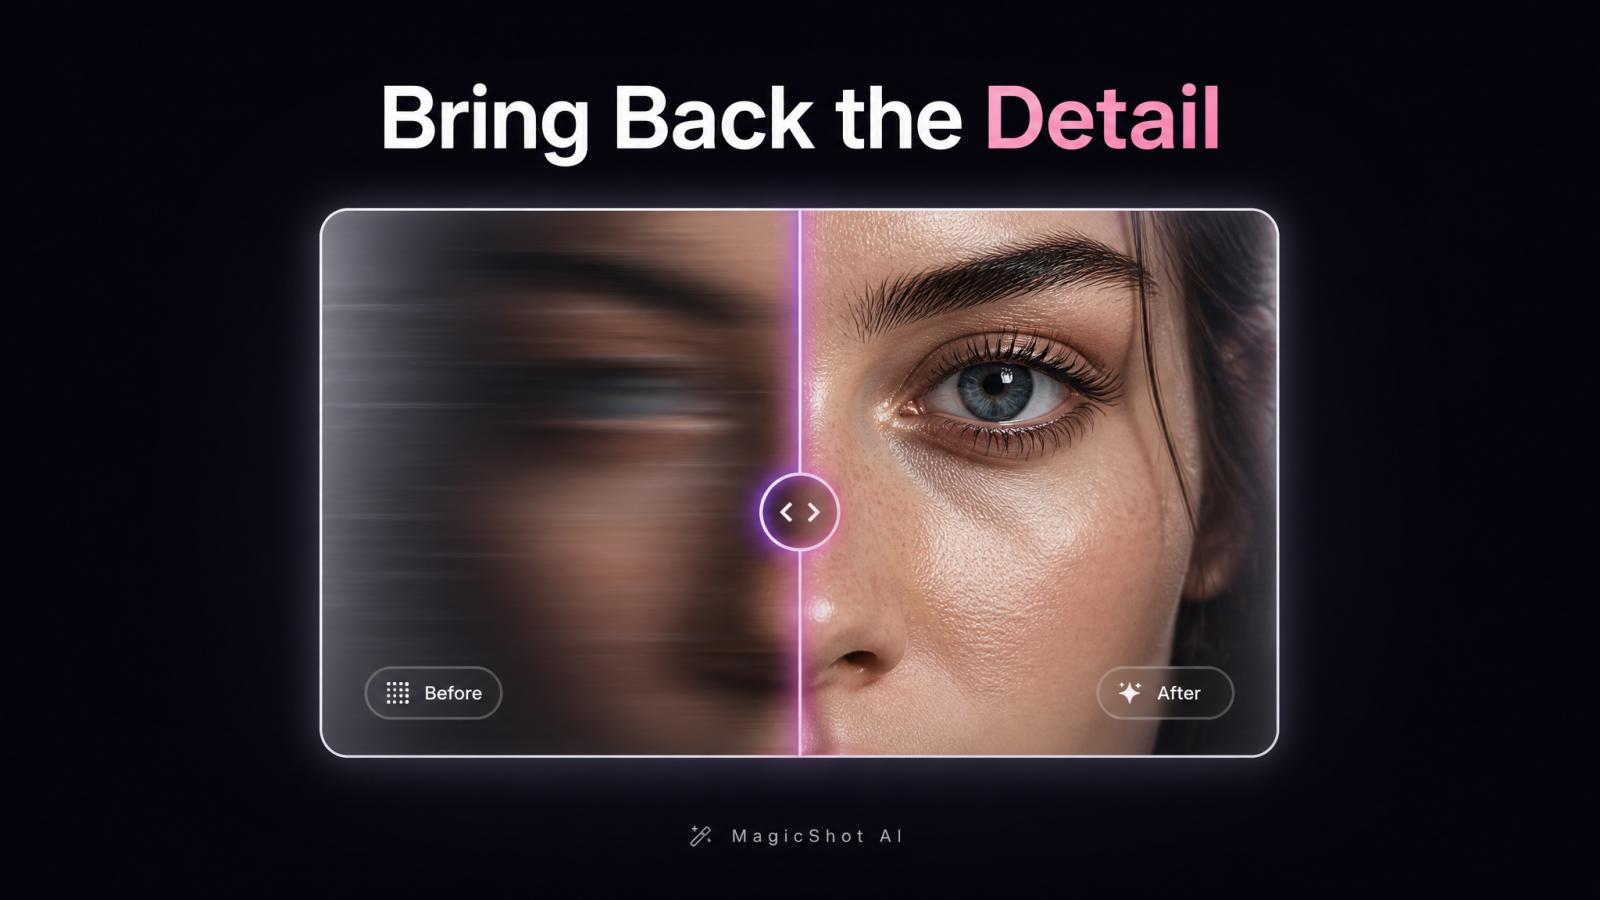
Once uploaded, the tool scans the image for faces, edges, and fine textures, then reconstructs them at higher clarity. This is the step that separates a real image unblur from a basic sharpen filter: it's not just increasing edge contrast, it's rebuilding plausible detail where the original was too soft to read.
Step 3: Download Your Unblurred Photo
Review the result against the original, then download it. If the same photo also needs to be bigger, say for print or a large product banner, run it through the Image Upscaler afterward to increase the pixel dimensions without losing the sharpness you just recovered. Doing the unblur step first and the upscale step second keeps the detail consistent instead of stretching a soft image into a bigger soft image.
AI Unblur vs Traditional Sharpening Tools
Manual sharpening tools have been around for decades and they still have a place, but they solve a different problem than an AI unblur tool does. A sharpen filter increases local contrast around edges that already exist in the file. That works fine on a photo that's mostly in focus but a little flat. It does almost nothing for a photo where the actual information is missing, like a face that's a smear of pixels because someone moved during the shot, or text on a sign that's just a blur of color.
An AI image unblur model is generative by comparison. It has been trained to recognize what a nose, an eye, a letter, or a fabric texture typically looks like, so it can fill in gaps a slider can't touch. When people compare unblur image apps side by side, the difference usually shows up fastest on faces and text, the two things people zoom in on most. A traditional filter makes the edges around a blurry face look crunchier without making the face more recognizable. An AI pass tends to bring back an actual expression, a visible collar, or readable print, because it's rebuilding structure, not just contrast.
Best Uses for an Unblurred Photo
Once you've cleaned up an image, here's where that clarity actually pays off.
Ecommerce and Product Listings
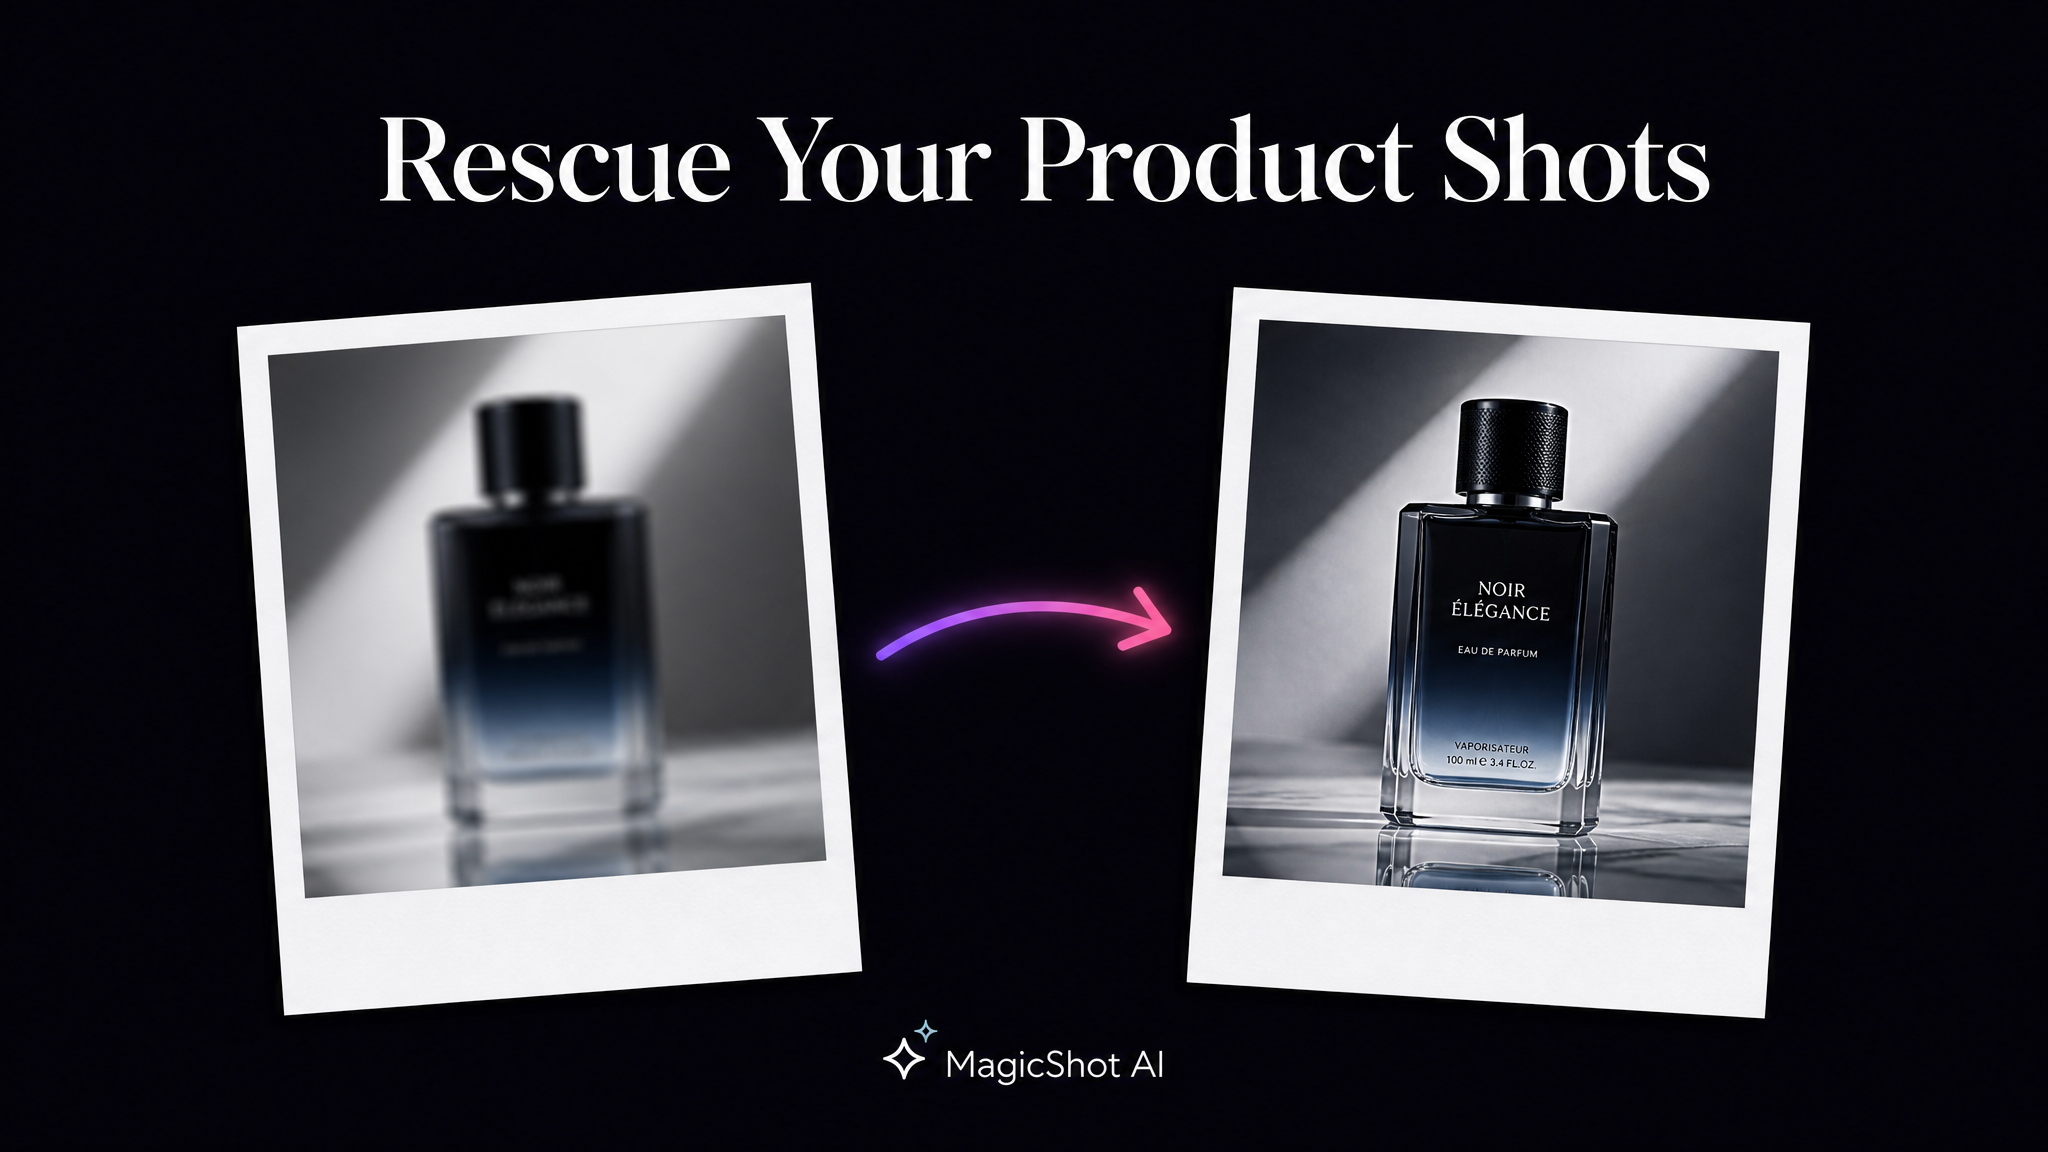
A blurry product photo costs sales. Buyers zoom in on stitching, labels, and textures before they trust a listing, and a soft image reads as a low-effort seller. Clean up the shot with the AI Image Enhancer, then pair it with the Product Photo Generator to build out a full catalog-ready set from a single unblurred image.
Old Family Photos and Keepsakes
Photos from film cameras, disposable cameras, or old scanned prints are frequently soft from age, poor scanning, or cheap lenses. If the damage goes beyond blur, torn edges, faded color, water spots, the Photo Restorer is built to handle that alongside the sharpening, so a single damaged keepsake can come back looking whole again.
Headshots and Profile Photos
A slightly soft headshot undercuts an otherwise good photo, especially on a profile that's meant to look competent and current. Sharpen the existing shot before uploading it to LinkedIn, or start from scratch with Professional Headshots if the original photo itself was never usable.
Social Media and Screenshots
Anything that's been through three rounds of messaging apps loses detail with every send. Run it through the enhancer before you repost it, and if the subject needs a cleaner background too, the Background Remover pairs well with a freshly sharpened image to finish the job in two quick steps.
Can You Fully Unblur a Picture? Setting Realistic Expectations
It's worth being straight about limits. AI can rebuild an astonishing amount of detail, but it can't perform magic on a photo where the subject is a two-pixel smudge with nothing to reconstruct from. If you're trying to unblur a picture that's severely out of focus, expect a strong improvement rather than a perfect result. The best outcomes come from photos that are moderately soft: readable but not crisp, recognizable but lacking fine detail. That covers the vast majority of everyday cases, from shaky phone shots to compressed social media downloads. Extremely low-resolution thumbnails or heavily pixelated images will improve, but they won't turn into gallery prints.
Tips for Unblurring Images Without Losing Quality
Start with the largest file you have. An AI unblur tool can recover a lot, but it still needs some real information in the file to reconstruct from.
Avoid stacking edits. Sharpen before you crop, filter, or add text, not after, so the AI is working from a clean base image.
Match expectations to the blur type. A motion-blurred action shot and a low-resolution scanned photo aren't the same problem, but a good image unblurer handles both without you needing to specify which one you're dealing with.
Check faces and text first. These are usually the parts of a photo people care about most, so zoom in there before deciding if the result works for your use case.
Save a copy of the original. If you ever need to try a different setting or a different tool, you'll want the unedited version on hand.
Wrapping Up
You don't need a photography degree or an expensive editing suite to fix a soft photo. Whether it's a screenshot, an old print, or a product shot that didn't turn out sharp, the fastest way to unblur image files you can't reshoot is letting AI rebuild what the camera missed. Upload the photo, let the model handle the reconstruction, and download something you'd actually want to post, print, or sell.