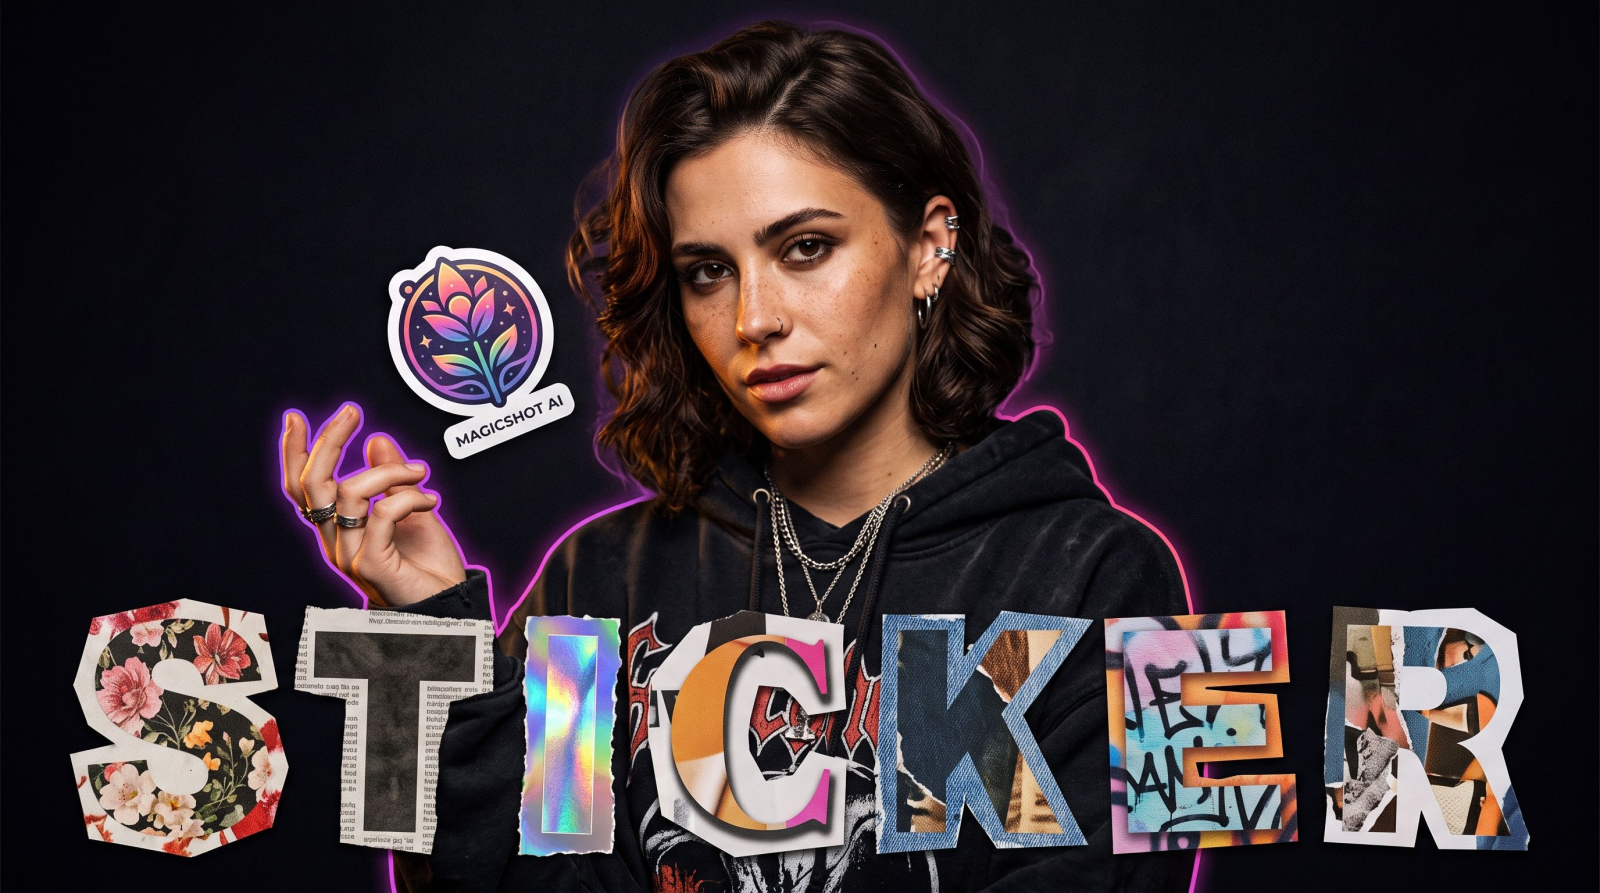
You've got a photo you love and a stack of ideas: laptop stickers for the team, a pack for the group chat, a die-cut of your dog for the shop counter. What you don't have is a designer, a copy of Photoshop, or an afternoon to burn. Here's the shortcut: you can make a sticker from a photo in a few minutes, and it comes out looking like something you paid a pro for. This guide covers the full workflow, the settings that actually matter, and how to fix the two problems that trip most people up.
A sticker is really just three things: a subject cut cleanly from its background, a white or colored border around it, and an export size that prints crisp. Doing that by hand means masking hair, feathering edges, and wrestling a pen tool for twenty minutes. An AI tool does the cutout and the border in one pass, so the part you care about, the look, is the part you spend your time on.
Why the manual method is such a pain
If you've ever tried to cut a subject out by hand, you know the grief. Hair is the classic nightmare: every flyaway strand needs its own decision, and one wrong click leaves a jagged fringe. Fur on a pet is worse. Then there's the border. Getting an even offset outline around an irregular shape by hand means expanding a selection, smoothing it, filling it, and eyeballing the thickness until it looks right. Miss by a few pixels and the whole thing looks amateur.
An AI cutout skips that. It reads the subject, predicts the edge including the wispy bits, and drops the background in one step. The border comes from the shape it already found, so it stays even all the way around. You're not fighting software, you're picking a style and a thickness. That's the difference between a task you dread and a two-minute job.
What you need before you start
Your output is only as good as your input, so grab the right source photo first. You want the subject filling most of the frame, in focus, with even light. A phone photo is completely fine. A dim, backlit crop of someone at the far end of a room is not.
Clear subject: one face, one pet, one product, or one object. Busy group shots make muddled stickers.
Decent resolution: at least 1000 pixels on the short side, so the edges stay sharp when you scale up for print.
Contrast with the background: a subject that stands apart from whatever's behind it cuts out far more cleanly.
No heavy motion blur: soft edges become fuzzy, wobbly sticker borders.
If your only good photo is small or grainy, fix it before you cut. Running a low-res shot straight to sticker size is where most disappointing results come from. The Image Upscaler adds the detail back so your die-cut edge stays crisp instead of pixelated.
How to make a sticker from a photo, step by step
The short version: upload, cut out the subject, add a border, export. Now the version that actually helps.
1. Upload your photo
Open MagicShot's Sticker Maker and drop in your image. If you're working from a headshot or selfie and want the classic cartoon look, the Face To Sticker tool is built specifically for faces and nails the expression more often than a general cutout does. Pick the tool that matches your subject before you upload and you'll save yourself a redo.
2. Separate the subject from the background
This is the make-or-break step. The tool isolates your subject and drops everything behind it, leaving a clean shape. If you'd rather grab the transparent cutout on its own first, the Background Remover handles hair, fur, and fiddly edges without a manual mask. Whichever route you take, zoom in and check the edges around hair, glasses arms, and thin things like a leash or a lanyard. That's exactly where a sloppy cutout gives itself away.
3. Add the sticker border and style
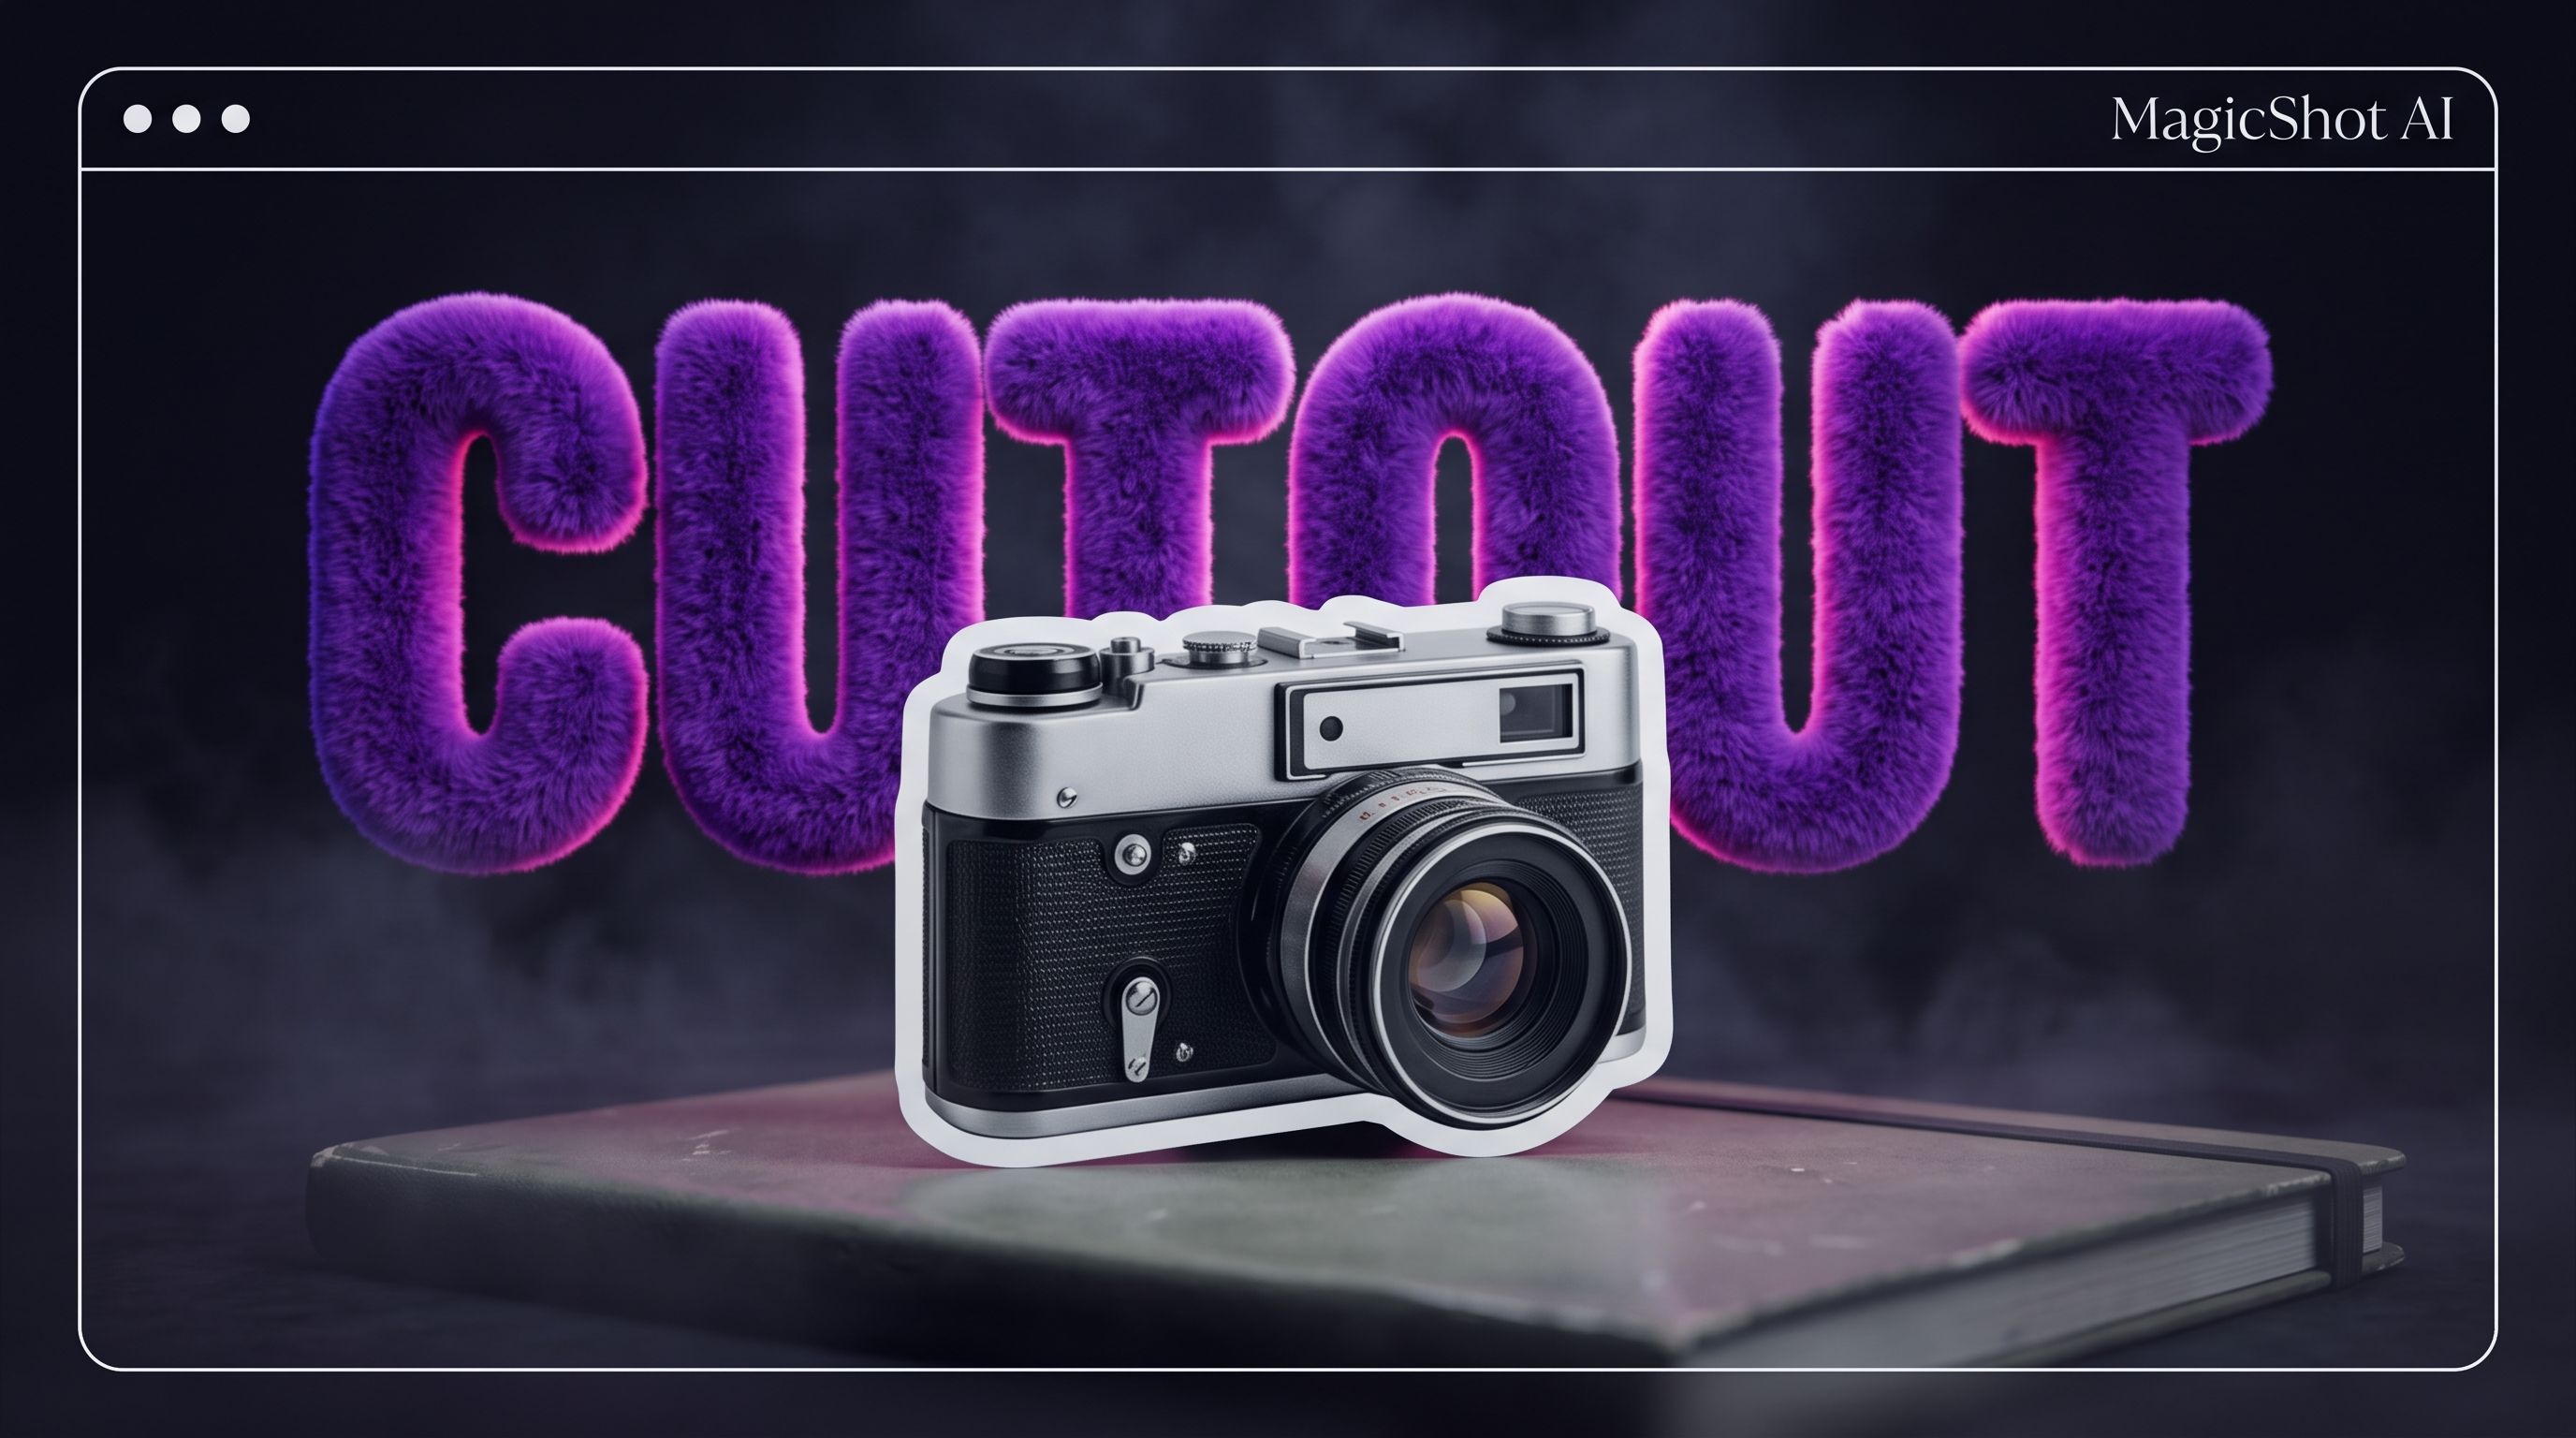
The white die-cut outline is what turns a plain cutout into a sticker. Set your border thickness, then choose a style: photo-real, cartoon, bold outline, or a flat illustrated look. Thicker borders read better at small sizes, which matters a lot for phone-pack stickers and small die-cuts. If you're going for the classic vinyl look, a chunky, even white outline is the move.
4. Export at the right size
Download a transparent PNG for digital use, like WhatsApp, Telegram, and Discord packs. For print, export the largest size the tool offers and keep the transparent background so your print shop can die-cut around the subject. One rule saves headaches: if an edge looks soft, fix the resolution before export, never after. Enlarging a finished sticker only magnifies the fuzz.
Which MagicShot tool fits your sticker
Two tools cover nearly every case, and the deciding factor is simply the subject.
Faces and selfies: Face To Sticker. It's tuned for people, so smiles, skin tone, and hair come through instead of collapsing into a blob.
Everything else: the Sticker Maker for pets, products, logos, objects, and full-body shots.
Selling stickers as merch or packaging inserts? Clean product shots make the strongest packs, so start from a tidy image and cut from there. And if the source has a stray hand, a cable, or a coffee cup in the corner, wipe it out with the Object Remover before you cut. Removing clutter first means your border wraps the subject, not the mess around it.
Tips for stickers that actually look good
Anyone can get a cutout. These are the details that separate a sticker you'd slap on your laptop from one you'd delete.
Keep the border consistent
A uniform outline reads as intentional. An outline that's fat on one side and thin on the other reads as a mistake. When you make a sticker from a photo with an uneven subject, say a dog with one floppy ear, a slightly thicker border evens the whole shape out and hides the asymmetry.
Run the small-size test
Shrink your design down to the size it will actually appear. A chat sticker is tiny. If the face is unreadable at 100 pixels wide, simplify it: crop tighter, drop the background clutter, and push the contrast. What looks great at full screen can turn into a smudge in a message thread.
Match the style to the use
A cartoon face is perfect for a chat pack. A photo-real cutout suits product and pet stickers, where people want to recognize the real thing. Don't cartoonify a product you're trying to sell, and don't over-realism a fun reaction sticker. Style follows purpose.
Build a set, not a single
Sticker packs land better than one-offs. Pick five to eight expressions or angles, run them all through the same style and border, and you end up with a cohesive pack instead of one lonely sticker. Consistency across the set is what makes it feel designed rather than thrown together.
Rule of thumb: if you can't tell what the sticker is from across the room, it's too busy. Cut something.
Common problems and quick fixes
Three issues account for almost every bad sticker, and each has a fast fix.
Fuzzy edges: the source was too small. Upscale first, then cut.
A chunk of background left behind: the subject didn't contrast enough with what was behind it. Re-run the cutout, or start from a photo where the subject clearly pops.
A faint halo around hair or fur: a thin rim of the old background survived the cut. A slightly thicker white border covers it, or re-cut from a cleaner source shot.
Working from an old or damaged picture, like a childhood photo you want to turn into a keepsake sticker? Repair it with the Photo Restorer before you cut. Otherwise you bake the scratches, creases, and blur permanently into the outline, and no border thickness will save it.
Where people actually put these
Stickers go way beyond laptops. Sellers add branded die-cuts to packaging so an order feels personal and gets photographed. Small teams turn coworker faces into a pack of Slack reactions. Pet owners make a set of the dog for the family group chat. Event hosts print a sheet for a birthday, a wedding, or a product launch. Notice the pattern: the workflow never changes. Pick a strong photo, cut it clean, add a consistent border, export at the size you need.
The point of doing this yourself is speed and control. You test a design, print a proof, tweak the border, and reprint the same day, no brief and no back-and-forth with a freelancer. That loop is what makes small runs and one-off ideas worth doing at all.
Sticker ideas worth stealing
Stuck on what to make first? A few that consistently work:
Reaction faces: shoot yourself pulling five expressions, cut them all, and you've got a personal chat pack that beats any generic emoji set.
Pet pack: one great portrait of the dog or cat, three or four crops and poses, all in the same cartoon style.
Product line: each item in your shop as a matching die-cut. Great as a thank-you slipped into orders.
Team roster: everyone's headshot as a bold-outline sticker for the office laptop wall or a launch party.
Milestone keepsakes: a wedding photo, a graduation, a new baby, turned into stickers for cards and scrapbooks.
The common thread is a single, recognizable subject and a photo that's already sharp. Get those two right and the tool does the heavy lifting. If your subject is a person and you want a cleaner base image to start from, a crisp portrait, even a spare one from a set of professional headshots, gives the cutout more to work with than a candid taken across a dim room.
A quick note on print vs screen
Screen stickers and printed stickers have different needs. On screen, size is forgiving and the transparent PNG does all the work. In print, the physical die-cut follows your outline, so a clean, generous border isn't just cosmetic, it gives the cutting machine a margin to work with. When in doubt, thicker border, bigger export. You can always trim a design down, but you can't add detail that the file never had.
Wrap-up
Turning a photo into a sticker used to mean a design brief, a freelancer, and a wait. Now it's four steps and a few minutes. Start with a sharp, well-lit subject, cut it out cleanly, add an even border, and export at the largest size for print or a transparent PNG for chat packs. Grab a photo you like, open the Sticker Maker, and watch a good cutout do the rest.