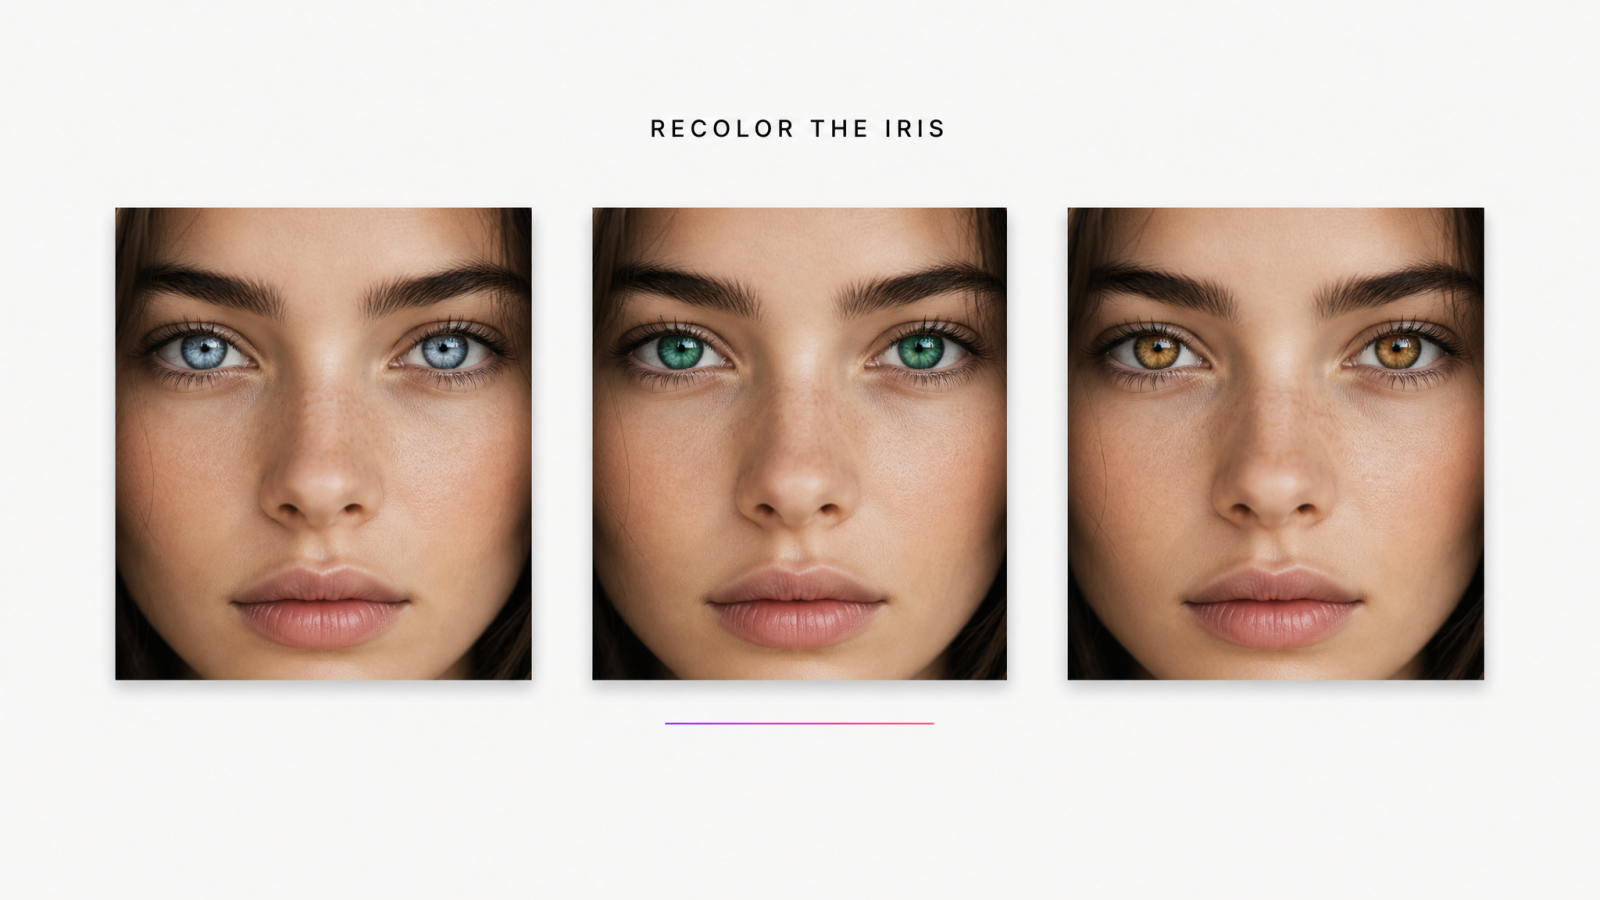
Colored contacts run $30 to $60 a pair, dry your eyes out by lunch, and still never quite match the shade you pictured. Photoshop can change eye color too, but only if you know how to draw a clean selection mask around an iris without bleeding into your eyelashes. That gap is exactly what an eye color changer fills: upload a photo, describe the color you want, and get back a result that looks like it came straight out of the camera. This guide walks through how to change eye color in a photo using MagicShot's AI photo editor, plus real examples for green, blue, hazel, and gray eyes.
What Is an Eye Color Changer?
An eye color changer is a tool, usually an AI-powered photo editor, that recolors the iris in a photo without touching the rest of the face. Instead of manually selecting pixels in software like Photoshop, you upload a photo and either pick a color or type a short prompt. The AI finds the eyes, isolates the iris, and repaints it while keeping the pupil, eyelashes, and light reflections in place. Done well, the pupil's catchlight (that small white glint) stays exactly where it was, which is what keeps the result from looking pasted on rather than photographed.
This is one of the harder edits to fake by hand. The iris has texture, depth, and a reflection pattern that shifts with the light source in the room. Miss any of that and a manual edit looks flat within a second of looking at it. A model trained specifically on faces handles those details automatically, which is why a dedicated eye color changer tends to beat a general photo editor for this one job.
Why People Change Eye Color in Photos
The reasons are more practical than you'd guess. Here's what actually drives most edits:
Dating profiles. Testing whether a lighter or darker eye color reads better in a profile photo, without buying contacts you'll wear twice and lose.
Professional headshots. Correcting eye color that looks washed out or slightly red-tinted under studio flash or fluorescent office lighting.
Old, faded photos. Restoring color in scanned family photos where the original eye color has shifted after decades in a drawer or album.
Character and concept art. Writers, illustrators, and cosplayers previewing a character's exact eye color before committing to props, contacts, or makeup.
Social content. Creators trying out a heterochromia look, an amber tone, or a violet shade for a themed post or thumbnail.
Curiosity, plain and simple. A lot of people just want to see what they'd look like with different eyes before deciding if it's worth the real-life change.
None of these need a photographer, a reshoot, or a pair of contacts sitting in a drawer. They need about five minutes with the right editor.
How to Change Eye Color in a Photo with MagicShot
Here's the exact workflow, start to finish, all inside a browser tab.
Step 1: Upload Your Photo
Pick a clear, front-facing photo where the eyes are visible and reasonably lit. Sunglasses, half-closed lids, or heavy shadow across the eyes give the AI less to work with, so the edit won't be as clean. A standard selfie, portrait, or headshot works fine, and there's no minimum resolution requirement to get started.
Step 2: Describe the Eye Color You Want
Type a simple prompt, something like "change eyes to green" or "change eye color to hazel," or pick from a preset color option if you'd rather not type anything. You can be as specific as you like: "icy blue," "deep amber," "gray-green," even "one blue eye, one brown" for a heterochromia effect.
Step 3: Generate, Compare, and Download
The tool processes the image and returns an edited version in seconds. Zoom in on the iris and the catchlight to check the edit looks seated inside the eye rather than layered on top of it. If the color's close but not quite right, tweak the prompt and generate again. Once you're happy with it, download the full-resolution file and it's ready to post, print, or send.
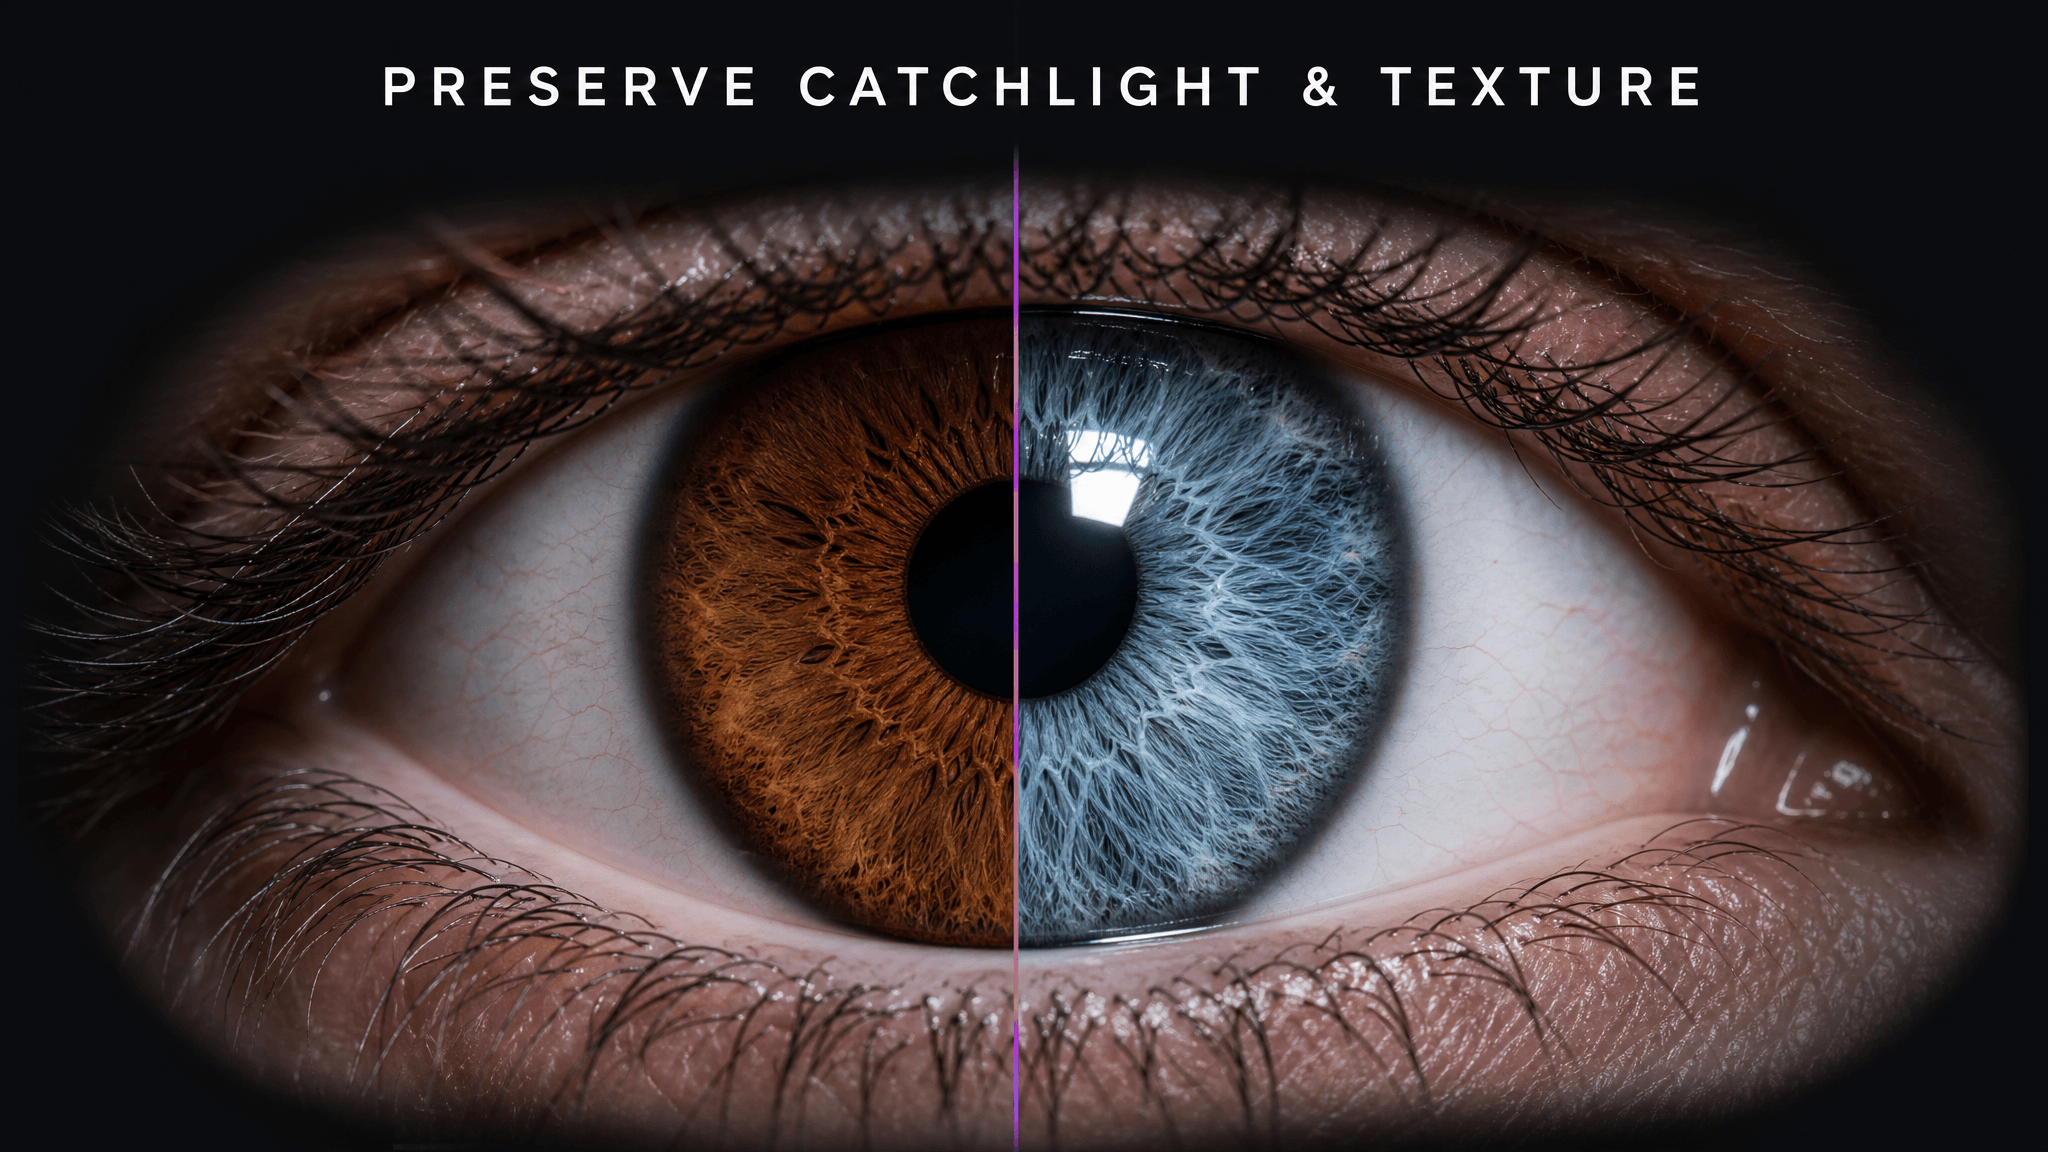
That's the entire process to change eye color in a photo: no manual masking, no layers, no color-picker guesswork.
Popular Eye Color Edits, and What They Do to a Photo
Some colors get requested far more than others. Here's roughly what each one does to a portrait:
Green. Reads as bright and a little unexpected against most skin tones, a common pick for portraits and dating profile photos.
Blue. The most requested edit by a wide margin, especially icy or pale blue, which photographs well in both warm and cool lighting.
Hazel. A subtle shift for people with naturally brown eyes who want more depth and gold flecking without an obviously "edited" look.
Gray. Gives a cooler, more muted tone, often chosen for moody or editorial-style portraits.
Amber or honey. Warms up the whole face, a favorite for outdoor and golden-hour style shots.
Heterochromia (two different colors). A fun, more creative request, popular for character art and standout social posts.
Realistic Colors vs. Fantasy Colors
Not every request is going for realism, and that's fine. A hazel or gray edit on a natural portrait should look like it could have always been that way, so keep the prompt simple and let the tool preserve the eye's natural shading and reflection. A fantasy edit, like violet, bright gold, or a stark white iris for a character concept, is judged by a different standard entirely: it just needs to look intentional and consistent with the rest of the image's lighting. Knowing which one you're going for before you start saves a round of re-editing.
Tips for a Natural-Looking Result
A few small habits make the difference between an edit that looks real and one that looks like a filter:
Start with a sharp, well-lit photo. Blurry or dark source images give the AI less iris detail to work with.
Check the catchlight. That small white reflection in the eye should still be visible after the edit. If it's gone, the eye reads as glassy or flat.
Match the mood to the color. Icy blue and deep amber photograph very differently, so pick the tone that fits the lighting and setting of the shot.
Edit one face at a time in group shots. If several people are in frame, isolating and editing each one gives more control than trying to change everyone at once.
Keep the original file. If you want to try three or four colors, work from the same source photo each time rather than re-editing an already-edited version.
AI Editing vs. Manual Photoshop Editing
The old way to edit eye color in a photo was a lasso tool, a hue and saturation layer, and a lot of patience erasing the mask back to the edge of the iris. It works, but it's slow, and any wobble in the selection shows up as a faint color halo around the edge of the eye. An AI eye color changer skips the manual masking step entirely, since the model already knows where the iris starts and ends and how the curved surface catches light. For a single portrait, that's the difference between a two-minute edit and a twenty-minute one, and the result holds up just as well under a close zoom.
Other Ways to Put an AI Photo Editor to Work
Once you've changed eye color in one photo, the same editor tends to become part of a bigger workflow. A few examples worth knowing about:
Pairing an eye color edit with professional headshots lets you test a couple of looks before choosing the one you actually put on LinkedIn or a company site.
For dating profile photos, a subtle eye color adjustment often gets paired with better lighting and framing to land a profile photo that actually gets replies.
If you're working from an old scanned print, run it through a photo restorer first to fix fading and damage, then adjust eye color once the base image is clean.
Once the portrait is edited, a background remover can strip out a busy backdrop so the eyes stay the focal point of the shot.
Before printing or enlarging an edited portrait, running it through an upscaler keeps the fine detail, like the iris texture, sharp at larger sizes.
Wrapping Up
Changing eye color in a photo used to mean buying contacts you'd wear once or spending real time hunched over a Photoshop mask. An AI eye color changer turns it into a two-step job: upload a photo, describe the color, and download the result. Whether you're testing a new look for a dating profile, fixing washed-out color in a headshot, or just curious how you'd look with green eyes instead of brown, the process is the same, and it takes a lot less time than reading this guide did.