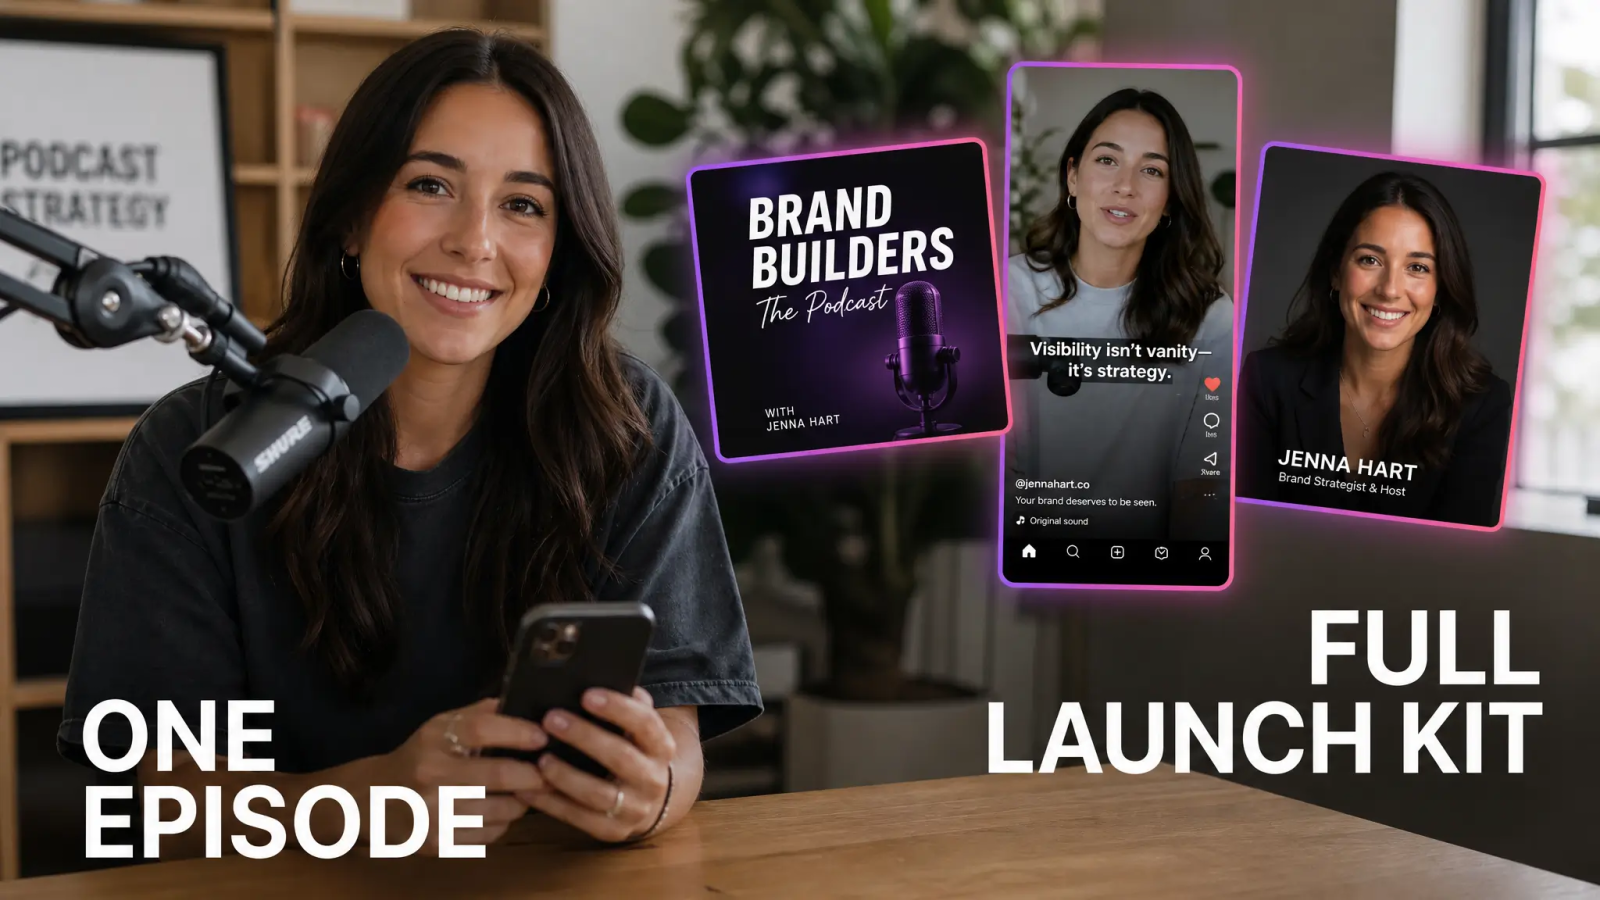
Recording the episode is the easy part. The grind is everything after you hit stop: the cover art, the promo clips, the audiograms, the host headshots, the show logo, the thumbnail you swap out twice before publishing. That post-production pile is where most independent shows stall. This guide walks through AI podcast production for the visual and audio work around your episodes, so a solo host or a two-person team can ship a full launch kit without hiring a designer or booking a studio.
Here is the honest version: your audio can be excellent and your show can still get ignored, because discovery on Spotify, Apple Podcasts, YouTube, and social feeds is visual first. People decide whether to tap based on a square of cover art and a five-second clip. AI podcast production closes that gap. It gives you the promo assets, the artwork, and the extra audio pieces that turn one recorded episode into a week of things to post.
By the end of this guide you will have a repeatable checklist: what to build, which tool builds it, and the order that keeps you from redoing work. No agency retainer, no video editor on call, no $400 studio afternoon for a batch of headshots.
What AI podcast production actually covers
AI podcast production is the use of generative AI tools to create the media assets around a podcast: cover art, episode thumbnails, host and guest headshots, animated audiograms, short video clips, show logos, intros, and voiceovers. It does not record or edit your raw conversation. It handles the surrounding production layer that used to mean a designer, a video editor, and a studio budget you never had.
Think of it as replacing a small stack of contractors and monthly subscriptions with one workflow. You bring the episode. The tools handle the packaging. MagicShot's tools for podcasters cover most of this stack, so you are not stitching together six apps that do not talk to each other.
One clarifying line before the steps: this is about presentation, not the interview. Your voices, your edits, and your storytelling stay yours. What follows is how to dress that work so it competes in a crowded feed.
Step 1: Nail the cover art and show logo first
Cover art is the single most-viewed asset your show owns. It appears at thumbnail size in every directory, so it has to read at 60 pixels and still look intentional at full size. Before you touch a single episode, lock two things: a show logo and a cover art template you can reuse.
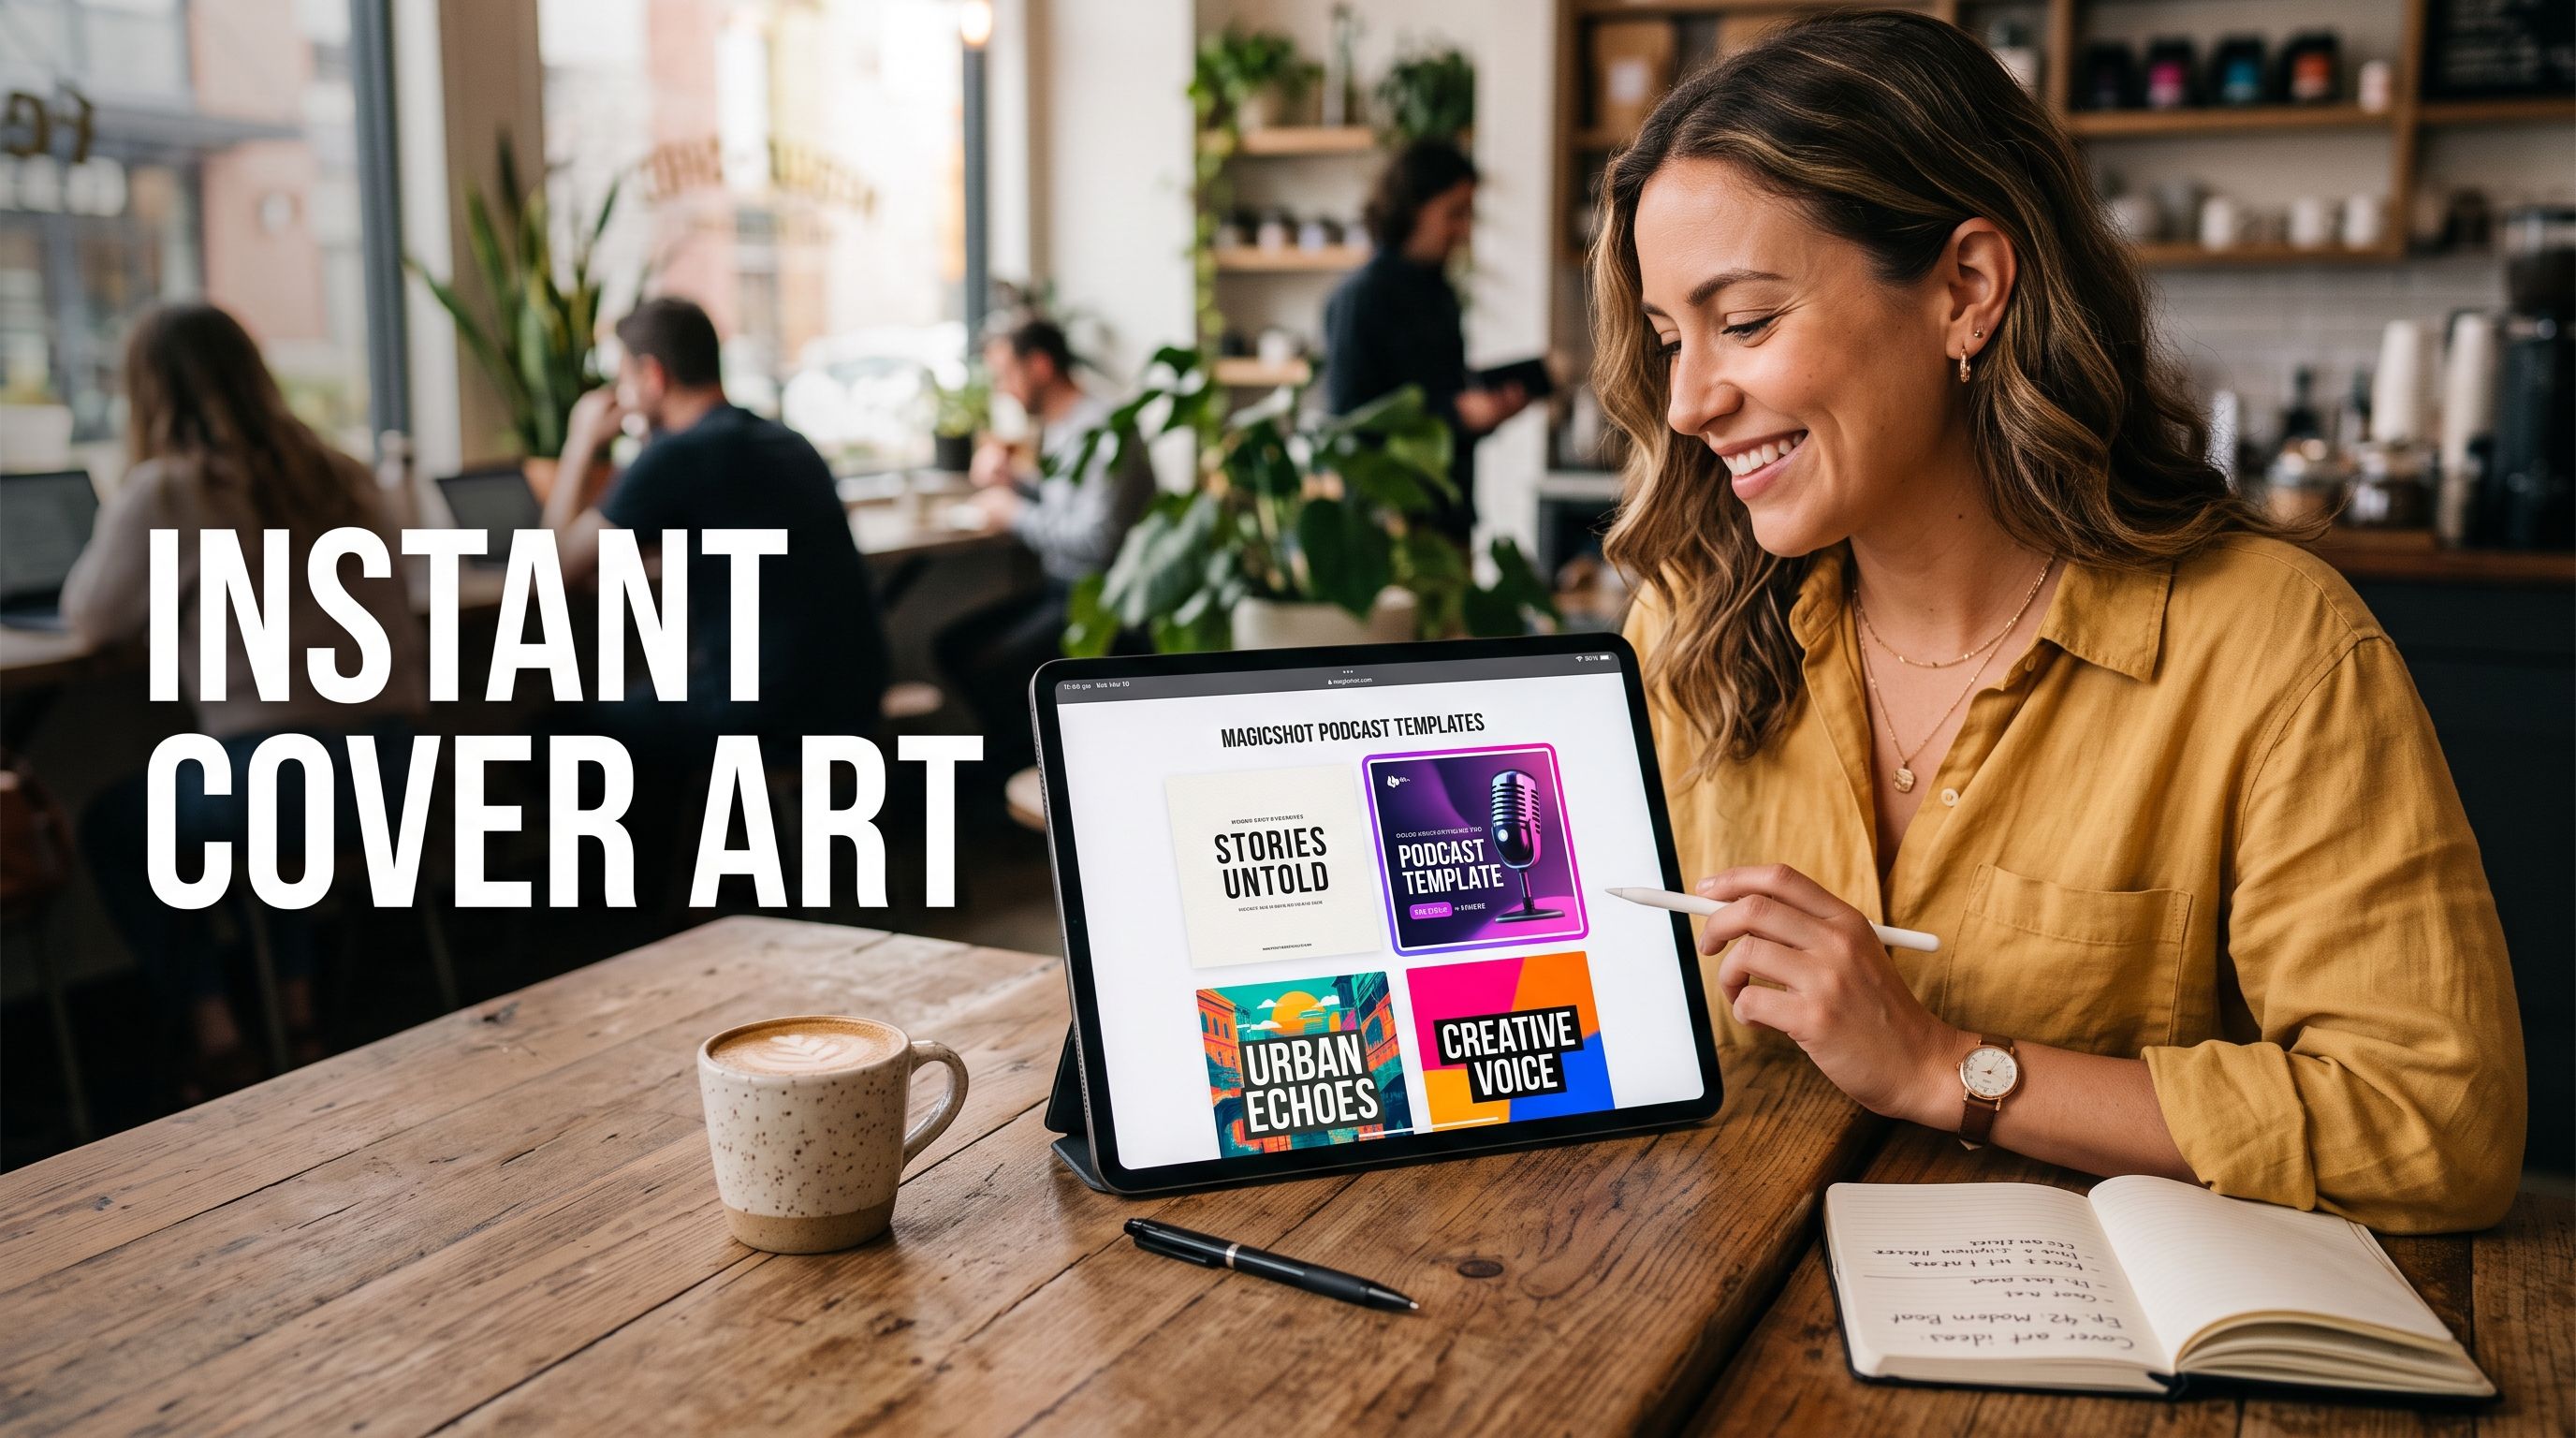
Start with an AI logo generator to produce a clean mark you can drop onto artwork, into video corners, and across your social profiles. Then build the cover itself with an AI art generator, describing the mood you want: bold typographic, moody documentary, playful and colorful. Generate a few directions, pick one, and keep the prompt so every future variation stays on-brand.
Keep it legible at thumbnail size
Test your art at the size it will actually appear. Shrink it to a 150-pixel square. If the title is unreadable or the image turns to mush, simplify: fewer elements, higher contrast, one focal point. Podcast art competes in a grid of dozens of other squares, so restraint wins.
Match the artwork to the genre, not the trend
A true-crime show and a startup interview show should not look alike. Set a color palette and a type style you can defend, then reuse it. Consistency across a whole season does more for recognition than chasing whatever design trend is loud this month. Keep one master file and swap only the episode-specific text.
Step 2: Get host and guest photos that look like a real show
Websites, guest booking pages, and episode graphics all need clean photos of the people talking. Most hosts do not have a good headshot, and most guests send you a blurry selfie from their phone.
Fix your own photo with professional headshots generated from a handful of selfies, so your bio page and press kit match the quality of the audio. When a guest sends something rough, run it through an image upscaler to sharpen it, or a background remover to drop them onto a consistent branded backdrop. A guest lineup that looks uniform signals a show that has its act together.
Set a photo spec for guests before you record: head and shoulders, plain wall behind them, decent light. Even a phone shot that meets those three conditions cleans up well. When it does not, the upscaler and background swap do the rescue work so you never have to email a guest asking for a redo.
Step 3: Turn one episode into a week of clips
This is where AI podcast production earns its keep. A single 45-minute episode contains five or six moments worth clipping, and each clip is a reason for someone to discover you. The math is simple: one recording, many posts, all pointing back to the full episode.
Audiograms and animated clips
An audiogram pairs a waveform or animated background with a captioned quote from your episode. Take a still frame or a piece of artwork and animate it with an image to video tool, then add the punchiest 30 seconds of audio. These vertical clips are built for TikTok, Reels, and YouTube Shorts, which is where most new podcast listeners now find shows. Always burn in captions, because the majority of that viewing happens with the sound off.
Promo videos and motion
For a launch trailer or a teaser, generate short scenes from a written prompt using text to video, then layer on movement and transitions with the AI video effects generator. You get a promo that feels produced without renting gear or hiring an editor for a one-off cut. Keep the hook in the first three seconds, then let the visuals carry the rest.
Talking-head snippets without a camera
If you record audio-only but want a face for social, an AI avatar video turns a script or clip into a presenter-style snippet. It is a fast way to put a visual front on an audio show for platforms that punish plain waveform posts.
Step 4: Fix and finish the audio pieces
Your conversation stays your conversation, but the extras around it can be generated cleanly.
Need a scripted intro, an ad read in a consistent voice, or a correction you do not want to re-record? A text to speech tool produces the line from typed text, so you fix a name or splice a sponsor mention in minutes instead of scheduling another recording session. For intro stings, transitions, and background beds you can actually use without licensing headaches, generate them with an AI music generator.
The rule of thumb: keep the human conversation human, and let AI handle the scripted, repeatable, and decorative audio around it.
A practical use case: you land a sponsor mid-season and need a 15-second read that matches your show's tone across five back-catalog episodes. Instead of re-recording each intro, you type the script once, generate a consistent voice line, and drop it in. Same effort, five placements.
Step 5: Build a repeatable publishing kit
The payoff here is not one good asset. It is a system you run every week without thinking. Save your prompts, your logo files, your cover template, and your clip format so each episode follows the same recipe.
A workable per-episode kit looks like this:
One episode thumbnail built from your reusable cover template with the guest name and episode number swapped in.
Three to five vertical clips from the best moments, captioned, sized for Shorts, Reels, and TikTok.
One horizontal promo for YouTube and your website.
One clean guest photo, upscaled or background-swapped to match your look.
One scripted intro or outro line if you run sponsors or seasonal messaging.
Then work in batches. Record two or three episodes, then produce all their assets in one sitting. You will move faster because your prompts and templates are already dialed in, and your show will look consistent across a whole season instead of drifting week to week. Batching also protects your energy: creative packaging and creative conversation use different muscles, and doing each in its own block beats context-switching every day.
A simple weekly rhythm
Monday: record. Focus only on the conversation.
Tuesday: pull your five best moments and mark timestamps.
Wednesday: generate thumbnails, clips, and the guest photo from your templates.
Thursday: finish audio extras, schedule posts, publish.
Adjust the days to your life, but keep the sequence. Recording, selecting, packaging, publishing. The order is what keeps you from redoing work.
Common mistakes that make a show look amateur
A few patterns quietly sink independent podcasts. Cover art crammed with tiny text that vanishes at thumbnail size. Clips posted with no captions, when most social viewing happens on mute. Guest photos in five different styles. A promo video that runs 90 seconds before the hook lands. Every one of these is fixable in the production layer, and none of them require a bigger budget, just a tighter checklist.
One more: changing your look every episode. New listeners recognize you by repetition. Pick a template and stick with it long enough for it to become familiar. Novelty feels productive and reads as chaos.
Wrapping up
Great audio gets you into the game. The visuals and the clips are what get you found. AI podcast production hands a solo host the same launch kit that used to need a designer, a video editor, and a studio afternoon: cover art, headshots, audiograms, promos, logos, and scripted audio, all from files you already have. Set up your templates once, batch your episodes, and spend the time you save on the part only you can do, which is the conversation itself.