Before you wire money to a print vendor for 5,000 units, you want proof the box works. Product packaging and label design with AI lets you mock up a full lineup, the box, the label, the on-shelf render, in an afternoon, so you can test the design on real customers before the ink dries. No design agency retainer. No $3,000 studio brief. No waiting two weeks for a round of concepts that miss.
This guide is written for direct-to-consumer founders who are validating a product and cannot afford to guess. You will see what AI packaging design actually does well, where it still needs a human, and how to go from a rough idea to a print-ready mockup you can put in front of buyers.
What product packaging and label design with AI means
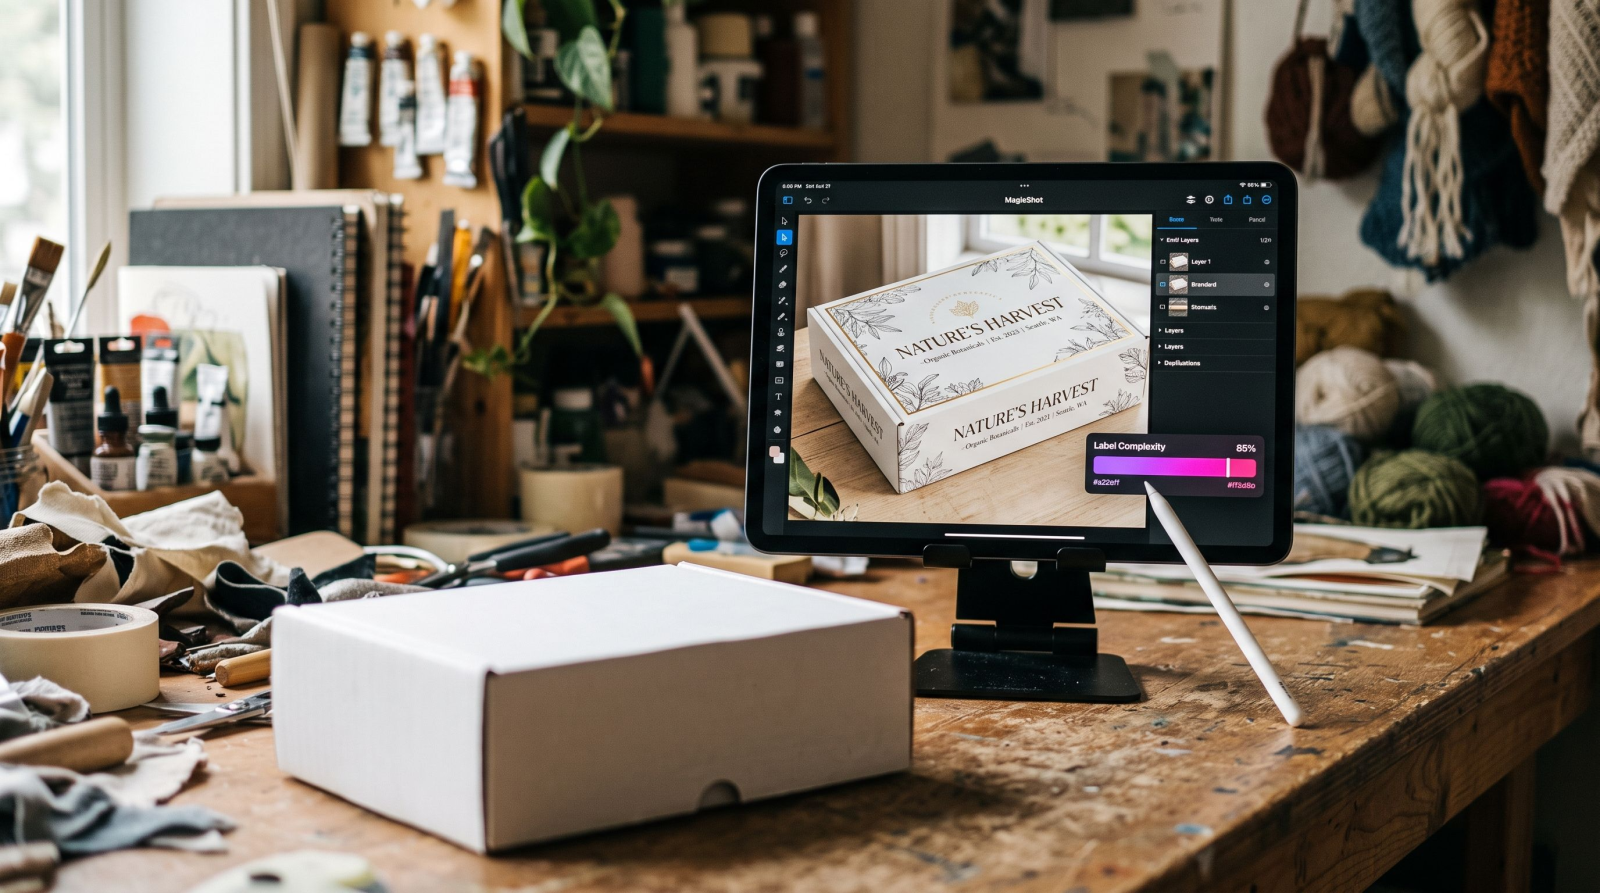
Product packaging and label design with AI is the process of generating box art, label layouts, and photorealistic product mockups using text prompts and reference uploads instead of hiring a designer or booking a photo studio. You describe the product, the vibe, and the constraints. The model returns visual concepts you can iterate on in minutes.
Two jobs sit inside this workflow, and it helps to keep them separate:
Design generation. Creating the actual artwork, the label composition, color story, type feel, and iconography.
Mockup rendering. Wrapping that artwork onto a realistic bottle, pouch, jar, or box so you can see it in the round and on a shelf.
A label design generator handles the first job. A box mockup AI handles the second. You usually want both, and you want them to talk to each other.
Why D2C founders reach for AI before a print run
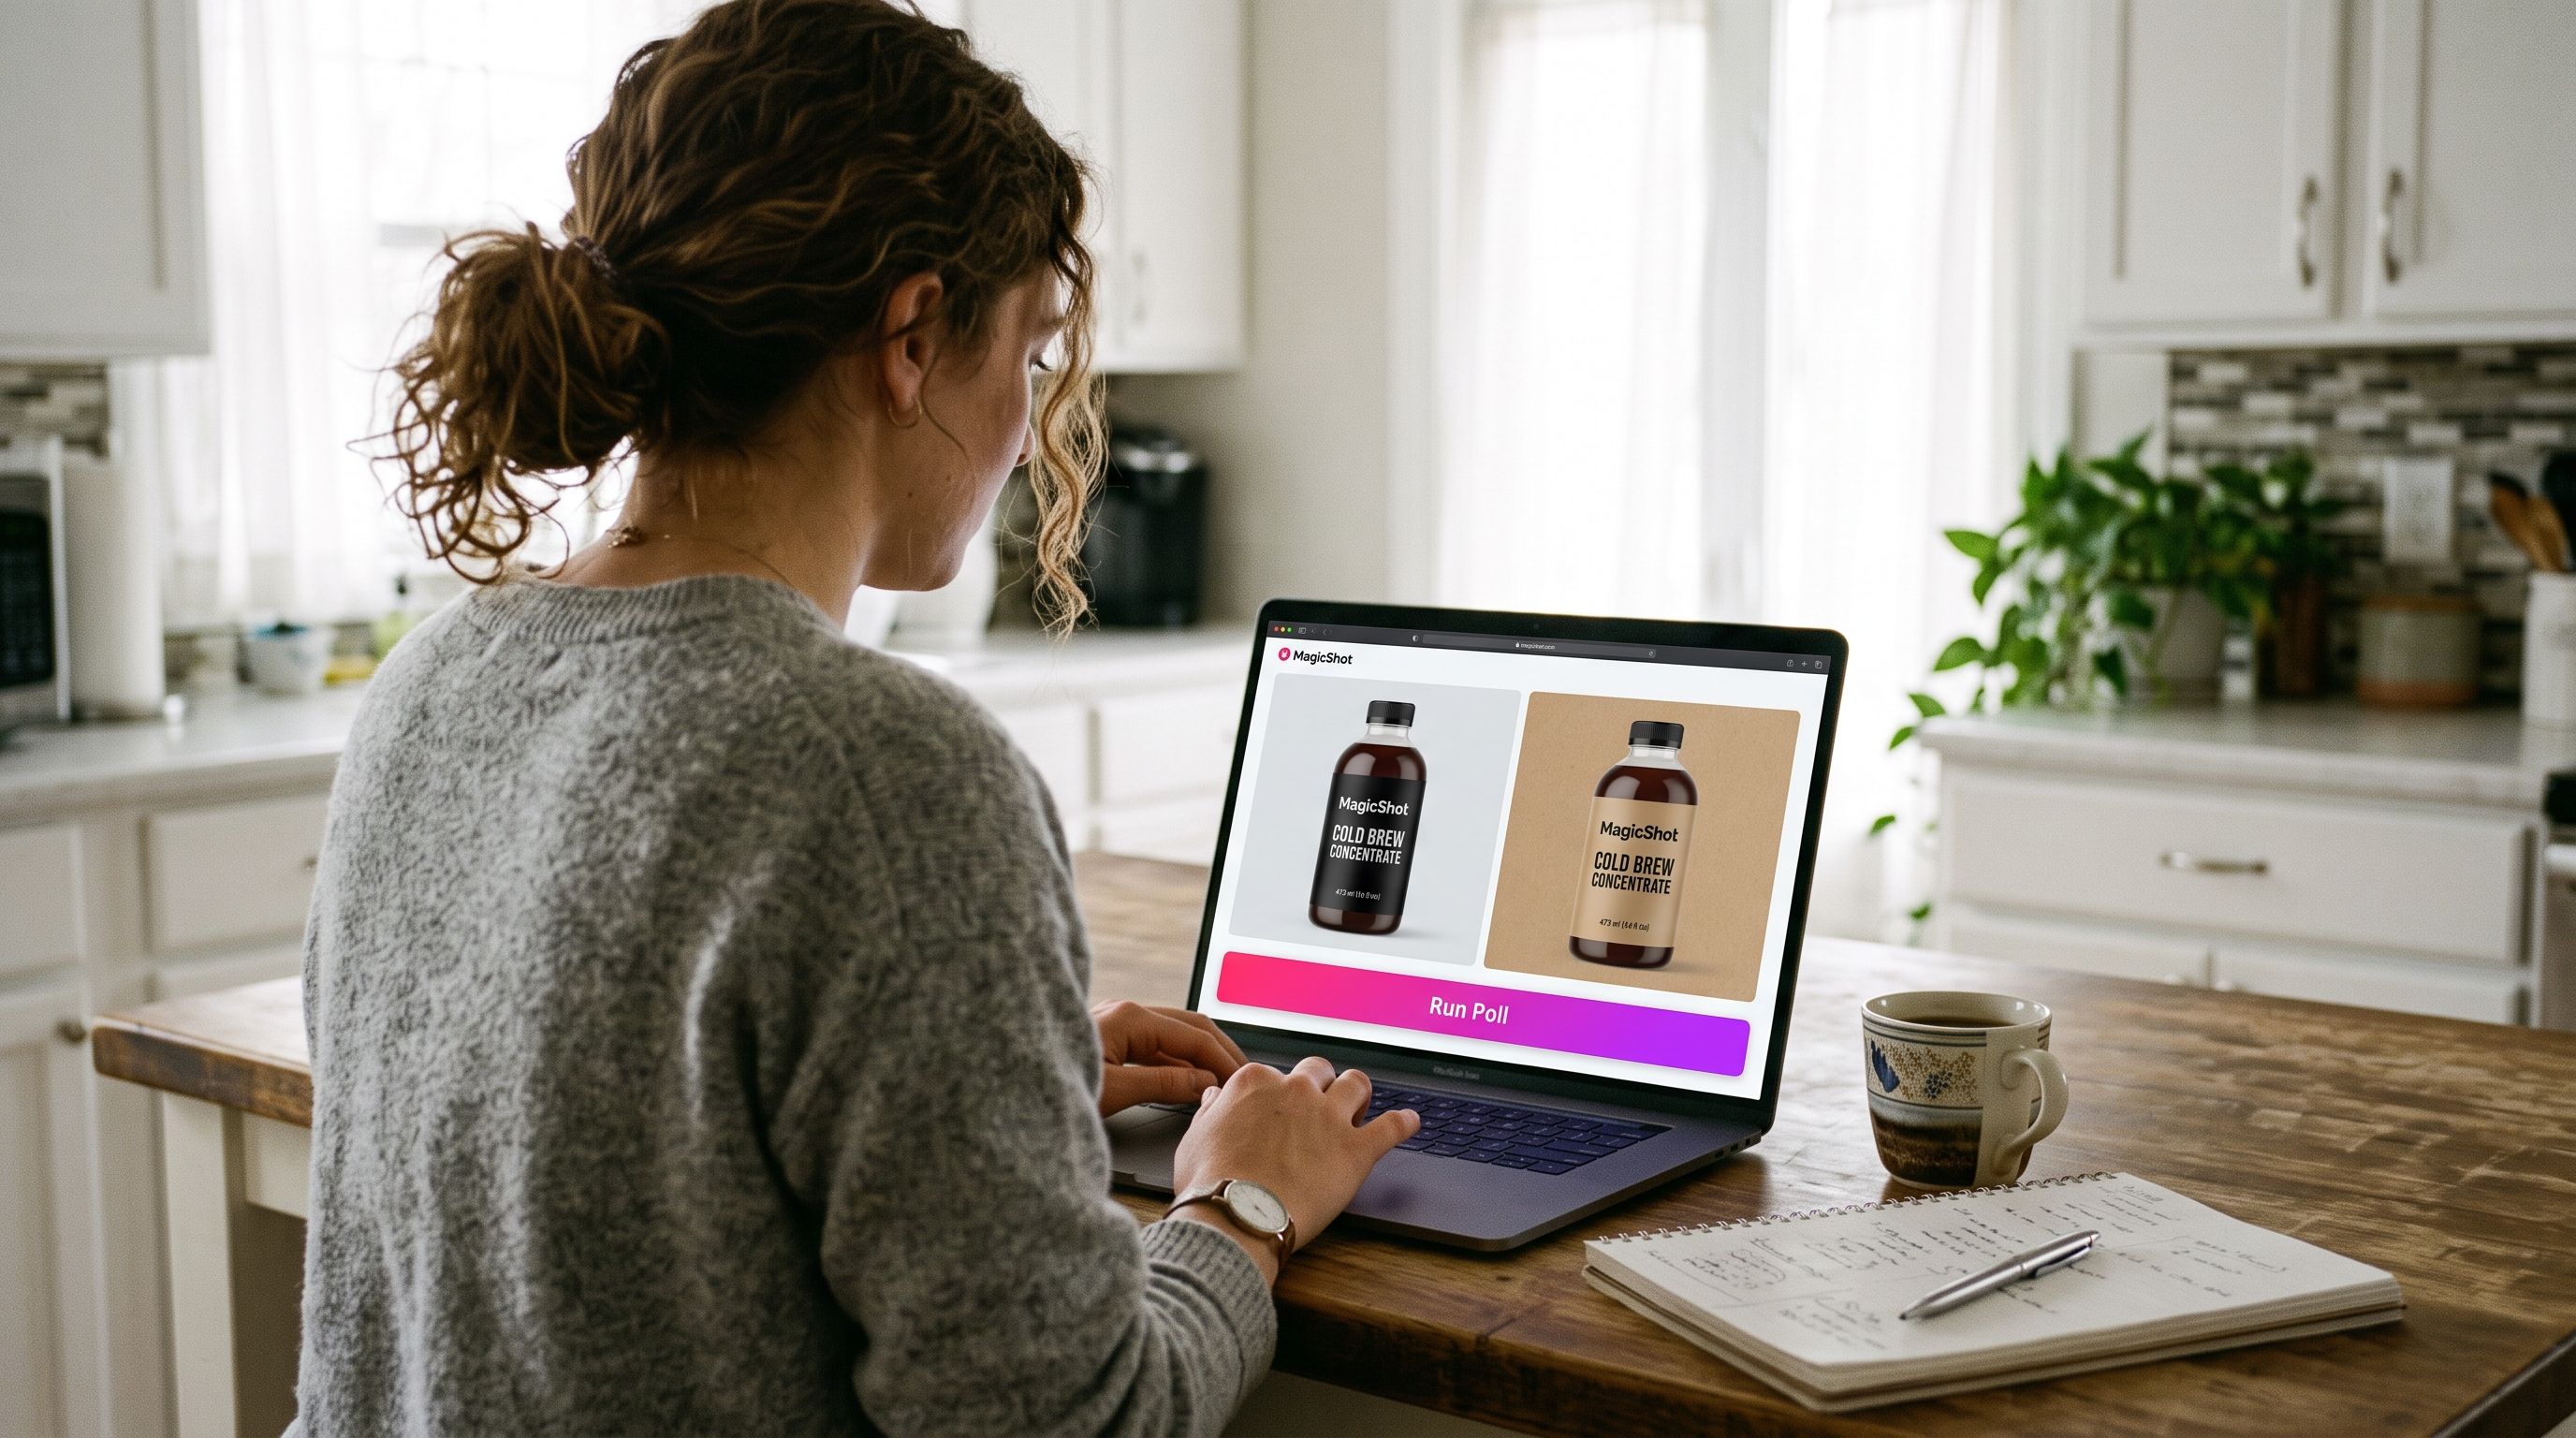
The enemy here is commitment risk. A print run is the point of no return. Once you order 5,000 boxes, a weak label costs you real money, not a Slack message. AI moves the expensive decision earlier and makes it cheap to reverse.
You test the design, not your gut
Generate three label directions in the morning. Post them to your email list or a small paid test by lunch. Let the click-through and the poll results pick the winner. That loop used to take weeks and a designer's invoice. Now it takes hours.
You see it on shelf before it exists
A flat label PDF lies to you. It looks great on a screen and disappears on a crowded shelf. A box mockup AI shows the product at an angle, under real-looking light, next to the competition, which is where buying decisions actually happen.
You keep the whole kit consistent
One product rarely ships alone. You have a jar, a carton, a shipping mailer, and a hero image for the listing. Generating them from the same prompt language keeps the color and type feel consistent across the set without a brand guidelines document nobody reads.
A step-by-step workflow for AI packaging design
Step 1: Nail the brief before you prompt
Garbage brief, garbage output. Write down the product, the shelf it competes on, the one feeling you want the buyer to have, and the hard constraints. Constraints matter more than adjectives here. "6 oz amber glass dropper bottle, matte white label, 40mm wide, botanical line art, sans-serif wordmark" beats "clean and premium" every time.
Step 2: Generate the label artwork
Feed that brief into AI art generator to explore label directions. Run the same prompt three or four times, then change one variable at a time: color, then type feel, then icon style. You are hunting for a direction, not a final file, so cast wide first and narrow fast. Save the two strongest and kill the rest.
Step 3: Render the box or bottle mockup
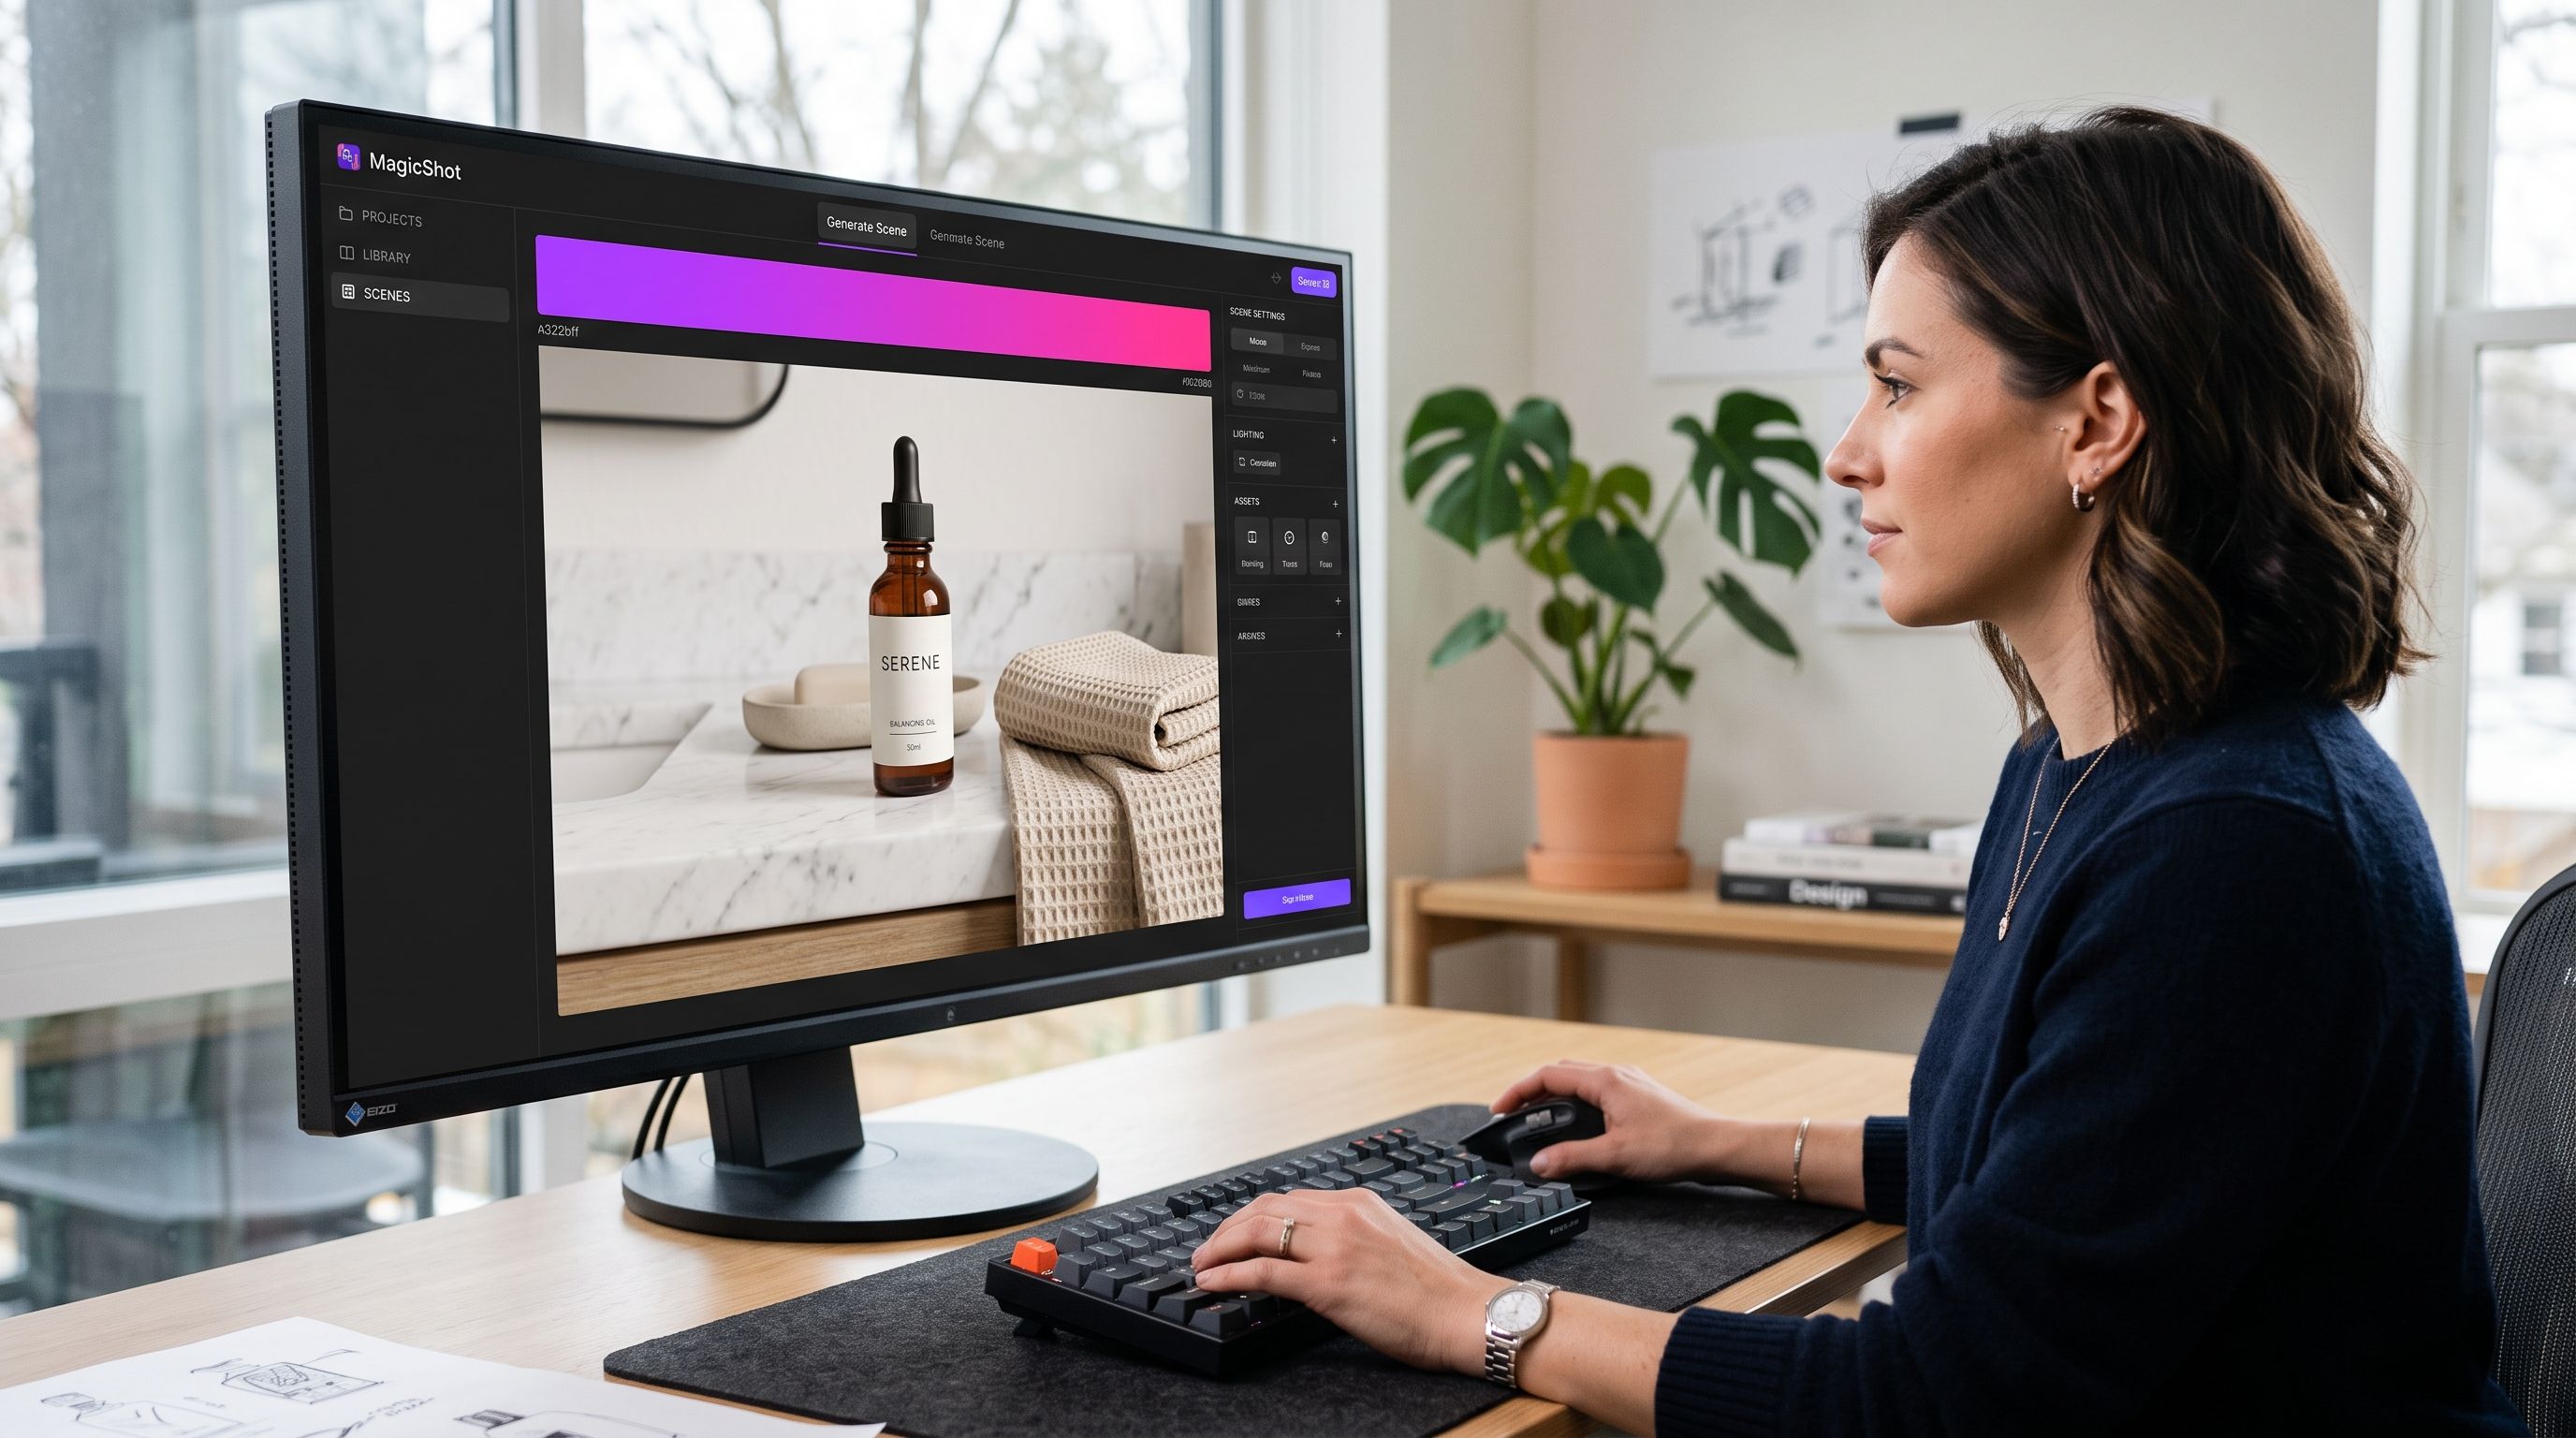
Take your winning label direction and generate the packaging in context. This is where box mockup AI earns its place: you get the product on a surface, at an angle, with shadows that read as real. Pair it with the Product Photo Generator to place the finished pack in a scene, on a marble counter, in a gift set, beside a coffee cup, so the mockup sells the context, not just the object.
Step 4: Clean up and scale for print and web
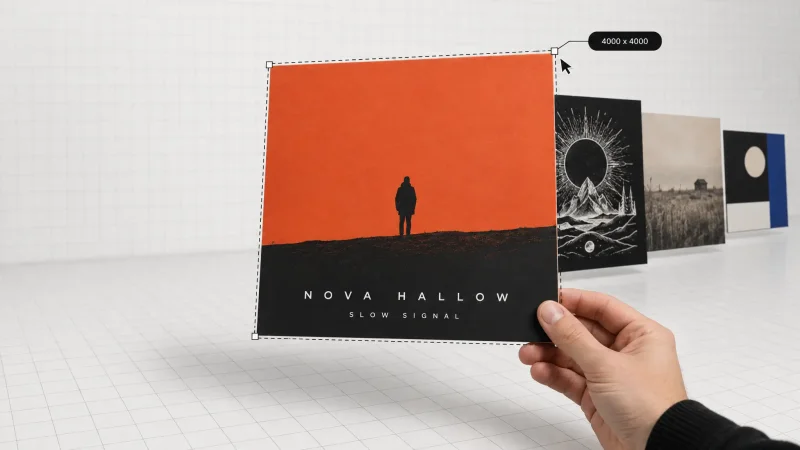
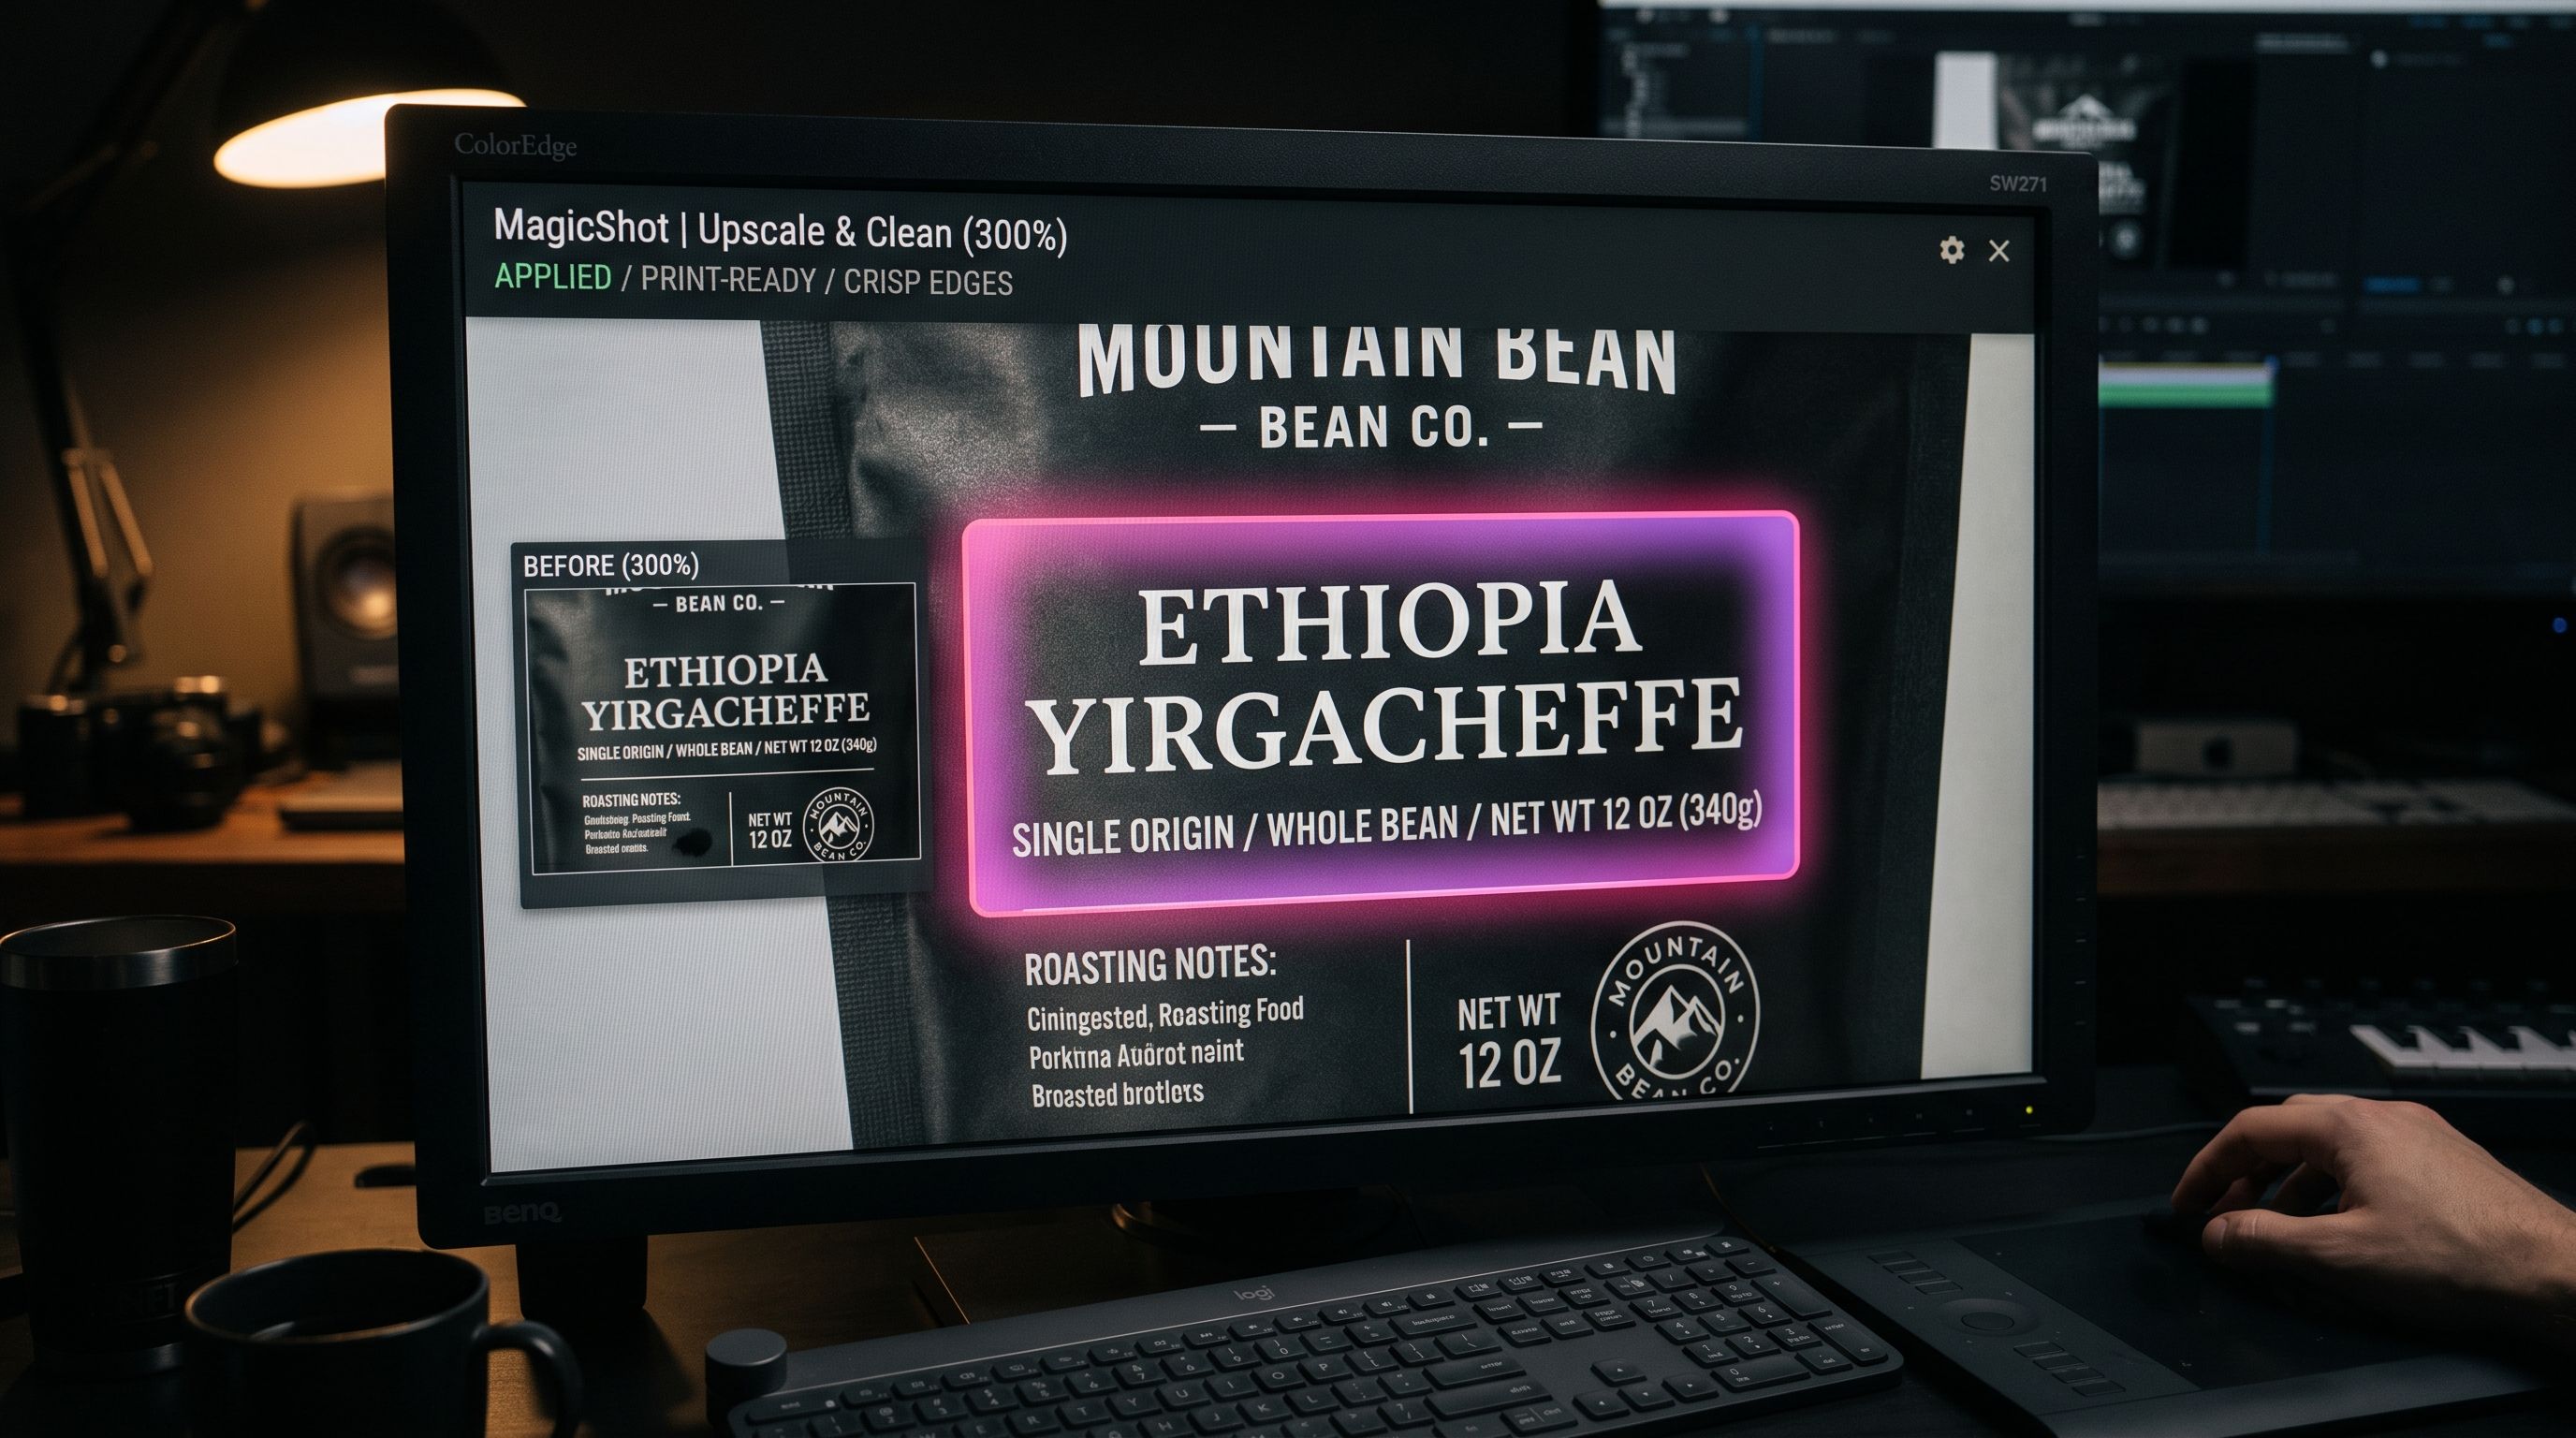
Real generations have flaws. Stray artifacts, a smudge, a background object you don't want. Run the result through a object remover to drop distractions, then an image upscaler to push resolution high enough for a print proof and a retina product page. Do this before you send anything to a vendor or a customer test.
Step 5: Turn the winner into motion
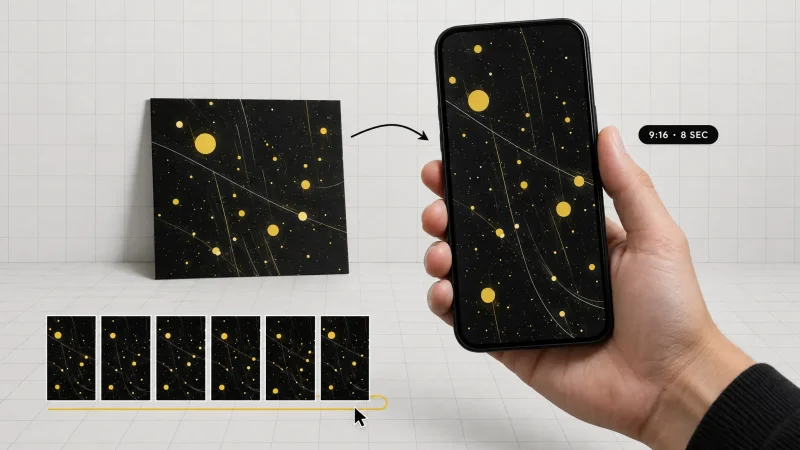
Once a direction wins, you need it moving for ads and social. Feed the still into a Product to Video tool to spin the pack, reveal the label, or pan across the lineup. A rotating box in a Reel converts differently than a flat photo, and you already own the asset.
Where a label design generator shines, and where it doesn't
Be honest about the tool so you don't ship something broken.
It shines at
Direction and volume. Twelve label concepts before your coffee gets cold. That range is the whole point.
Mood and composition. Color stories, illustration styles, and layout feel come out fast and look considered.
Mockup realism. Getting a believable render of a pouch or bottle without a photographer or a light tent.
It still needs a human for
Exact legal copy. Ingredient lists, net weight, barcodes, allergen warnings, and regulatory text must be set by a person and verified. Never trust generated text for anything a regulator reads.
Dielines and print specs. Bleed, safe zones, and the physical cut path come from your printer's template, not the model.
Final typesetting. Kerning and exact type placement usually get a last pass in a real design file.
Treat AI as the fast front half of the process. It gets you to a validated direction cheaply. A human and your printer handle the last mile.
Prompting a label design generator so it doesn't waste your time
Most bad AI packaging output traces back to a lazy prompt. The model is not the problem. The instructions are. A few habits fix ninety percent of it.
Lead with format, then finish, then feeling
Name the physical thing first. Bottle, pouch, folding carton, tin. Then the finish: matte, gloss, kraft, foil accent. Then the feeling, and keep that part short. Order matters because the model anchors on the first strong nouns. "Stand-up coffee pouch, matte black, copper foil wordmark, minimal" gives you a usable frame. "Something premium and eye-catching" gives you noise.
Change one variable per round
When a direction is close but not right, resist rewriting the whole prompt. Move one lever: swap the color, or the icon style, or the type feel, and regenerate. This is how you learn what the model responds to, and it stops you from chasing your tail across twenty unrelated concepts.
Use references, not just words
If you already have a color you love or a competitor pack you want to beat, upload it as a reference. A picture pins down what a paragraph of adjectives can only gesture at. This alone tightens output more than any clever wording.
Write copy as placeholder and mark it
Let the generator drop in dummy text so the layout reads, but treat every word as a placeholder. Type on a generated label is for composition only. The real product name, net weight, and claims get set later by a human.
Building the full launch scene around the pack
A packaging mockup rarely sells on its own. Buyers respond to context: where the product lives, who uses it, what surrounds it. Once your label wins, spend an hour building the world around it.
Drop the pack into lifestyle scenes so a shopper can picture ownership. A skincare bottle on a bathroom shelf reads differently than the same bottle on white. If the scene calls for a room, the Interior Designer tool can stage a believable setting to place the product against, which is far cheaper than renting a location.
For a launch video that needs a voiceover, script the benefit in your own words and generate a clean read with Text to Speech, then pair it with the rotating pack clip. You get a finished ad concept without a booth, a mic, or a voice actor's day rate.
Beyond the box: extend the AI packaging design system
The same prompt language that built your label can carry across your whole launch, which is where the time savings compound.
Founder credibility. A trust page or press kit needs a real face. Generate a set of professional headshots that match the brand without booking a photographer.
Social proof. Test how the product lands in real hands with UGC videos before you pay creators for the real thing.
Wordmark and icon. If the brand mark itself needs work, a Logo Generator gives you a starting mark to test alongside the packaging.
The point is not to replace every specialist forever. It is to get a coherent, testable brand in front of customers before you spend on the parts that need spending.
A realistic example: launching a $28 cold brew concentrate
Say you are launching a cold brew concentrate at $28 a bottle. You have no photographer and a two-week window before your first market. Here is the compressed loop:
Morning: Write the brief, 12 oz swing-top bottle, kraft-and-black label, coffee-region map motif. Generate eight label directions. Pick two.
Afternoon: Render both as bottle mockups on a cafe counter. Post to your list with a one-tap poll.
Next day: The map motif wins by a wide margin. Clean the render, upscale it, and drop it into your pre-launch page.
Day three: Turn the winning bottle into a five-second rotating clip for a launch Reel.
Total spend before the print run: your subscription and a few hours. You validated the design with real customers instead of betting the print budget on taste.
Wrap-up
Product packaging and label design with AI does not replace your printer, your lawyer, or your final design pass. It replaces the slow, expensive front half of the job: the concepting, the mockups, and the guesswork that used to eat weeks and thousands of dollars. Get the direction cheap, test it on real people, then commit the print budget with evidence instead of hope. That is the whole edge, and for a founder staring down a first print run, it is a big one.