An AI video effects generator turns a single photo or short clip into a moving, share-ready video by applying a pre-built effect automatically. You pick a look, upload your footage, and the tool handles the animation, no timeline, no keyframes, no editing software. That is the whole promise of MagicShot's AI Video Effects Generator: one upload in, one finished clip out, usually in seconds.
If you have ever tried to fake a cinematic explosion or a slow-motion muscle transformation in a regular editor, you know the drill. Hours of masking, a stack of stock assets, and a render that still looks off. The AI video effects generator skips all of it. Below is how the best of these tools actually work, which effects are pulling numbers on TikTok and Reels right now, and how to get a clip that looks intentional instead of accidental.
What an AI video effects generator actually does
Here is the plain version. AI video effects are one-tap transformations that restyle, animate, or enhance your footage automatically. You are not building the effect frame by frame. You are choosing a finished look, feeding it your image, and letting the model do the compositing, the motion, and the lighting.
The input is simple: a clear photo or a short video clip. The output is a downloadable video, typically an MP4, ready to post. The tool reads your subject, whether that is a face, a full body, a pet, or a product, and tunes the effect to it. A face-swap-adjacent transformation lands on your features. An explosion sits behind you at the right depth. A pair of wings unfolds from your shoulders, not your head.
Compare that to the old workflow. A single dramatic effect used to mean After Effects, a paid asset pack, and an afternoon you will not get back. Or it meant hiring an editor. The generator collapses that into a pick-and-upload flow with no prompts to write that a first-timer can finish before their coffee gets cold.
Why creators use an AI video effects generator instead of an editor
Speed is the obvious win, but it is not the only one. The real advantage is iteration. When a render takes seconds instead of an afternoon, you stop treating each attempt as precious. You try the fire effect, then the flying effect, then the group animation, and you keep the one that hits.
No editing skills required
You do not need to know what a mask, a keyframe, or a render queue is. You choose a trending effect, upload your footage, and the transformation happens. That is the entire learning curve.
It is built for social platforms
These effects exist to stop a thumb mid-scroll. Clips come out sized and paced for TikTok, Instagram Reels, and YouTube Shorts, so you are not re-cropping or re-exporting for each feed. Static photo dumps have quietly lost to short, punchy video, and this is how you catch up without a camera crew.
One clip, many looks
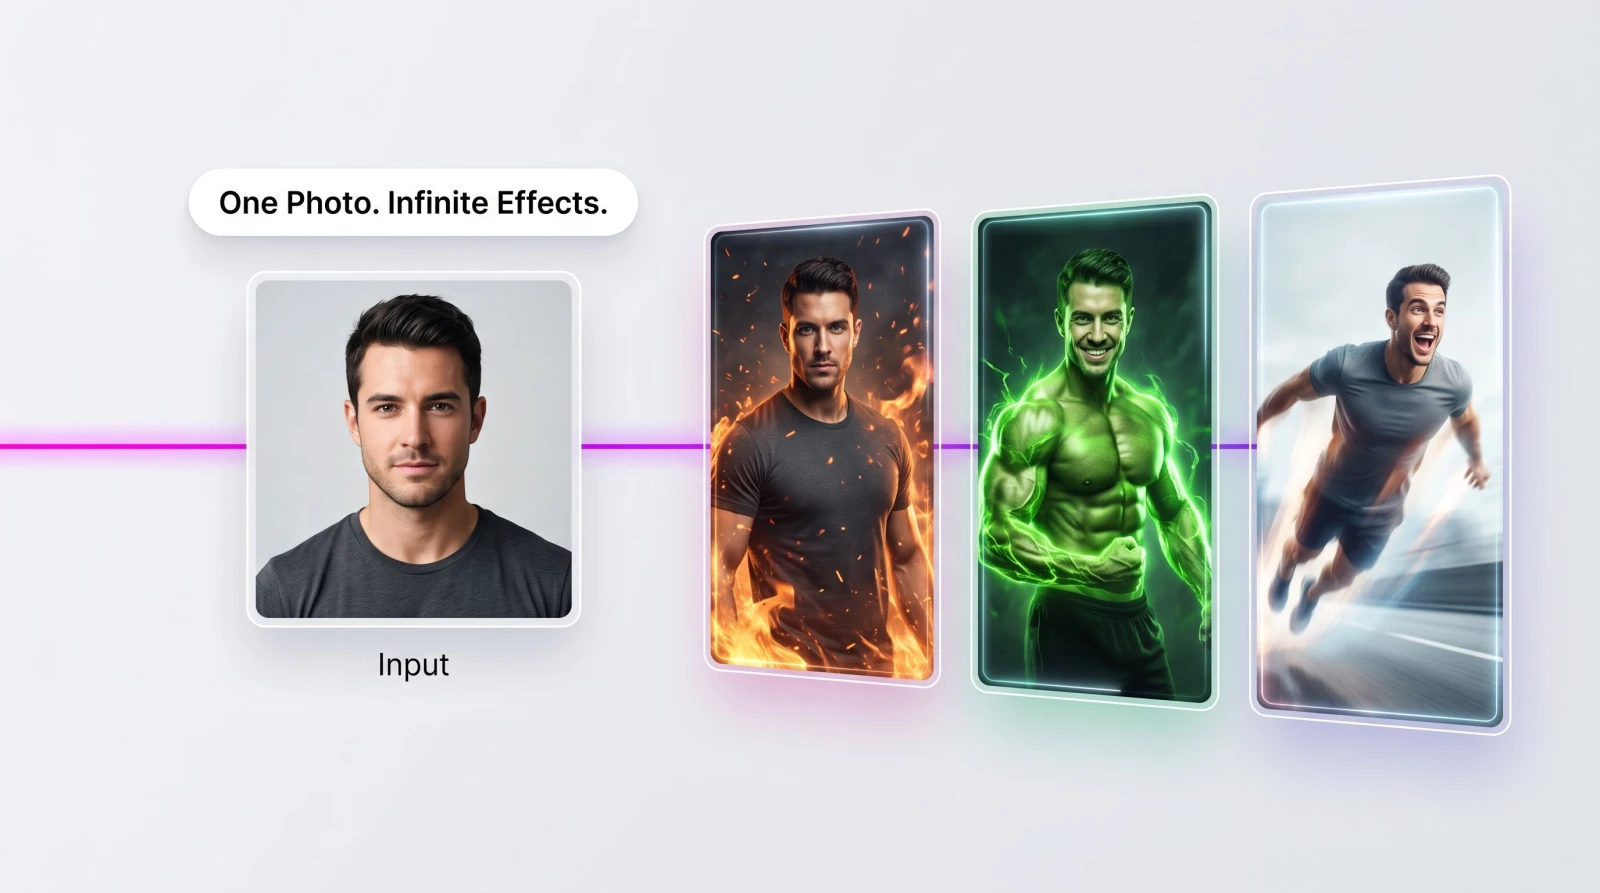
Because a run costs you seconds, one source photo can become a dozen different posts. A single portrait can walk away from an explosion, sprout angel wings, or sprint out of frame with hair flying. You are not stuck with one idea per shoot.
The trending effects worth trying first
MagicShot's library leans into the effects people are actually posting. A few that consistently perform:
Explosion: Walk away from a cinematic blast like the action hero who never looks back. Great for intros and parody edits.
Hulk: A full transformation with green skin, glowing muscle, and raw energy. It reads as fierce and a little ridiculous, which is exactly the point.
Fire Flair: Sparks and flames swirl around you. Dancers and fitness creators use it to make a simple pose feel like a power move.
Angel Wings: Wings unfold behind you in slow motion, feathers catching the light. It suits aesthetic and storytelling reels.
Flying: Lift off the ground and soar straight out of your photo.
Group animation: The whole group comes alive at once, everyone moves, nobody reshoots. Handy for team photos and event recaps.
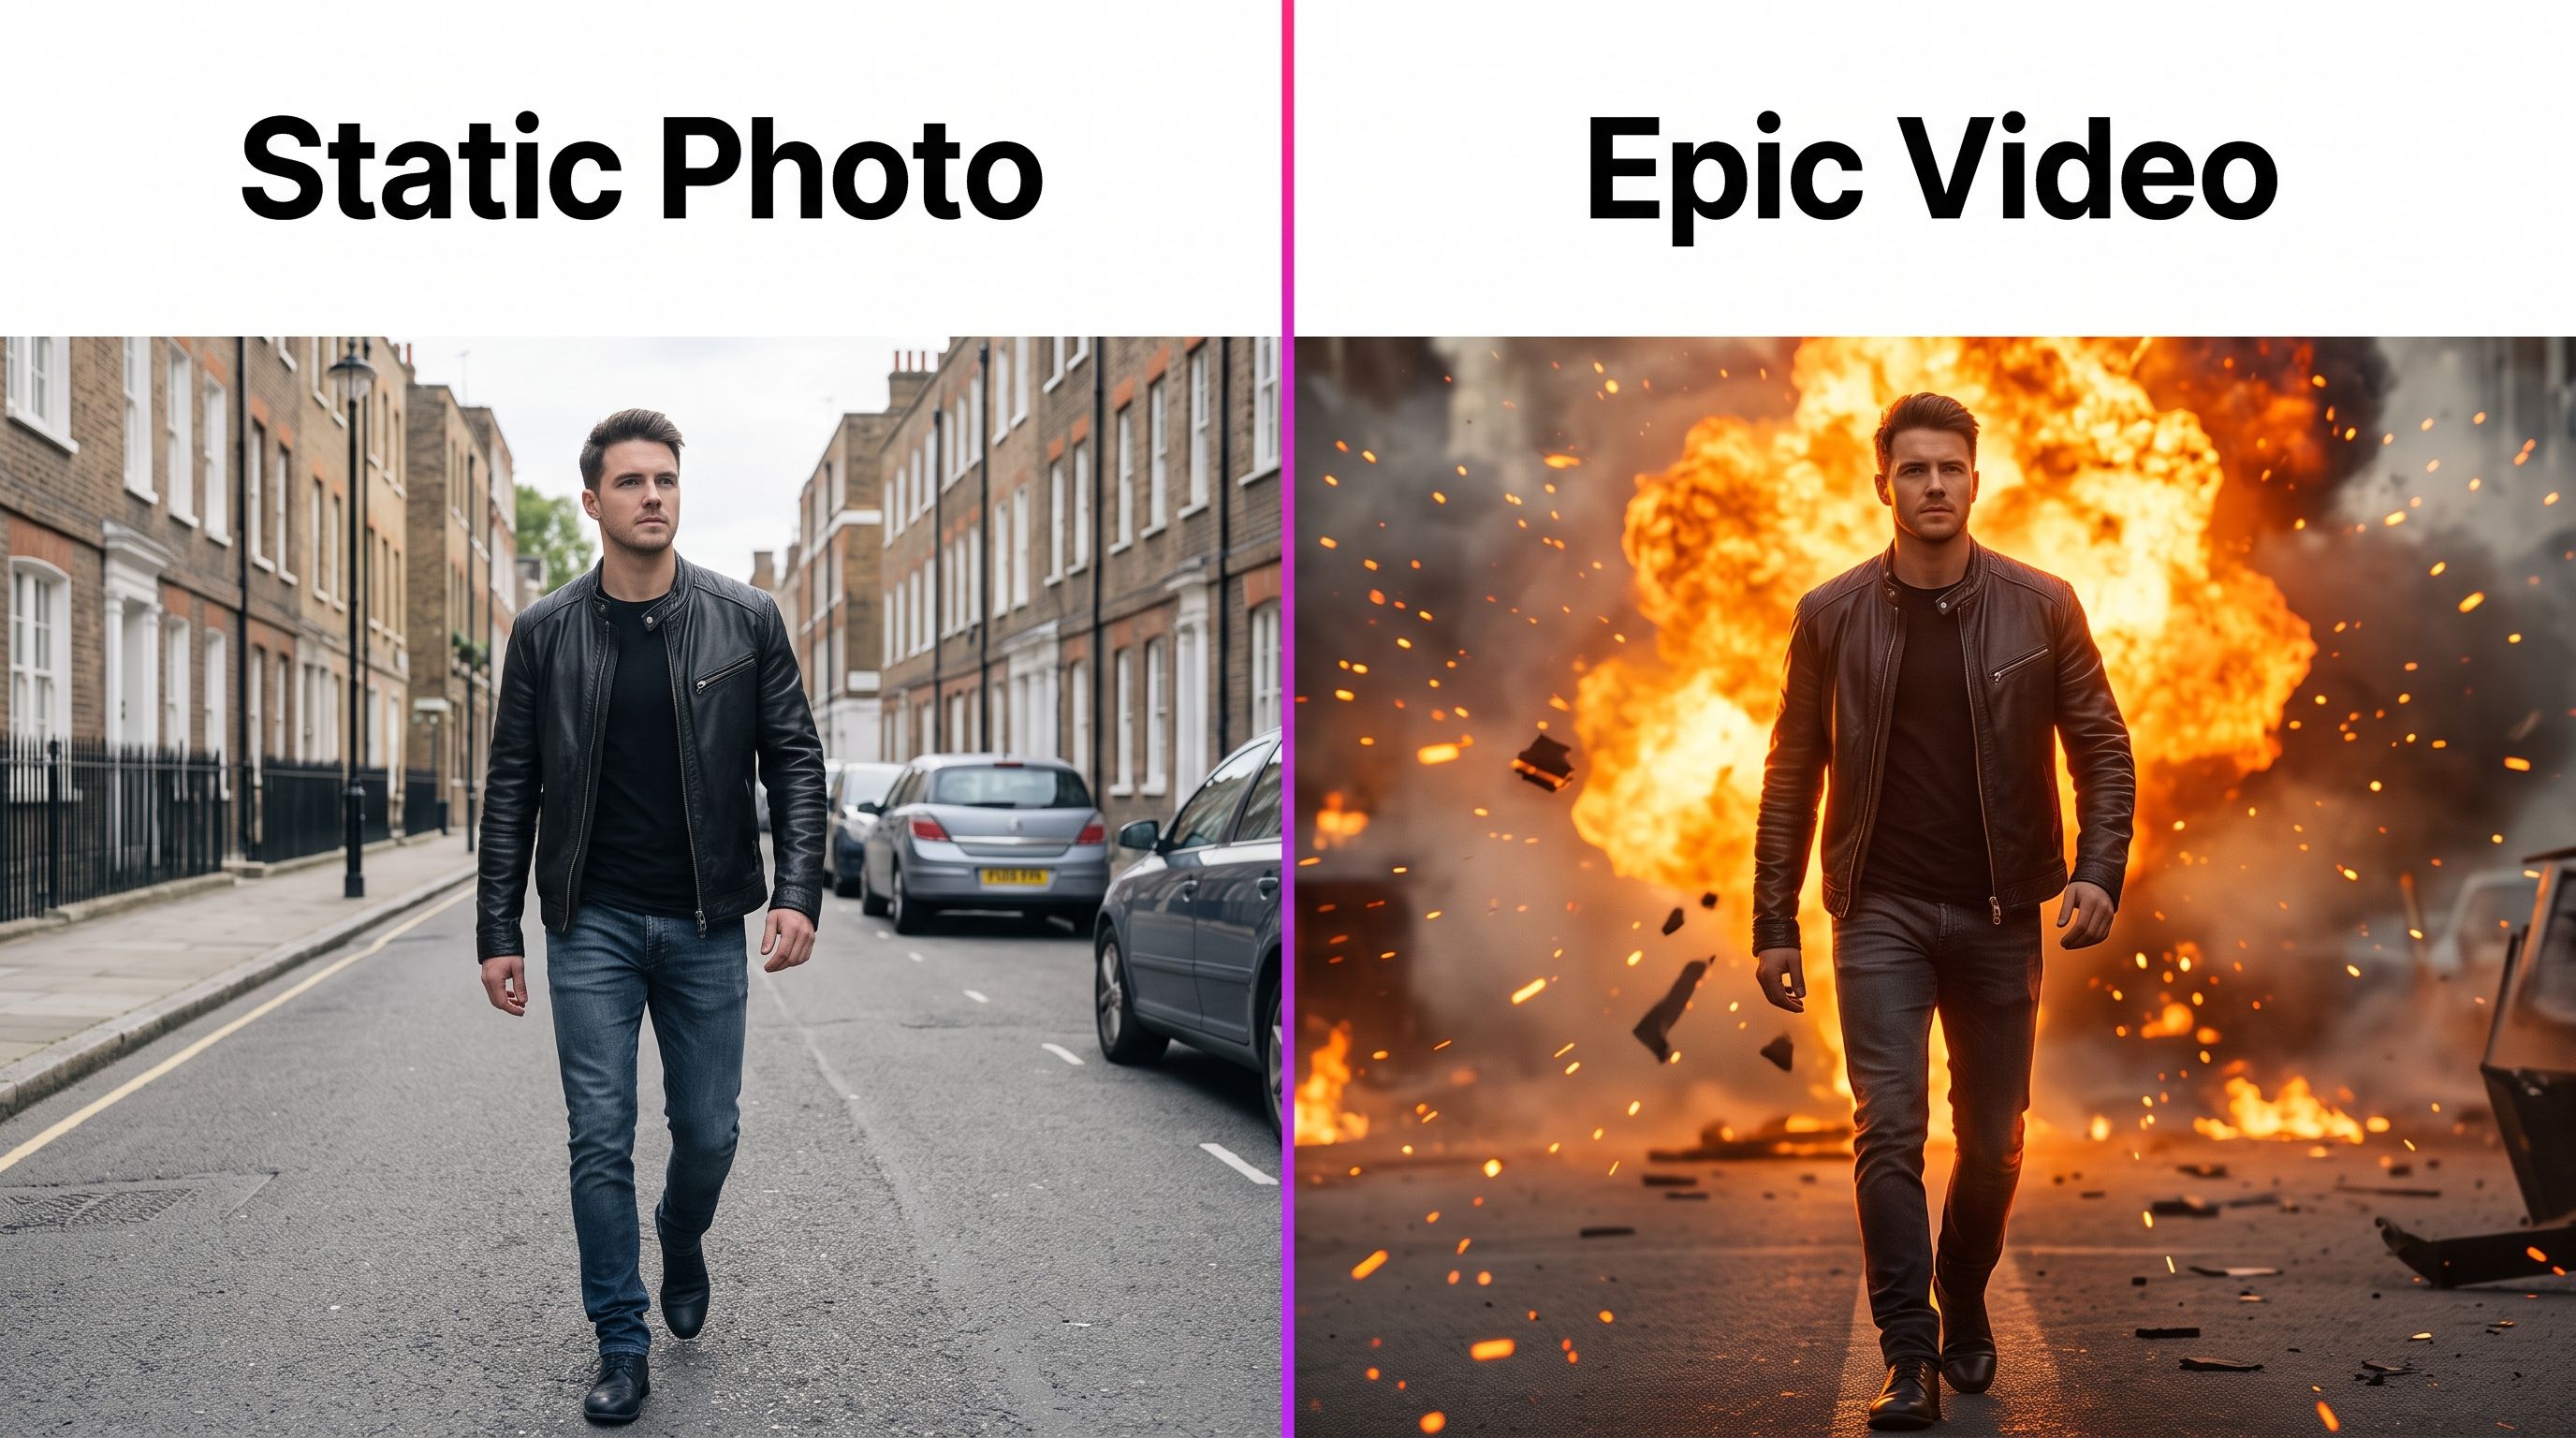
The catalog keeps growing as new trends surface, so the "what's hot" list on any given week is a moving target. The point is not to memorize it. The point is that when an effect blows up on your feed, you can match it that day instead of a week later.
How to get a clip that actually looks good
The generator does the heavy lifting, but your source material still decides the ceiling. A few habits separate a clip that looks intentional from one that looks like a glitch.
Start with a clear, well-lit photo. Sharp focus and even light give the model clean edges to work with. Blurry or dim inputs produce muddy transformations.
Keep the subject uncluttered. If a giant hand is supposed to pluck you out of the scene, the AI needs to see where you end and the background begins. A busy backdrop confuses that boundary. When it does, an AI background remover can clean up the frame first.
Match the effect to the pose. An explosion reads best when you are already facing away or mid-stride. Fire suits a strong stance. Choosing an effect that fits your body language cuts the number of re-rolls.
Run a few variations. Since each render is fast, generate three or four and compare. The tenth attempt costs you about a minute, so there is no reason to settle for the first.
Upscale before you post. If you want the clip to survive a full-screen view, run the source or the frame through an AI image upscaler so detail holds up.
Where the video effects generator fits in a bigger workflow
A single effect is fun. A finished piece of content usually needs a few more pieces, and the same platform can supply them without pushing you into a second subscription or a stack of five apps.
Say you are building a short brand video. You can animate a product shot with Image to Video, film a spokesperson-style clip with UGC Videos, and drop a voiceover on top using Text to Speech. The video effect becomes the hook at the front, the thing that stops the scroll, while the rest of the tools carry the message. Everything lands in one library, so you are moving assets between tools instead of exporting and re-importing across services.
For creators who post daily, that matters more than any single feature. The bottleneck is rarely one clever effect. It is the ten small production steps around it, and having them under one roof is what keeps a posting schedule alive.
What to check before you commit to a tool
Not every AI video effects generator is built the same. A few things worth confirming:
Render speed: If a single effect takes ten minutes, you will not iterate. Look for second-scale renders.
Effect library depth and freshness: Trends move weekly. A tool that adds new effects as trends break keeps you current.
Output quality: Check that clips export at a resolution that survives full-screen viewing, not just a thumbnail.
Commercial rights: If you plan to run a clip as an ad or client work, confirm the plan includes a commercial license for your output.
Everything in one place: A generator that shares a library and account with photo, video, and voice tools saves you from juggling subscriptions.
The short version
An AI video effects generator takes the slowest, most technical part of short-form video and turns it into a two-step task: pick an effect, upload your clip. You skip the editor, the asset packs, and the reshoot, and you walk away with a post-ready video in seconds. Start with a clean photo, match the effect to your pose, and run a few takes. The difference between a scroll-past and a save is usually just the third attempt.