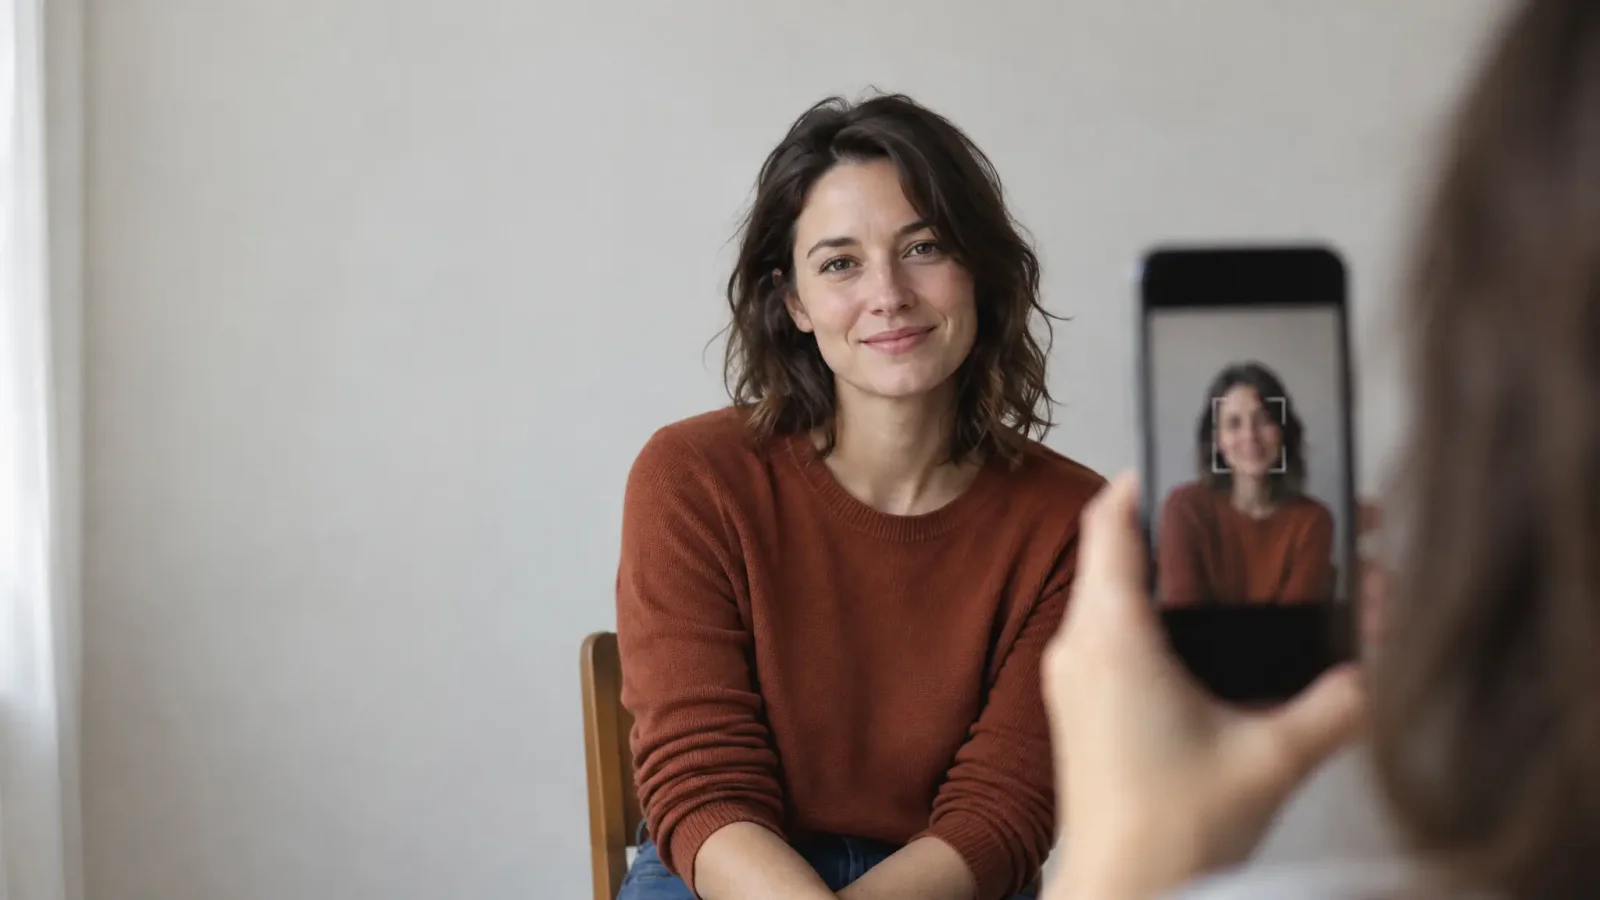
You do not need a studio to get a professional headshot. You need a window, a plain wall and ten minutes with a phone. The AI step afterwards then evens out the lighting, cleans up the background and can smarten the outfit. Most of the quality, though, comes from the raw photo, so that is where to put your effort first.
The full walkthrough is in our guide to turning a simple photo into a professional headshot. This post is the shorter, do-it-today version.
Step 1: Set up the shot
Light. Stand facing a window in daytime so the light falls on your face, not behind you. Overcast days give the softest, most even light. Avoid direct sun, which creates hard shadows under the eyes and nose.
Background. A plain, neutral wall is ideal. Stand a metre or more away from it to avoid shadows. If you cannot, do not worry, because the AI step can replace the background.
Camera height. Put the phone at eye level, on a stack of books or a tripod. Shooting from below or above distorts the face.
Distance. Place the phone about an arm-and-a-half away and crop in later rather than using wide-angle close up, which exaggerates the nose and forehead.
Step 2: Camera settings that matter
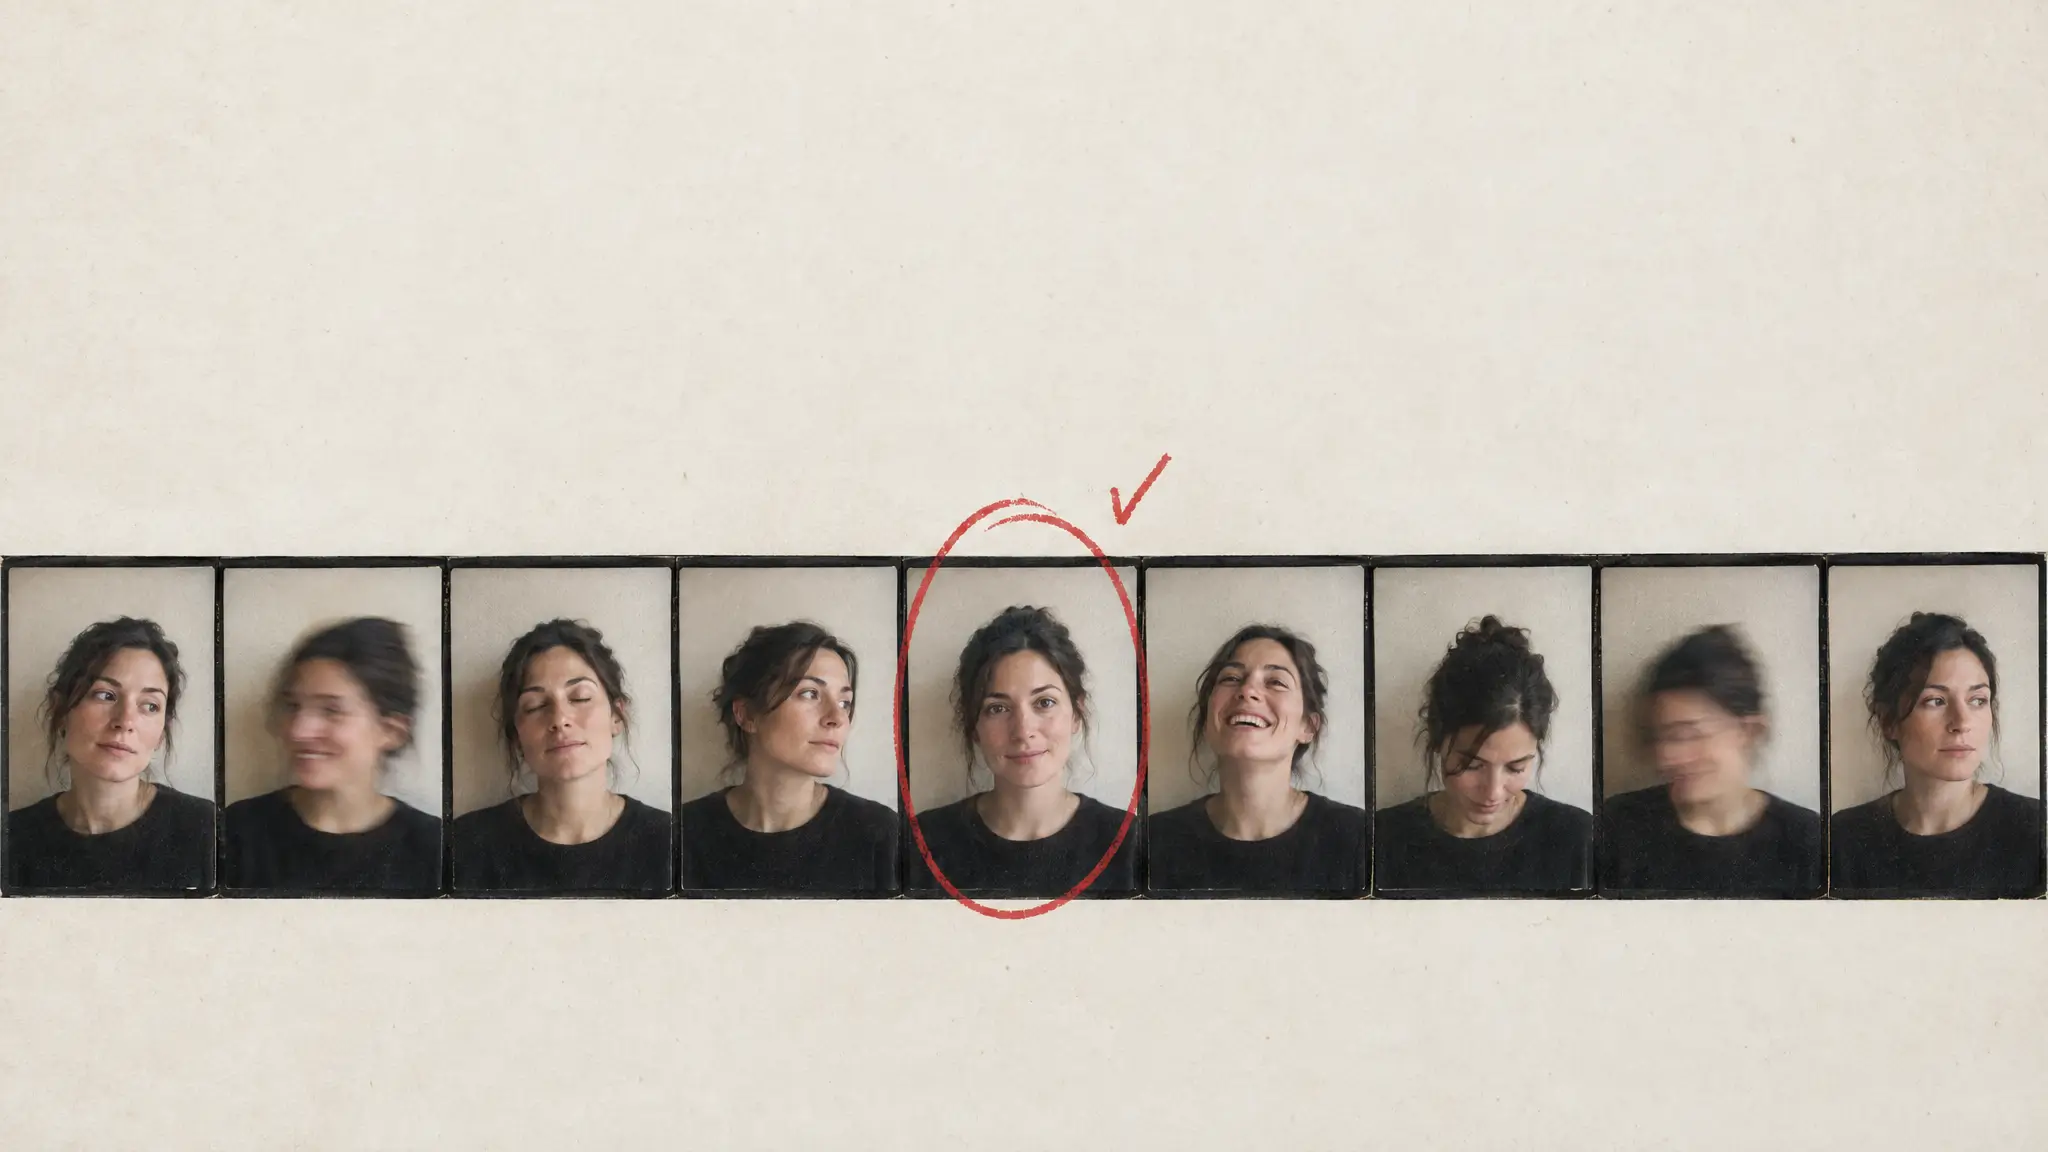
Use the rear camera rather than the selfie camera, since it has better resolution. Tap on your face to lock focus and exposure, use a timer or voice command so you are not reaching for the shutter, and switch off any beauty filter. Smoothing filters stack badly with a second AI pass and can leave skin looking fake. Take at least 15 to 20 frames in a short session, because the best one is rarely the first.
Step 3: Pose and expression
Angle your shoulders slightly away from the camera and turn your face back toward it.
Chin slightly forward and down, which defines the jaw.
Relax your forehead and think of something you are looking forward to. A real smile reaches the eyes.
Wear a solid colour with a collar or a clean neckline. Avoid small patterns and logos.
Step 4: The AI step
Upload your best frames to the Professional Headshot Generator, choose a style preset that fits your field, and generate. This is where studio-style lighting is applied, a clean background is added, and the clothing can be adjusted. Upload several different shots, not one, so the result stays recognisably you.
Step 5: Check before you use it
Look at hands, ears, glasses and hair edges, and make sure it still looks like you on a normal day. Our guide to how good AI headshots really are has a checklist for the usual flaws.
Where a home headshot is enough, and where it is not
It covers LinkedIn, CVs, email signatures, speaker bios and most company websites, where the aim is a clean, consistent, professional look. It is a poor fit for ID photos, official documents, large-format print campaigns, or any case that requires an unedited photo. If someone asks how a photo was made, tell them plainly.
Company websites
For small and mid-size companies, a consistent set of home-made headshots works well, particularly if everyone uses the same background and framing. Larger organisations with strict brand photography standards may still want an in-person session, so check with whoever manages the site before you submit one.