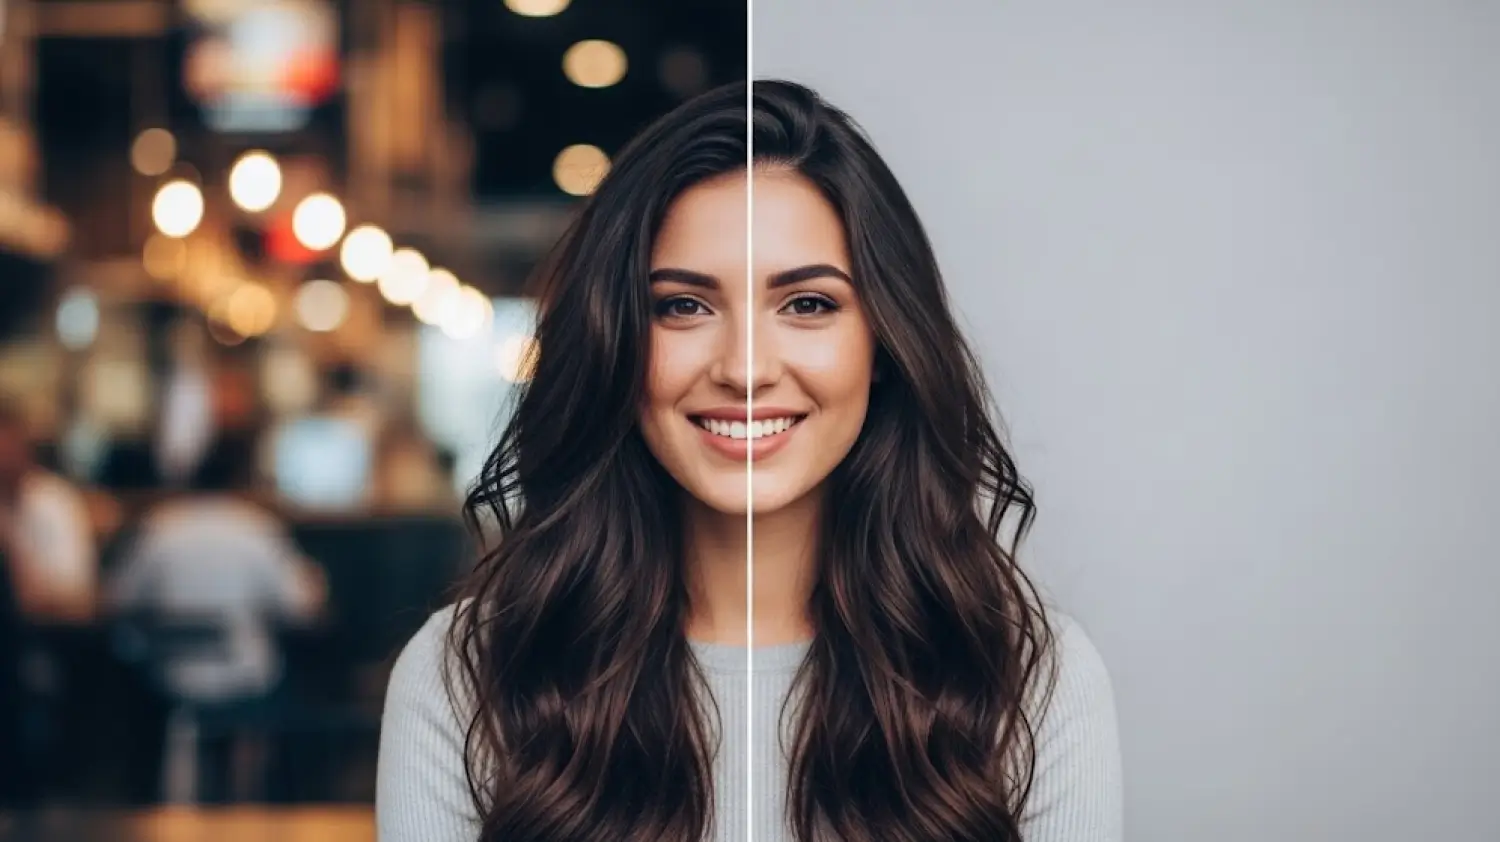
Cutting a subject out of a photo used to mean tracing it by hand, pixel by pixel, in editing software. AI does the same job in seconds, and the results are good enough for product listings, profile pictures, posters and presentations. This guide shows how to do it with the MagicShot background remover, how to prepare a photo so the cutout comes out clean, and how to fix the usual problem areas.
How the AI decides what to cut out
A background remover uses a model trained on large numbers of labelled images to separate the main subject from everything behind it. It predicts, for each pixel, how likely it is to belong to the subject, then makes the rest transparent. Edges are the hard part. Hair, fur, glass and semi-transparent fabric all blend with the background, so they are where mistakes appear.
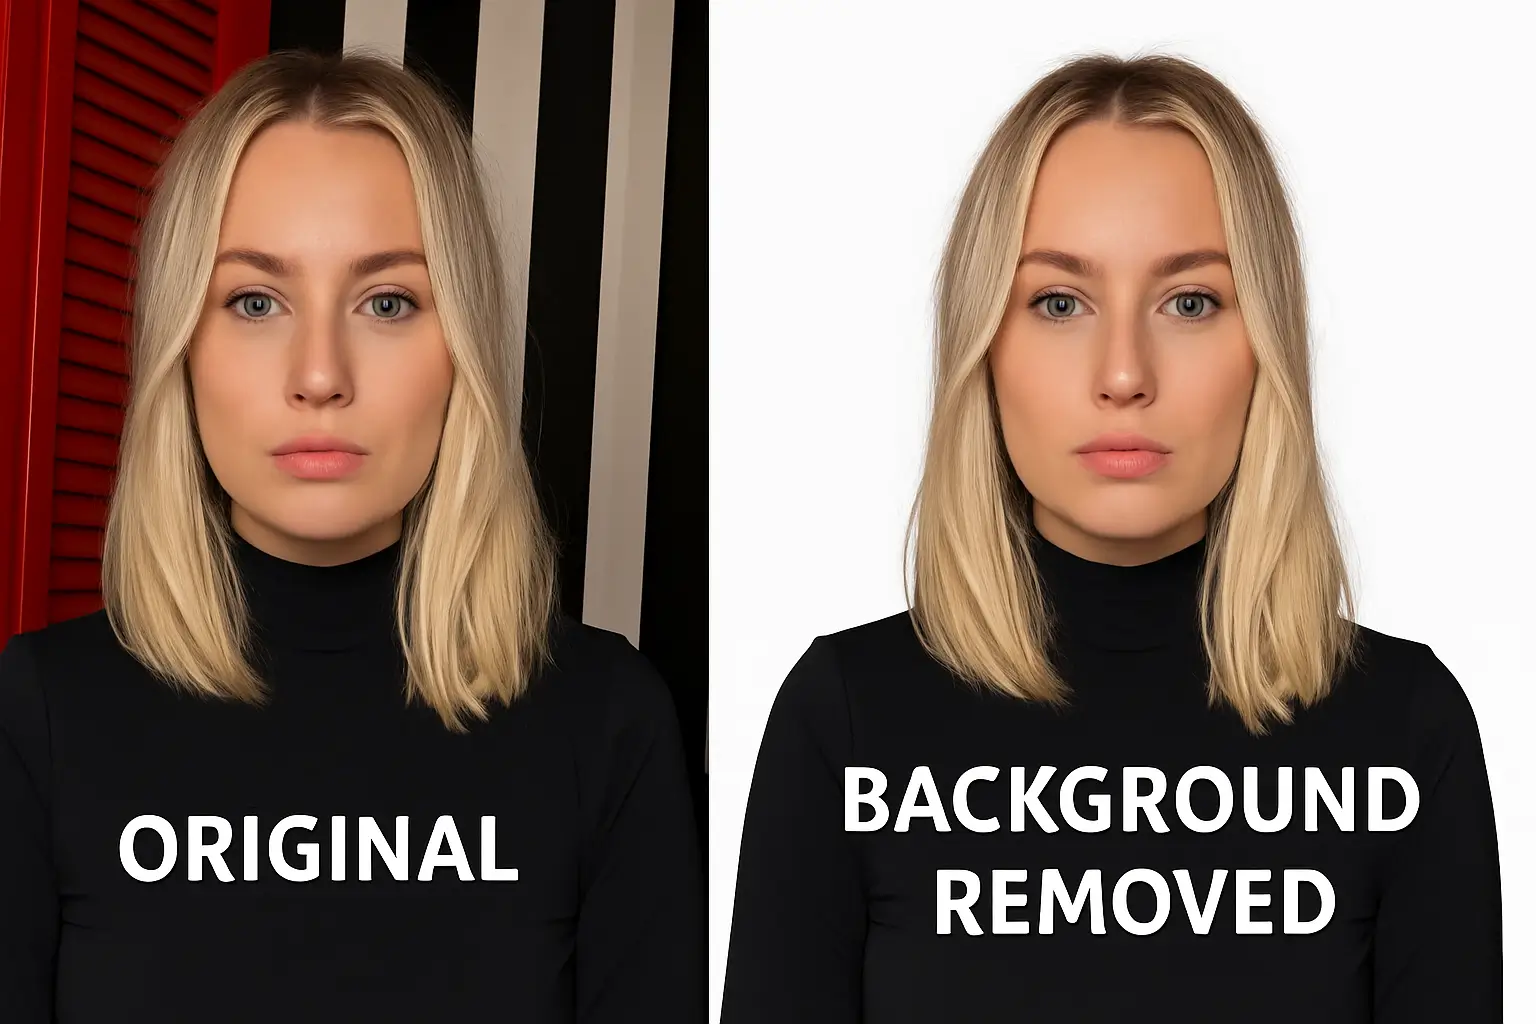
Step by step
Open the background remover. - Upload your photo. - Wait a few seconds while the subject is detected and the background is removed. - Check the edges at full size, especially around hair and hands. - Download the result as a transparent PNG.
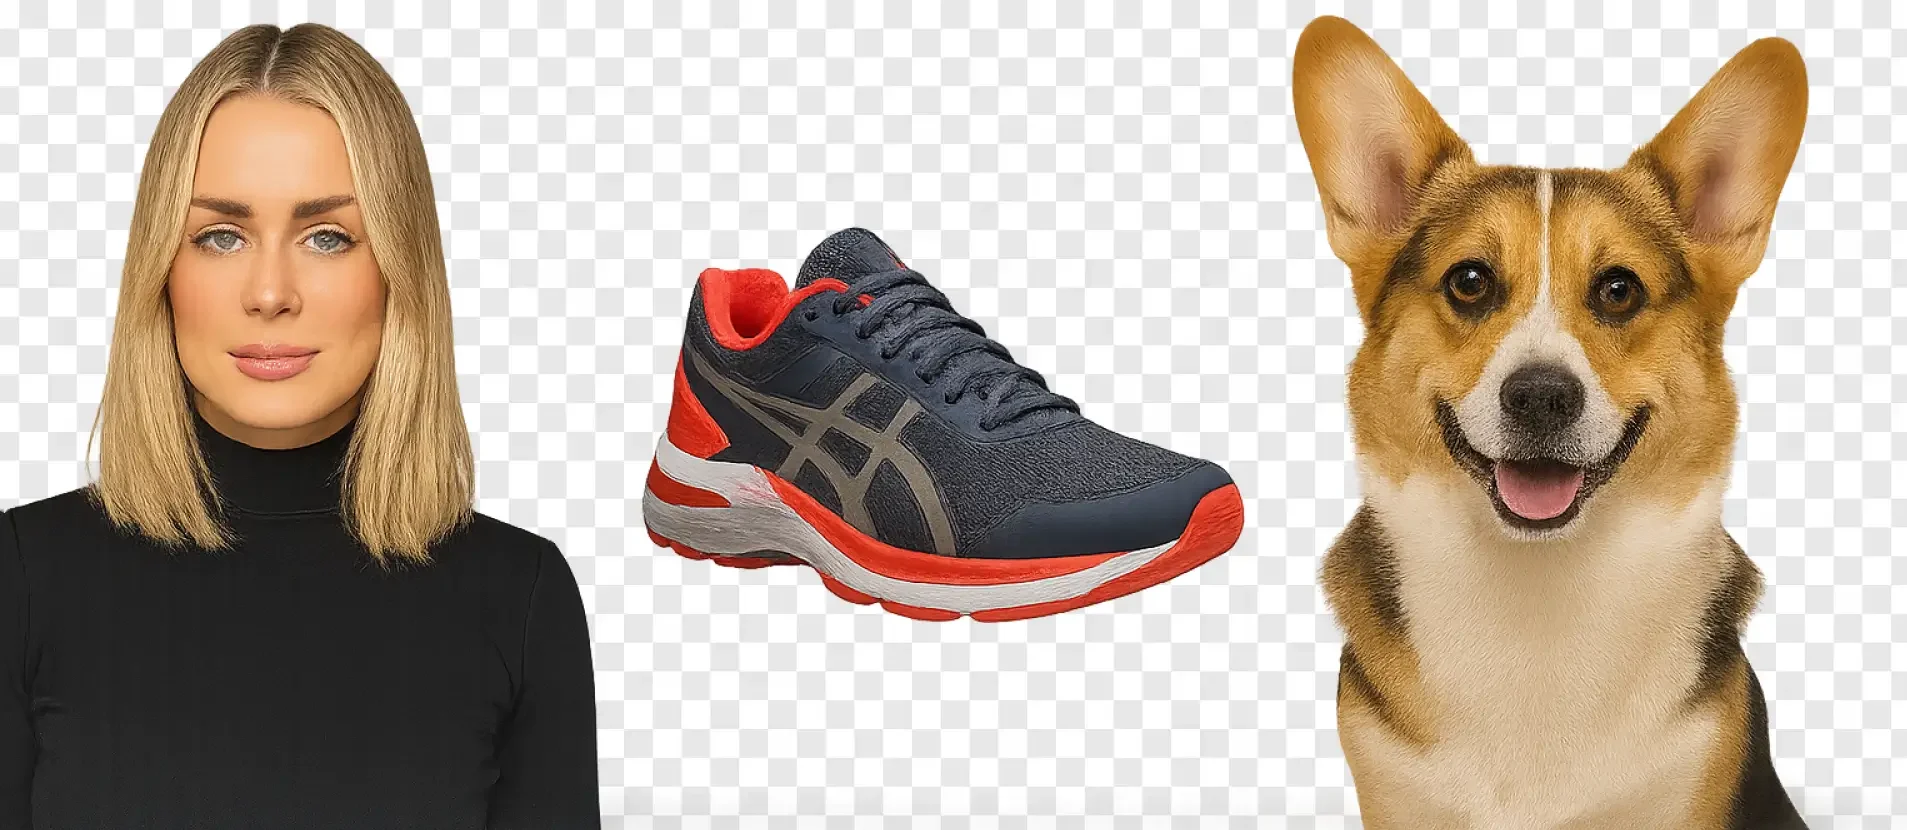
Prepare the photo for a cleaner cutout
Contrast between subject and background. A dark subject on a light wall cuts out more cleanly than a beige sweater against beige curtains. - Sharp focus. Blurry edges produce soft, uncertain cutouts. - Even light. Strong shadows can be read as part of the subject. - Space around the subject. Do not crop right at the edges of hair or limbs. - A single main subject. Several overlapping objects make it harder to decide what to keep.
What to check after the cutout
Hair and fur. Look for halos or chopped strands, and zoom in to inspect them. - Gaps between arms and body. Background is sometimes left in these spaces. - Glasses and glass objects. Transparent areas can come out solid or vanish. - Shadows. A cut-out subject can look pasted on. Add a soft shadow in your design tool if the final image needs to look natural. - Resolution. Download at the highest quality your plan allows when the image will be printed.
What to do next
A transparent PNG is a starting point. Common next steps are:
Product images. Place the cutout on a plain white or light grey background for marketplaces and stores. - Profile and team photos. Put everyone on the same colour so the set looks consistent. - Social graphics. Layer the subject over a coloured or textured background with text behind it. - Presentations. Use cut-out images to remove distractions from slides.
When automatic removal is not enough
Very fine hair against a similar-coloured background, subjects that are the same colour as the wall, and busy scenes with many overlapping objects can all trip up any automatic tool. In those cases, retake the photo with a plain, contrasting background, or tidy the edges by hand in an image editor.
Free tools and paid tools
Tools differ in output resolution, how well they handle edges, batch support and whether images carry watermarks. Test two or three on the same difficult photo, such as a portrait with loose hair, and compare the edges at full size before you commit. MagicShot generation and edits use credits.
Bottom line
AI makes background removal a one-minute job, and a little preparation makes it a better one. Shoot against a contrasting background, check the edges at full size, and add a shadow when the subject needs to sit naturally in a new scene.