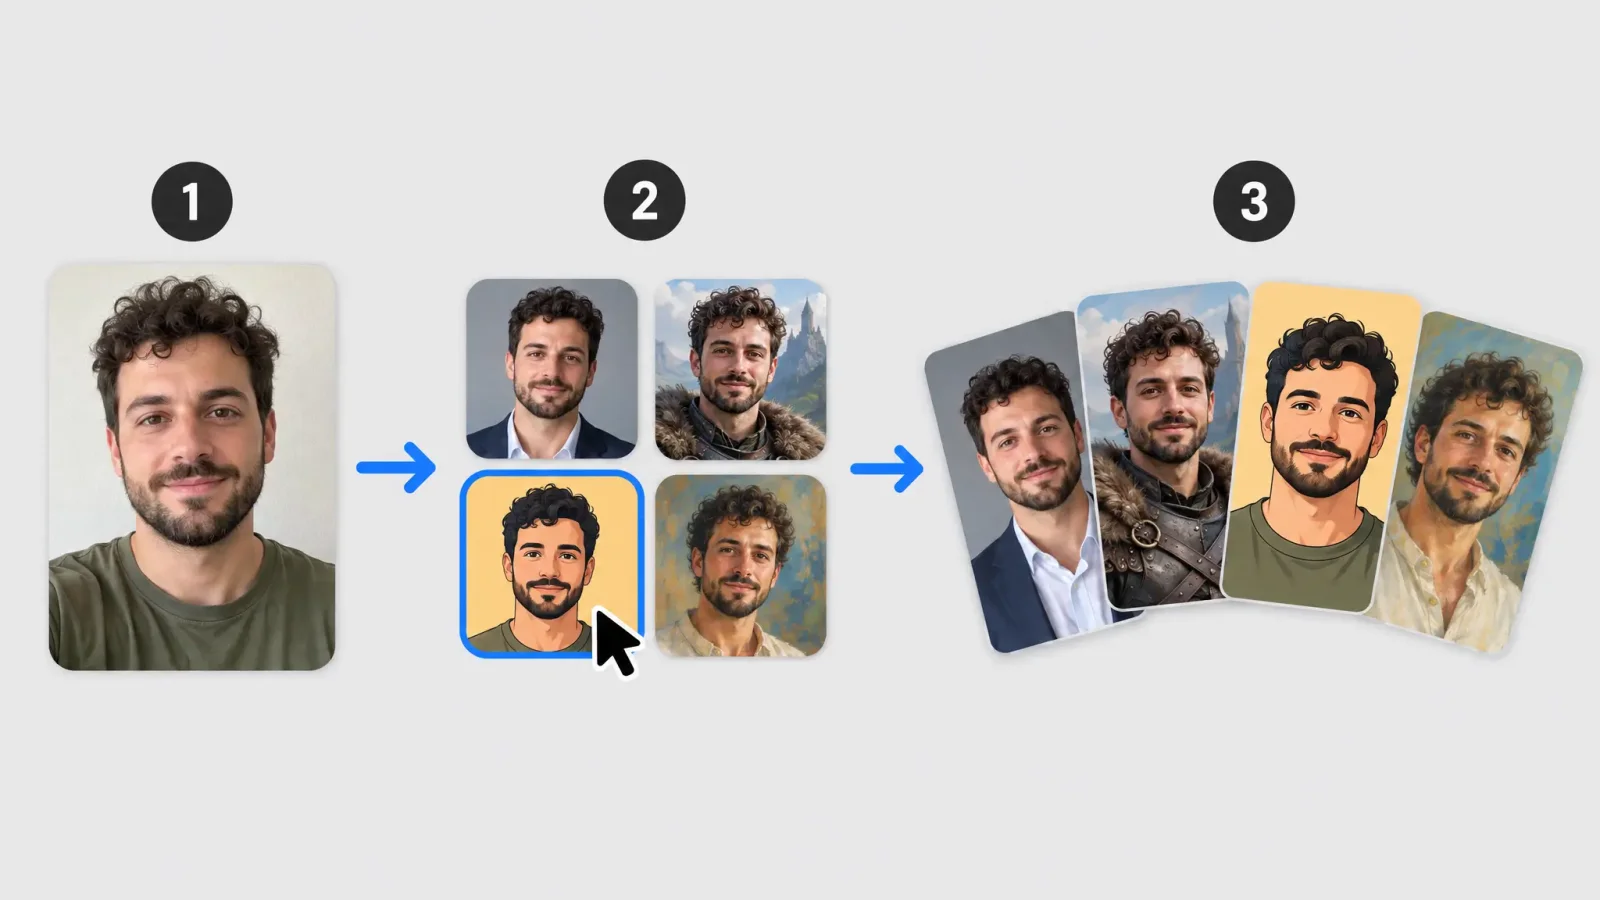
Making an AI avatar from a selfie takes one upload, one category pick and one click on generate. This walkthrough covers what happens at each step, why MagicShot uses categories instead of a blank prompt box, and what tends to stay the same (and what changes) when you run one photo through several styles.
How to Make an AI Avatar From a Selfie
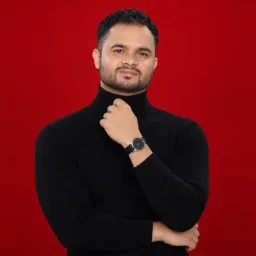
Start with a clear, front-facing selfie in even light. One decent photo is enough. Side profiles, hard shadows and sunglasses all give the model less to work with, and you see that later as an avatar that looks less like you.
Face the camera at eye level. A phone held too low or too high distorts proportions.
Use soft window light instead of an overhead bulb.
Take the photo yourself, close enough that your face fills most of the frame, with no filters.
Picking a Style Category
After the upload you choose a category rather than typing a style description. Categories are grouped by look (male, female and themed sets such as fantasy, professional and illustrated), which keeps results more consistent than an open prompt would. The trade-off is some flexibility in return for reliability. Most people want a dependable avatar on the first or second try, not an experiment.
Compare Several Categories From One Selfie
One upload can run through several categories without re-uploading. A practical habit is to generate three or four back to back and see which one held on to your real features best. A themed illustrated category may look great and still be the weakest match to your face, while a more realistic category usually preserves recognizable features most reliably.
What Stays the Same and What Changes
Face shape and general proportions carry over well in most categories.
Hair color and style change the most, because many categories apply their own hairstyle by design.
Skin tone and eye color usually hold steady unless the category uses a strongly stylized palette, such as comic or painterly looks.
Download and Use Your Avatar
Finished avatars export at a resolution well above what a profile picture needs. Most platforms show a profile photo at only a couple of hundred pixels and crop it to a circle or rounded square, so shrinking it for an icon should not cost visible quality. Keep your face near the center so the crop does not cut anything off.
If you already have an avatar and want to change one part, see Avatar Editor. For a cute, exaggerated take on the same source photo, try the Chibi Avatar Maker.
Ready to start? Open the Avatar Generator and browse its categories before you pick a photo.