How to Create Baby Photoshoot Images with AI (No Studio Required)
- How-to Guides
- 10 min read
- Published: June 8, 2026
- Harish Prajapat
Studio newborn sessions cost $500. Sometimes more. And you get maybe 15 final images, half of which your kid is crying in.
That’s the part nobody tells you before booking.
So when parents started asking me how to do an ai baby photoshoot at home, I got why. The math doesn’t work anymore. And honestly? The results from a good AI tool sit somewhere between ‘pretty close to studio quality’ and ‘better than what your cousin with a Canon would shoot.’ Not perfect. But really good.
Here’s everything I’ve learned testing this stuff for the last six months.
Why AI baby photoshoots blew up this year
Three reasons. Cost, time, creativity.
A traditional newborn session needs scheduling around feedings, nap windows, and the photographer’s calendar. Babies don’t care about any of that. You’ll burn a whole Saturday and pray your kid stays asleep for the curled-up-in-a-basket shot.
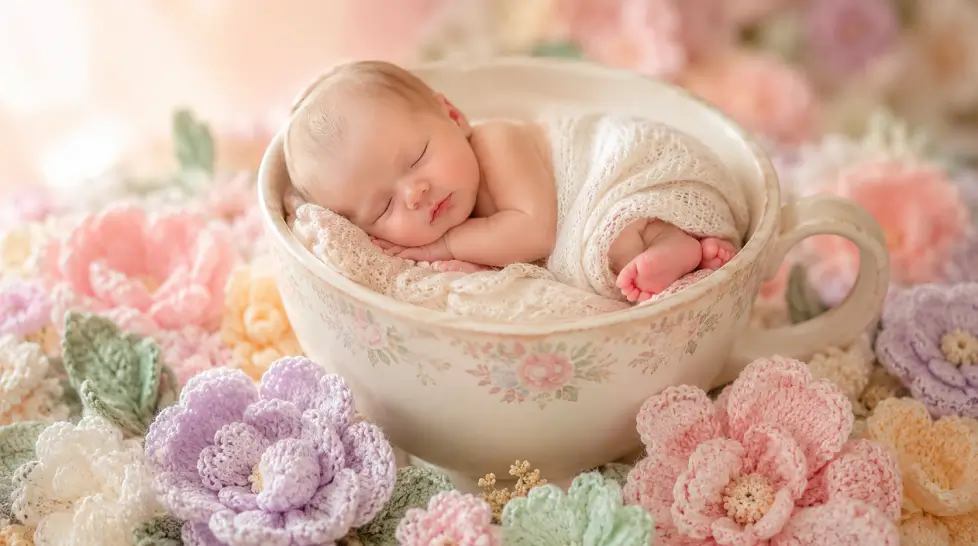
AI flips it. You upload a clear photo, pick a theme, and 30 seconds later you’ve got a baby in a pumpkin patch. Or wrapped in fairy wings. Or asleep in a teacup that looks straight out of a storybook.
The other thing. Parents are sharing these on Instagram and TikTok and the engagement is wild. Themed baby content gets saved more than almost anything else right now. Which means more people see it and want one too.
Cost-wise, you’re looking at the price of a subscription versus hundreds for a single session. The math on traditional photoshoots stopped making sense for most families a while ago.
The three theme categories that actually work
Not every theme looks good with AI. Some land flat. Some look uncanny. After running probably 400 generations across different tools, here’s what consistently works.
Seasonal themes
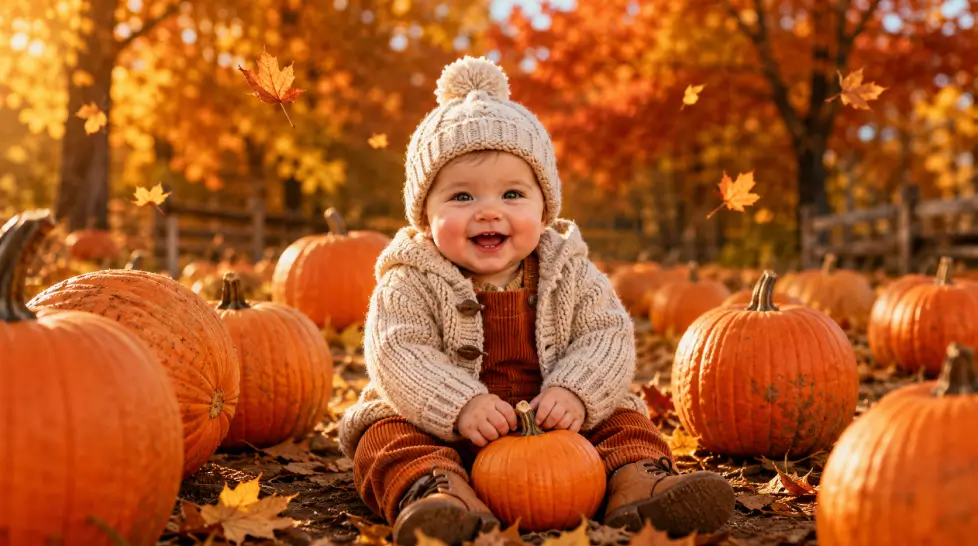
These are the bread and butter. Spring florals, summer beach, autumn pumpkin patch, winter holiday. The AI handles environmental detail really well, which means a baby sitting in a pile of fall leaves looks like it was shot in October.
Winter holiday is huge right now. If you want a deep dive, the baby winter holiday photoshoot guide walks through Santa scenes, sleigh shots, and that hot cocoa setup everyone’s recreating.
Milestone themes
First birthday cake smash. Six-month sit-up shot. Newborn announcement. These work because they’re already familiar visual templates. The AI has a lot to draw from. The results feel authentic because they’re modeled on years of real milestone photography.
Storybook and adventure themes
This is where it gets fun. Baby as a tiny astronaut. Baby in a fairy garden with mushrooms taller than them. Baby curled up next to a dragon (sleeping dragon, very friendly).
These themes used to require actual photo composites and hours of editing. Now? Pick the theme, upload the photo, done.
Step by step: your first AI baby photoshoot at home
This is the workflow I’d actually recommend. Not the marketing version. The real one.
Step 1: Take the source photo right
This is where most people mess up. The AI can only work with what you give it.
- Natural window light. Not direct sun, not overhead lamps
- Plain background, ideally a solid color or soft blanket
- Baby’s face fully visible, eyes open or closed both work
- Sharp focus on the face, no motion blur
- One photo is enough but 3 to 5 gives the AI more to work with
Skip anything with pacifiers covering the mouth, hands in front of the face, or extreme angles. The AI struggles with reconstruction when half the face is hidden.
Step 2: Pick your tool and theme
For an actual AI baby photoshoot you want a tool built for it, not a generic image generator that’ll give you a baby with seven fingers. The AI Baby Shoot feature is specifically tuned for baby photography, which matters more than people realize. Generic generators don’t know baby proportions. They guess. And guessing on baby faces gets weird fast.
Browse themes before you commit. Most platforms show preview examples so you can see how a ‘spring meadow’ shot actually renders before burning a generation on it.
Step 3: Generate, then generate again
First result is rarely the keeper. I usually run 3 to 4 versions of the same theme and pick the best one. Tiny details vary between generations, things like how the eyes catch light or whether the hands look right. Run it more than once.
Step 4: Light edit if needed
Sometimes you’ll want to brighten the face, soften the background, or crop tighter. Quick edits in any phone app work fine. Or use Face Enhancer to sharpen up facial details if the source photo was a bit soft.
Actually, scratch that. If your source photo was good, you probably don’t need any editing. Most of the time the AI output is print-ready straight out.
Best themes by age
Some themes hit different depending on how old your baby is. Here’s the matchup that consistently works.
| Age | Themes that shine | Themes to skip |
|---|---|---|
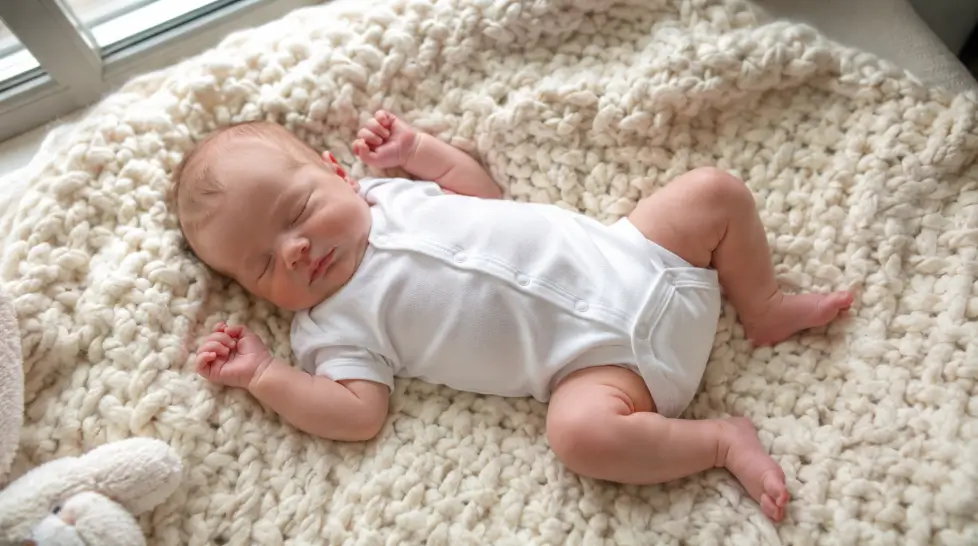
| Newborn (0-3 months) | Curled poses, teacup scenes, sleeping with wings, swaddled in florals | Anything requiring sitting or eye contact |
| 3-6 months | Tummy time milestone, seasonal floral close-ups, soft pastel storybook | Action adventure scenes |
| 6-12 months | Sitting in pumpkin patches, first holiday, fairy garden, beach scenes | Very dark or moody scenes |
| 1-2 years | Adventure (astronaut, explorer), cake smash, all storybook themes | Newborn-style cocoon poses |
Making them print and frame worthy
Honestly this is where most people stop too early. They generate a great image, post it to Instagram, and never print it. Print these. They look amazing on a wall.
A few things matter for print quality.
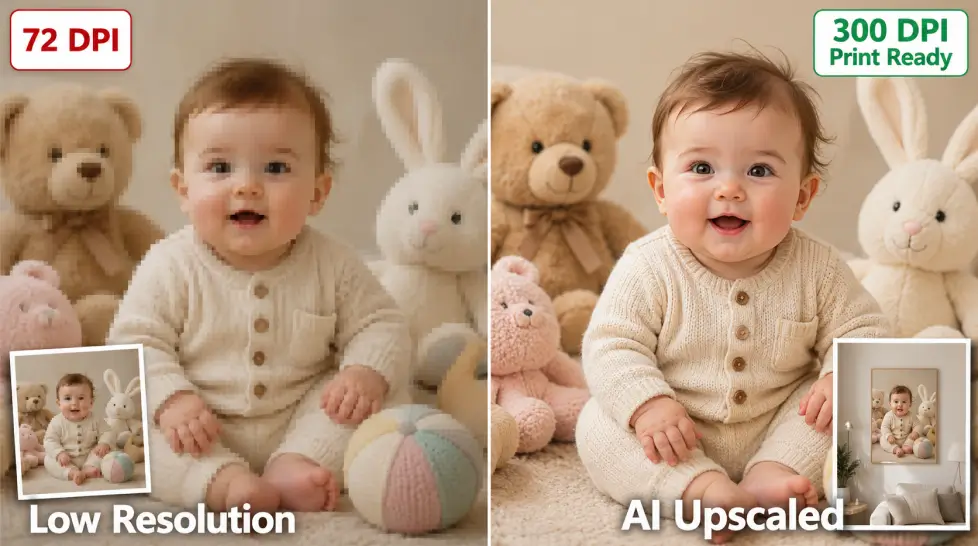
Generate at high resolution. Most AI tools default to web-friendly sizes which look great on screen but get pixelated past 5×7. Look for an HD or 4K option if available.
Upscale before printing anything bigger. Run the final image through an AI Image Upscaler if you want 11×14 or larger. Doubles the file size, sharpens detail, no extra cost.
Pick the right paper. Matte hides imperfections. Glossy shows everything including any tiny AI artifacts. For baby photos I lean matte every time.
Frame to match the theme. Wood frames for autumn, white for spring florals, gold for storybook. Sounds obvious. People still mess it up.
Safety and ethics, the part nobody wants to talk about
Look. AI photos of your baby are still photos of your baby. Same privacy rules apply.
A few things worth thinking about before you share publicly.
- Some platforms store your uploaded photos. Read the privacy policy, not just the marketing copy
- Watermarks help if you’re worried about misuse
- Don’t tag location data in posts of baby content
- Consider private accounts for sharing with family
- Be cautious about themes that put your baby in adult-looking scenarios. Stick to wholesome stuff
There’s also the question of whether grandma can tell it’s AI. Most of the time, she can’t. Which is fine, but worth being upfront about if you’re sending these as birth announcements. Some families love the AI version. Others want the real, slightly-blurry, milk-on-the-chin version. Both are valid.
If you’re curious about how the underlying tech actually works, the guide on AI baby face generators covers the mechanics in plain English.
Common mistakes I see
The number one mistake. Using a bad source photo and blaming the AI for weird results. Garbage in, garbage out. Always.
Number two. Picking themes that don’t match your baby’s age. A 3-month-old in an action astronaut scene looks off because the proportions and expressions don’t fit. Match the theme to the developmental stage.
Number three. Generating once and giving up. Always run 3 to 4 versions. The variation between generations is real and the best result might be on attempt four.
Number four. Skipping the upscale step before printing. Then wondering why the 16×20 canvas looks fuzzy.
Wrapping this up
An AI baby photoshoot at home isn’t a replacement for every memory you’ll capture of your kid. The candid phone shots of them face-planting into spaghetti? Those stay irreplaceable.
But for the polished, themed, framable stuff that used to require a $500 studio session and a whole Saturday? AI handles it better than expected. Faster too. And you can do twelve themes instead of one.
Start with a single seasonal theme. Match it to your baby’s age. Use a good source photo. Print the result.
You’ll be surprised how good it looks on the wall.
Frequently Asked Questions
Generally yes, but the same rules apply as any baby photo. Watch where you post, who can see it, and avoid sharing personal details like full name or location. AI photos based on your real baby’s face carry the same privacy weight as a regular photo.
Most tools need 1 to 5 clear, well-lit photos of your baby’s face. Front-facing shots work best. Avoid blurry pics, weird angles, or anything where pacifiers or hands cover the face.
Anywhere from newborn to toddler works, but lighting and clarity of the source photo matter more than age. Newborn themes shine for 0-3 months. Storybook and adventure themes look amazing on 6-month to 2-year-olds.
Yes. Generate at the highest resolution your tool allows, then run it through an upscaler if you want anything bigger than 8×10. Matte paper hides any softness better than glossy.
A studio newborn session runs $300 to $800 in most cities. An AI baby photoshoot at home costs the price of a subscription, usually under $30 a month, and you get unlimited themes and reshoots.