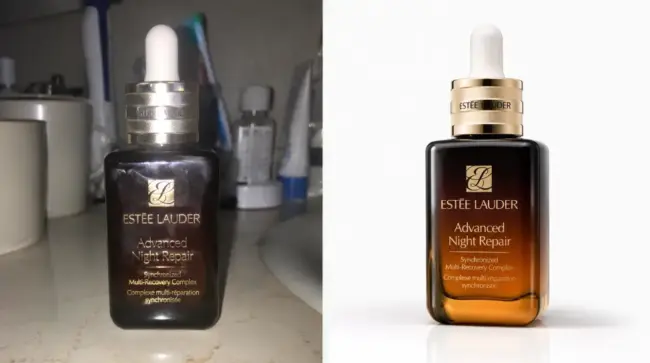



How to Create Perfect White Background Product Photos with AI
- How-to Guides
- 6 min read
- Published: May 22, 2026
- Harish Prajapat
Amazon will reject your listing if the background isn’t pure white. Not cream. Not light grey. Pure, hex-code white. RGB 255, 255, 255.
And here’s the annoying part. Most product photos you take on a phone or a basic light setup at home? They’re not white. They’re slightly grey, slightly yellow, slightly something. Which means hours in Photoshop with the pen tool, or paying an editor $3 per image, or just giving up and watching your conversion rate sink.
There’s a faster way now. AI does the cutout in roughly two seconds, drops your product onto a clean white canvas, and spits out a file that passes Amazon’s image guidelines on the first upload. I’ve tested this on jewelry, candles, sneakers, supplement bottles, and one weirdly shaped ceramic mug that gave traditional editing software a meltdown. The AI handled it.
Let me walk you through the actual process.
Why White Backgrounds Aren’t Optional for Ecommerce
Amazon’s image policy is strict. The main product image on every listing has to be on a pure white background. No props, no logos, no shadows that bleed into the edges. If you violate this, your listing can get suppressed. That means it stops showing up in search. Bad.
But it’s not just Amazon. Walmart Marketplace, Target Plus, eBay’s enhanced listings, Google Shopping ads, most Shopify themes that auto-grid product tiles. They all look cleaner with consistent white backgrounds. Mixed backgrounds across a product grid look amateur. Really amateur.
And conversion data backs this up. Listings with clean, consistent product imagery convert 30-40% better than listings with cluttered or inconsistent backgrounds. Shoppers scan. Their eyes need to find the product fast. White does that.
The One-Click Method: Remove Background Product Photo AI
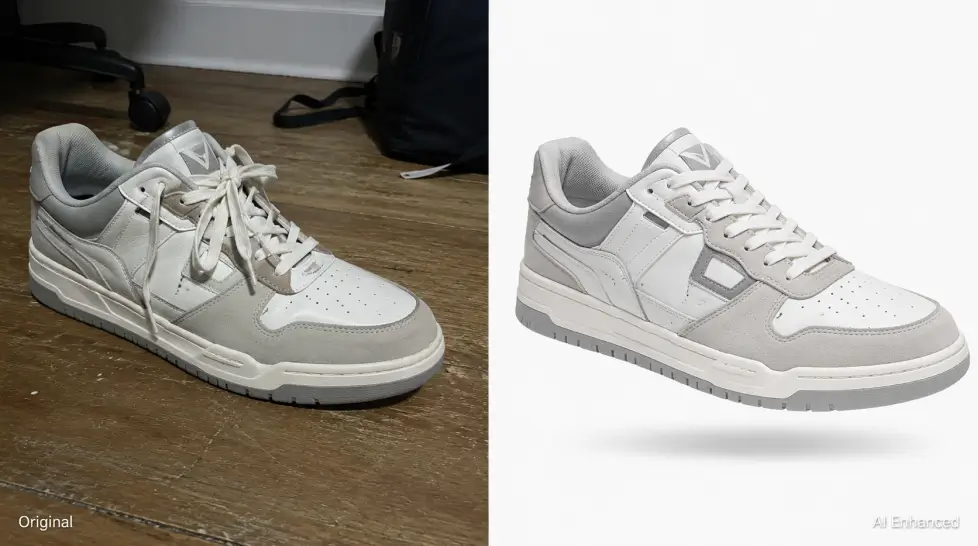
Here’s the basic workflow. You upload a photo. The AI detects the product. It removes everything else. You get a transparent PNG or a white background JPEG depending on what you need.
Sounds simple because it actually is now. Two years ago this would have taken 15 minutes of masking and edge refinement per image. Now it’s a single click.
The tool I use most is the AI Background Remover for individual photos when I just need a quick cutout. For full product shoots where I want shadows, reflections, or specific surface placement, I use AI Product Photography instead. They do different jobs.
Here’s the step-by-step:
- Take or upload your product photo (more on source photo quality below)
- Drop it into the tool
- Wait two to four seconds
- Choose your background: pure white, off-white, grey, gradient, or transparent
- Download in the format you need
That’s it. The whole thing takes less time than reading this paragraph.
What about hair, fur, transparent objects, glass?
This used to be the hard stuff. Glass bottles where you can see through to the background. Wine. Perfume. Anything with fine fur or hair details. Lace. Mesh.
The newer AI models handle these way better than older tools did. Glass bottles keep their transparency. Fur stays fluffy at the edges instead of getting that crispy cut-out look. But. It’s not perfect. Highly reflective chrome and very fine wire mesh still trip up the AI sometimes. Plan to spot-check those.
Source Photo Tips That Actually Matter
Here’s something nobody tells you. The AI is only as good as what you feed it.
I’ve seen people upload a blurry, dimly lit, weirdly angled phone shot taken on their couch and then complain that the AI “messed it up.” The AI did fine. The photo was the problem.
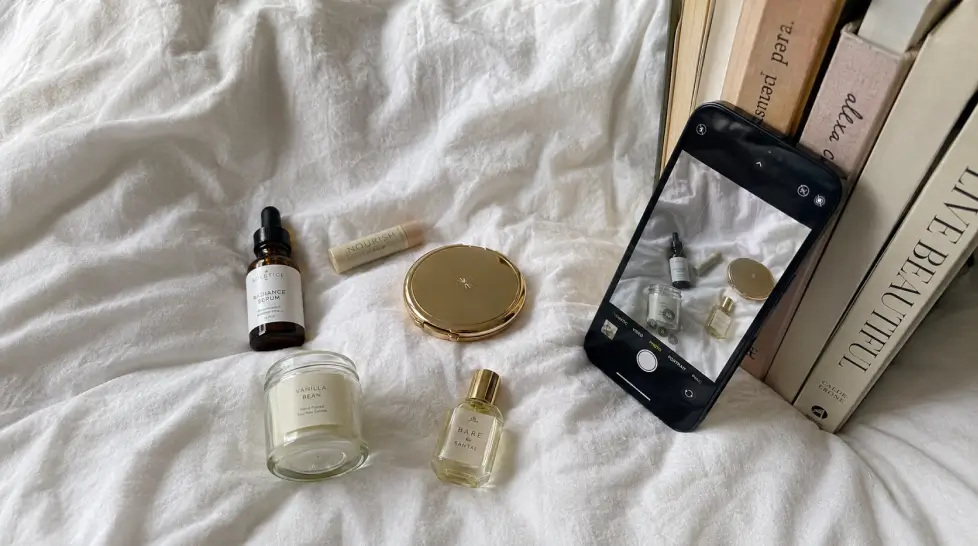
If you want clean white background product photo AI results, your source photo needs a few things:
- Even lighting. Window light during the day works great. Avoid mixed light sources. A desk lamp plus a window plus an overhead bulb creates color casts that look weird after the cutout.
- Sharp focus. Tap your phone screen on the product before shooting. Blur kills AI edge detection.
- Contrasting background. Counterintuitive, right? But the AI needs to see where the product ends. Don’t shoot a white candle on a white tablecloth. Shoot it on something darker.
- Decent angle. Straight-on or slight three-quarter view. Skip extreme angles for main images.
- Resolution. 2000 pixels on the long side minimum. The bigger the source, the more the AI has to work with.
I know this sounds like a lot. It’s not. A quick phone setup with a white bedsheet draped over a chair and natural light from a window covers 80% of these. Total setup time, maybe four minutes.
White, Grey, or Gradient: Which Background Should You Use?
Pure white is mandatory for Amazon main images and for most marketplace primary listings. No flexibility there.
But your secondary images, your Shopify product pages, your Instagram posts, your ad creatives? You have options.
| Background | Best For | Avoid For |
|---|---|---|
| Pure white (#FFFFFF) | Amazon mains, marketplace listings, catalog grids | Social ads, hero banners |
| Light grey (#F5F5F5) | Premium feel, Shopify product detail pages, jewelry | Amazon main images |
| Soft gradient | Hero banners, ad creatives, email headers | Marketplace compliance shots |
| Transparent PNG | Stacking on custom backgrounds, design work | Direct uploads where JPEG required |
Most AI tools let you swap between these in one click after the cutout is done. So you can generate a full set, white for Amazon, grey for Shopify, gradient for your homepage hero, all from a single source photo. That alone saves hours per launch.
Batch Processing for Real Catalogs
If you have a catalog of 50 SKUs or 500, one-at-a-time is dead. You need batch.
Here’s how I run it. I shoot all my products in one session against the same colored bedsheet (a faded grey works for me). I upload the entire folder into MagicShot. I pick a single preset: pure white background, centered composition, 1:1 aspect ratio at 1600×1600. I hit go.
Three minutes later I have a zip file of Amazon-ready photos. For a batch of 50 items. Three minutes.
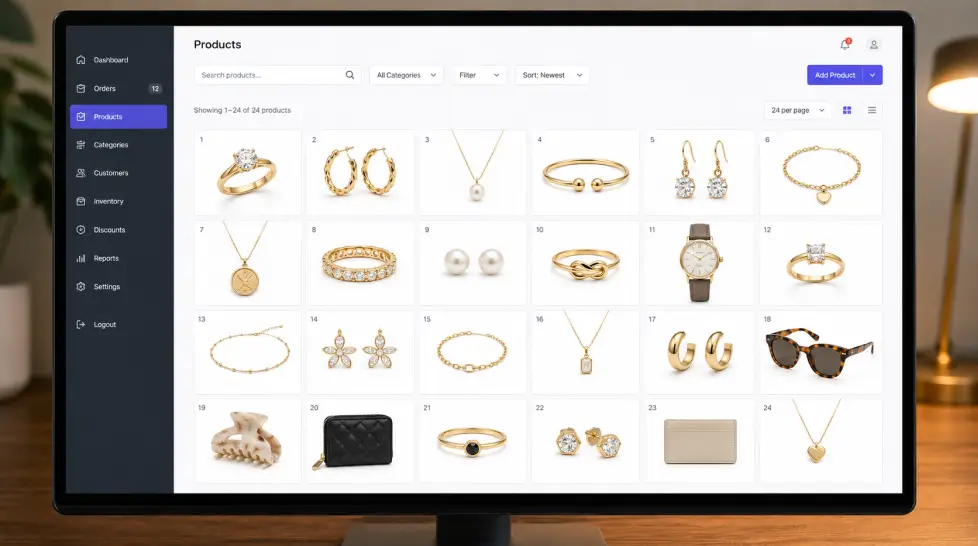
The thing about batch is consistency. When you process one at a time, you tweak settings, you change your mind, you end up with a catalog where image 1 has a soft shadow, image 15 has a hard shadow, image 23 has no shadow. Customers notice. Batch enforces consistency.
If you want a deeper dive into the product photo workflow specifically, this guide to AI product photography covers the full studio-quality side of things. And for general background removal across any image type, the background removal tutorial goes deeper than I can here.
Common Mistakes That Trip People Up
A few things I’ve watched people mess up over and over:
- Compressing too hard. They run their image through three different tools, each one applying JPEG compression, and the final file looks soft. Pick one tool, export once.
- Wrong aspect ratio for the platform. Amazon wants square. Etsy is flexible. Instagram product tags need square or 4:5. Set this in your tool before exporting, not after.
- Forgetting the contact shadow. A product floating in mid-air on a white background looks fake. Even Amazon allows a subtle natural shadow under the product. Use it. Things look grounded.
- Pure white background but the product itself has white areas. White on white can blend into the background. A faint outline or a very soft drop shadow saves the silhouette.
When AI Isn’t the Right Choice
I said I’d be honest. There are still cases where AI white background product photo tools struggle.
Anything with extremely fine wire frames or mesh patterns can lose detail at the edges. Highly reflective metallic surfaces sometimes pick up weird artifacts from the original background that the AI doesn’t fully remove. And products with very complex transparent layers, like a perfume bottle with a colored liquid behind frosted glass behind a clear outer shell, can confuse even the best models.
For those, you might still need a human editor or a more specialized tool. But that’s maybe 5% of products. The other 95%, AI handles in seconds.
Wrapping This Up
Clean white background product photos used to be a luxury. Studio rental, lighting setup, an editor on retainer. For small sellers it was a real cost barrier.
Now it’s a phone, a window, and an AI tool that costs less per month than a single Photoshop subscription. Test it on five of your worst-looking listings this week. See what happens to your click-through rate. The math usually works out fast.
Your listings deserve better photos. Go make them.
Frequently Asked Questions
Pure white, RGB 255, 255, 255. Anything off-white, cream, or light grey will get flagged. Most AI background removers default to this exact value, but always double-check before bulk uploading. A quick eyedropper test in any image viewer confirms it.
Yes, and that’s actually where AI shines. Modern tools separate soft shadows from the subject cleanly, then let you choose to keep a contact shadow or drop it entirely. For Amazon main images, drop the shadow. For Shopify product detail pages, keep a soft one for depth.
Upload the full set in one go through MagicShot’s AI Product Photography or AI Background Remover. Apply the same background preset across all images, then download as a zip. A batch of 50 takes about three to four minutes depending on file size.
Not if your source photo is decent. Good even lighting, sharp focus, no extreme angles. The AI handles the rest. The fake look usually comes from bad input, not bad output. A blurry phone shot taken at midnight in a dim kitchen will always look off.
JPEG at 1600×1600 pixels or larger, sRGB color profile, under 10MB. PNG works too but file sizes balloon fast. Most AI tools export Amazon-ready specs automatically when you pick the marketplace preset.