How to Create AI Videos from Text Prompts: Step-by-Step 2026 Guide
- How-to Guides
- 7 min read
- Published: May 15, 2026
- Harish Prajapat
Text to video used to be a joke. Blurry frames, melting faces, dogs with five legs. That was 18 months ago. Now? You can type a sentence and get a 10-second clip that looks like a real camera shot it. Sort of. The good ones do. The bad ones still melt.
This is a working tutorial. Not theory. I’ll walk you through making a clip from text using MagicShot’s AI video generator, what to type into the prompt box, which model to pick for what, and the small stuff that ruins your output if you skip it.
Let’s go.
1. Account setup (the boring part, but skip it and nothing works)
Head to magicshot.ai and create an account. Email or Google, doesn’t matter.
Once you’re in, on top menu lists every feature. You want AI Video Generator under the Video category. Click it. You’ll see a prompt box, a model selector, duration toggles, and an aspect ratio picker. That’s the whole workspace.
One thing worth checking before you generate anything. Look at your credit balance in the top corner. Different models cost different amounts. VEO 3.1 burns more credits than Seedance. If you’re testing prompts, start with cheaper models. Save the premium ones for the final version.
2. How to write a video prompt that doesn’t suck
This is where 90% of people lose. They type “a man walking down a street” and wonder why the output looks like a corrupted GIF from 2003.
A video prompt isn’t a search query. It’s a shot description. Treat it like you’re talking to a cinematographer who’s never read your mind before.
Five things every prompt should have:
- Subject: who or what is in the frame, described with specifics
- Action: what they’re doing, in the present moment
- Setting: where it’s happening, including time of day
- Camera: shot type and movement (close-up, wide, tracking, static)
- Style or mood: cinematic, documentary, anime, noir, golden hour, neon
Bad prompt: woman in city.
Better prompt: A woman in a red trench coat walks across a rainy Tokyo crosswalk at night, neon signs reflecting in puddles, slow tracking shot from behind, cinematic Blade Runner mood, shallow depth of field.
The second one tells the model exactly what to render. The first one gives it permission to invent.
One more tip. Don’t stack too many actions. “She walks, then turns, then waves, then sits down” in one 5-second clip? You’ll get a blurry mess. Pick one action. Make it count.
If you want a deep dive on prompt construction, the prompt writing guide covers it for images and most of it carries over to video.
3. Step-by-step: prompt to model to duration to generate
Okay. You have your prompt. Here’s the actual click-by-click.
Step 1: Paste your prompt
Drop it in the text box. Don’t worry about length. Long detailed prompts work fine. Two short sentences also work. Just make sure every word does something.
Step 2: Pick a model
This is the part most tutorials skip. The model matters more than the prompt sometimes.
| Model | Best for | Watch out for |
|---|---|---|
| Kling Omni | Realistic human motion, physics, dialogue scenes | Slower, higher credit cost |
| VEO 3.1 | Cinematic shots, complex lighting, native audio | Premium pricing |
| Seedance 2.0 | Fast iteration, stylized motion, action scenes | Less realistic faces |
| Wan 2.6 | Anime, illustrated styles, character work | Not great for photoreal humans |
If you want a side by side breakdown, the best text to video tools roundup goes deeper. For this tutorial, start with Seedance if you’re testing. Switch to VEO or Kling when you’re ready for the keeper.
Step 3: Set duration and aspect ratio
Most models offer 5 or 10 second clips. Pick based on your platform.
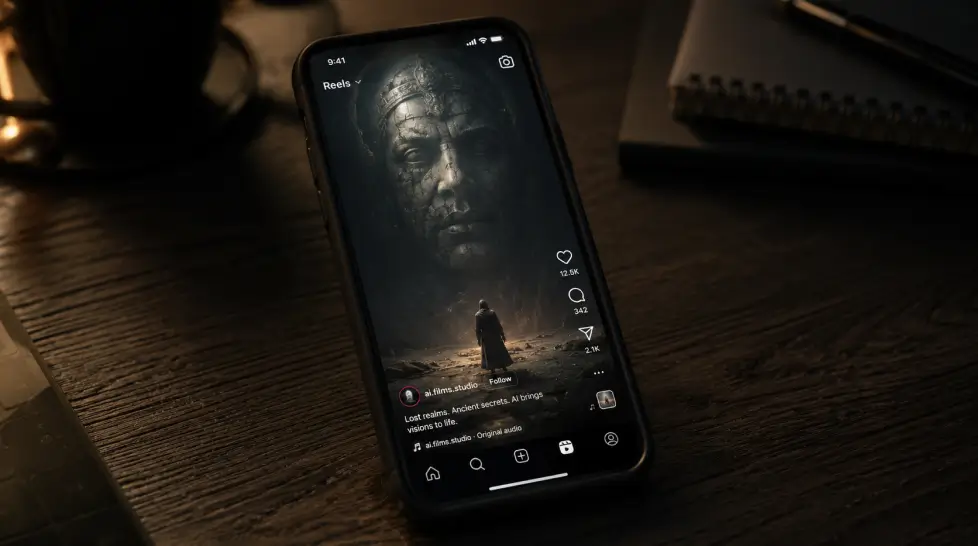
- TikTok, Reels, Shorts → 9:16 vertical, 5 to 10 seconds
- YouTube → 16:9 horizontal, 10 seconds
- Square posts → 1:1, 5 seconds usually plenty
Honest take? Start with 5 seconds. If the motion is clean, generate again at 10. If 5 seconds is glitchy, 10 will be worse.
Step 4: Hit generate
Wait. Could be 45 seconds. Could be 3 minutes. Don’t refresh the tab. The clip lands in your history when it’s done.
Now here’s where I should be honest about a limitation. Sometimes you’ll generate the exact same prompt twice and get wildly different results. One clip will be cinematic. The next will look like it was filmed through a soaking wet lens. That’s the nature of these models. Generate 2 or 3 versions before you judge a prompt.
4. Add sound effects (silent video doesn’t hit the same)
A muted AI video looks like stock footage. With sound, it becomes a scene. Big difference.
MagicShot has a video sound generator that adds ambient audio and effects to silent clips. Footsteps, rain, wind, traffic, ocean, fire. It analyzes the visual and matches sounds to what’s on screen.
To use it: open your generated clip, click “Add Sound”, describe what you want or let it auto-detect. Wait about 30 seconds. Download with audio baked in.
Two notes on this. First, VEO 3.1, Seedance 2.0 & most of the new models generates native audio inside the clip itself, so you don’t always need to add it after. Second, the auto-detect works better on simple scenes than chaotic ones. A clip of a woman walking on a beach? Easy. A clip of a busy market with twelve people moving? Mixed results.
You can also layer your own music in any editing app after download. Sometimes that’s the cleaner play.
5. Download and share
Once you’re happy with the clip, hit download. MagicShot exports MP4 by default, which works on basically everything.
If you want to push it straight to social, the export resolution matters. For Reels and TikTok, 1080×1920 is the sweet spot. For YouTube Shorts, same. For regular YouTube uploads, go horizontal 1920×1080.
Quick checklist before posting:
- Watch the full clip on mute first. Look for glitches you missed.
- Watch again with sound. Make sure audio sync isn’t off.
- Check the first frame. That’s your thumbnail on most platforms.
- Trim the last half second if motion gets weird at the end (it often does)
For ideas on how to chain these clips into actual content people watch, the guide on creating viral short videos with AI covers stitching and editing flow.
6. Tips for better results (the stuff nobody tells you)
I’ve burned a lot of credits. Here’s what actually moves the needle.
Tip 1: Specific beats clever
“Golden hour” works. “Lighting like a Wong Kar-wai film” sometimes works, sometimes confuses the model. Specific descriptions like “warm orange light from the left, soft shadows” almost always work.
Tip 2: One subject, one action
The single biggest mistake I see is people cramming three things into one 5-second clip. Pick one moment. Render it well. Stitch clips together later for longer scenes.
Tip 3: Use camera language
Words like tracking shot, dolly in, static wide, handheld, aerial, over the shoulder all do something. The model recognizes them. If you want full control over movement, the motion control feature lets you direct the camera path more precisely.
Tip 4: Negative prompts are underrated
Some models accept negative prompts. “No distorted hands, no warped faces, no extra limbs.” It helps. Not always, but often enough.
Tip 5: Generate in batches
Don’t fall in love with the first output. Generate 3 versions of the same prompt. Pick the best one. Sometimes version 3 is dramatically better than version 1 even though nothing changed.
Tip 6: Start with an image, then animate
If text alone isn’t getting you what you want, generate a still image first, then use image-to-video. You get way more control over the starting frame. The composition is locked. The model only has to figure out motion.
Tip 7: Know when to stop
If you’ve generated the same prompt 6 times and none of them are working, the prompt is the problem. Not the model. Rewrite it. Change the subject, change the camera, change the style. Don’t just keep clicking generate.
One last thing
AI video is fast right now. The model you used last month is probably already outdated. What matters isn’t picking the perfect tool. It’s getting fluent with the prompt patterns that work. Once you can describe a shot the way a director would, every model gives you better output.
Open MagicShot. Pick a prompt. Generate something silly to start. Then build up. By your tenth clip you’ll know exactly what you’re doing.
And your tenth clip will look 10x better than your first. Promise.
Frequently Asked Questions
Most clips between 5 and 10 seconds finish in 60 to 180 seconds depending on the model. Kling Omni and VEO 3.1 sit on the longer end. Seedance 2.0 tends to be faster. Queue times can push that up during peak hours.
For realism, VEO 3.1 and Kling Omni handle physics, lighting, and human motion better than most. Seedance 2.0 is strong for stylized motion and quick iteration. Wan 2.6 works well for anime-leaning or illustrated content.
MagicShot includes free credits when you sign up so you can test text to video without paying. Heavier use, longer clips, and premium models like VEO 3.1 require a paid plan. Most users burn through free credits in an afternoon.
Standard clips run 5 to 10 seconds per generation. You can extend or stitch multiple clips together for longer videos. Going past 10 seconds in a single generation usually costs quality or coherence.
Usually it’s the prompt. Vague prompts produce mushy output. Add specific subject, action, camera movement, lighting, and style. Also, complex scenes with many moving people break more often than simple ones with one clear subject.