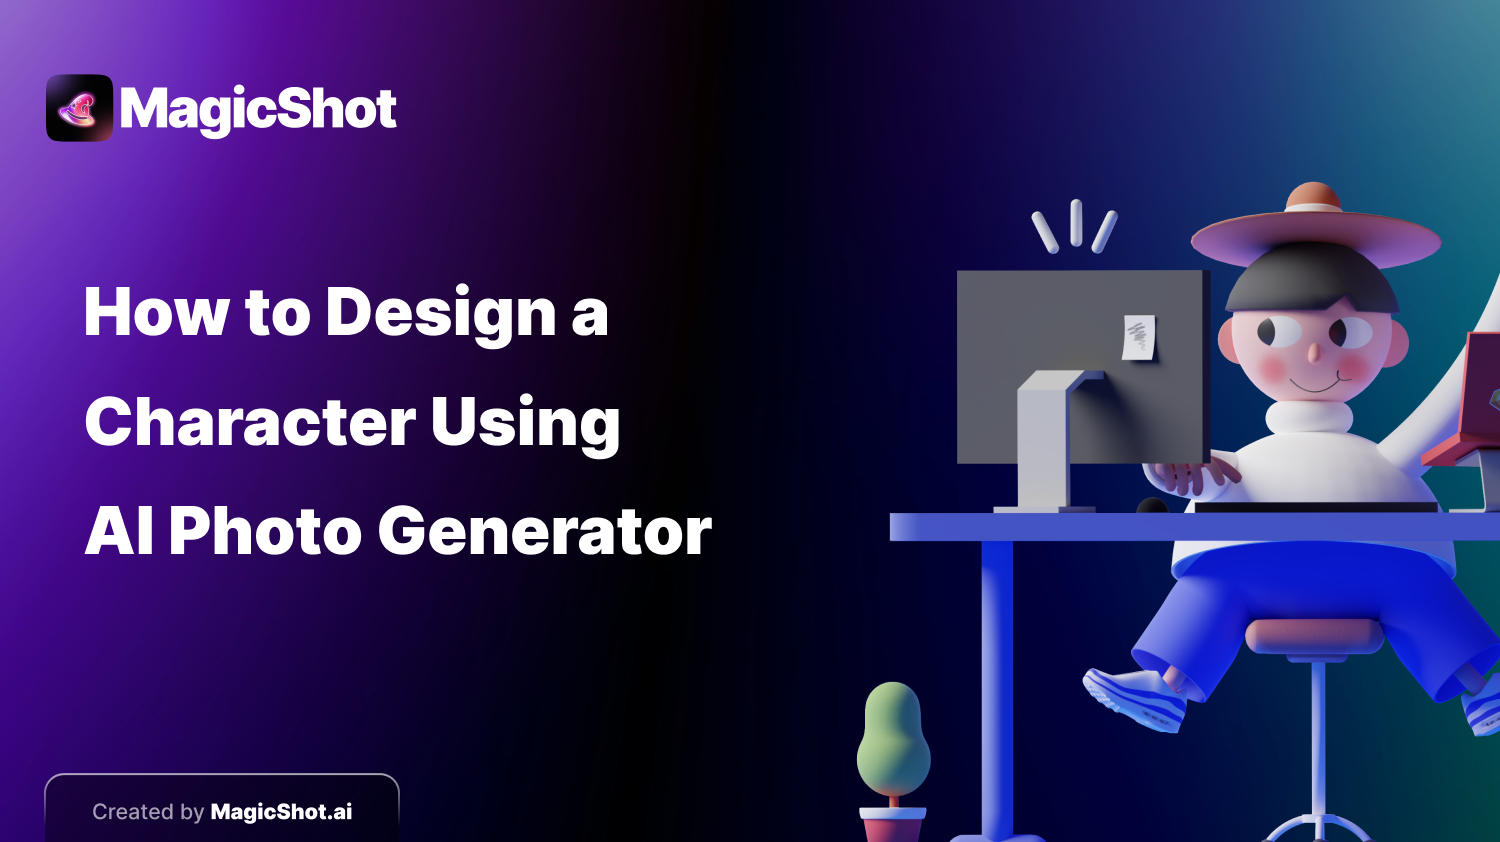
Generating one great character image is easy. Making the same character look the same across ten images is the hard part, and it is what separates a design from a lucky picture. This workflow borrows from how character artists actually work, then shows where an AI generator like MagicShot fits in.
1. Start with a job, not a look
Decide what the character has to do: lead a game, front a brand, star in a comic, represent a channel. Write three adjectives and one flaw. "Curious, stubborn, kind; always late" tells you more than "cool female warrior", and it will shape the clothes, posture and expression you ask for.
2. Think in shapes first
Designers use shape language: circles and soft curves feel friendly, squares feel solid and dependable, triangles and sharp angles feel dangerous or energetic. Choose a dominant shape for the character and say so in the prompt, such as "rounded, friendly proportions" or "angular, sharp silhouette".
3. Test the silhouette
Fill the character in solid black. If you can still tell who they are and what they do, the design is strong. If it is a blob, simplify the outline: change the hair, the coat, the prop. Generate silhouette-focused variations early, before you commit to details.
4. Collect references and write a design block
Gather references for costume, colour and mood, then write a fixed description you paste into every prompt. For example: "a tall woman with short silver hair, round glasses, mustard-yellow raincoat, brown boots, freckles". Reuse the exact words each time, and change only the pose, scene or expression. This is the single most effective trick for consistency. Our guide to crafting powerful AI image prompts shows how to structure them.
5. Generate the base design
Use a specific prompt rather than a generic one. "A strong female warrior with long silver hair, futuristic armour, holding a glowing sword" is better than "female warrior". Pick a style that matches the world, whether realistic, cartoon or painterly, and generate many options. The AI art generator is a good starting point. For brand characters, try the mascot generator.
6. Build a character sheet
Professionals work from a sheet showing front, side and back views, a few expressions and the colour palette. Generate those views from your chosen base image and keep your design block unchanged. If the tool supports reference images, use your best result as the reference for later generations.
7. Limit the palette
Three to five main colours are easier to keep consistent. Choose one dominant colour, one accent and neutrals, and name them in the prompt. Colour also signals personality: warm saturated tones read as energetic, muted cool tones as calm or mysterious.
8. Check for common AI problems
Drift. Faces, hair length or outfit details change between images. Tighten the design block.
Hands and accessories. Fingers, jewellery and props are frequent errors.
Clutter. Too many details break the silhouette and cannot be reproduced reliably.
Style mixing. Do not blend several art styles in one prompt unless you want a messy result.
9. Edit and finish
AI images are a starting point. Fix errors in an editor, redraw details you cannot reproduce, and make final adjustments to colour and pose. Export as PNG when you need a transparent background, or JPG when file size matters, and keep a high-resolution master.
10. Know your rights
Read the tool's commercial terms before you use a character in a game, product or merchandise. Do not base a character on an existing copyrighted one, and be careful about asking for a living artist's style by name. If you plan to trademark a mascot, talk to a professional, since the legal position of AI-generated art is still developing.
What to do next
Make a one-page sheet for your character today: silhouette, three expressions, palette and the exact design block. If you can generate five consistent images from that sheet, you have a real character, not just a picture.